はじめに
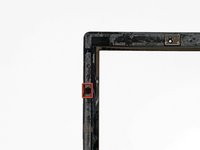
iPad 3 4Gの第3世代モデルの壊れたフロントパネルを交換するための必須条件です。
必要な工具と部品
ビデオの概要
-
-
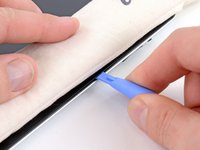
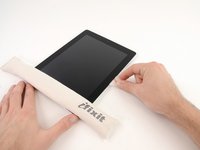
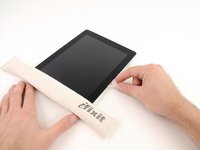
鍋を十分な量のお湯で満たして、iOpener を完全に沈めます。
-
お湯を沸かして熱くなったら火を止めます。
-
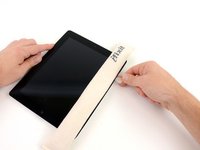
iOpenerを熱湯の中に約2−3分間沈めます。iOpener全体が完全に浸かっているか確認してください。
-
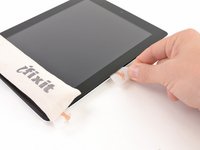
トングなどを浸かって、温まったiOpenerをお湯から取り出します。
-
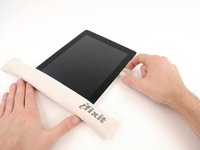
タオルでiOpener全体を拭き取ります。
-
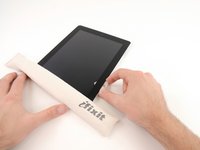
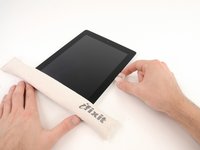
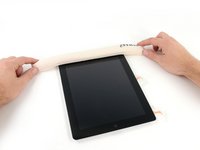
iOpenerの準備は整いました。iOpenerを再度温める必要がある場合は、お湯を沸騰させて、火を止めてからiOpenerを2-3分間浸してください。
-
-
-
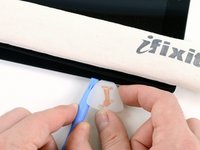
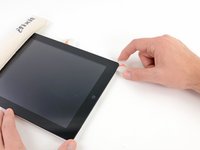
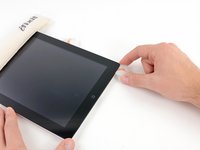
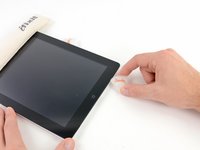
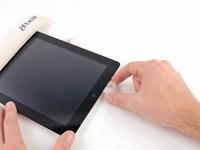
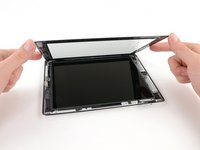
液晶画面に割れがある場合、画面がさらに割れるのと破片によって怪我するのを防ぐため、画面にテープなどを貼って保護してください。
-
iPadの液晶画面全体に透明なテープを端を重ねるようにして貼ります。
-
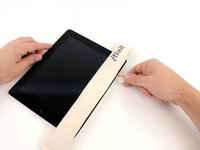
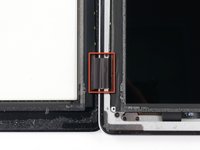
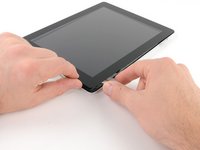
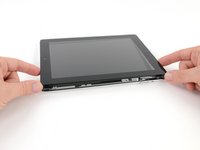
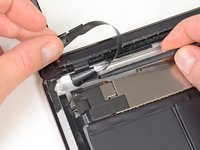
この修理ガイドの記述通りに作業を進められるようベストを尽くしてください。しかしガラスが壊れてしまった場合、作業を続けるに従ってひび割れは広がっていきます。ガラスを取り出すために、メタル製のこじ開け用ツールを使用してください。
-
-


デバイスを再組立する際は、これらのインストラクションを逆の順番に従って作業を進めてください。
デバイスを再組立する際は、これらのインストラクションを逆の順番に従って作業を進めてください。
97 の人々がこのガイドを完成させました。
以下の翻訳者の皆さんにお礼を申し上げます:
100%

Midori Doiさんは世界中で修理する私たちを助けてくれています! あなたも貢献してみませんか?
翻訳を始める ›

4 件のコメント
I would recommend that in cases of replacing shattered screens, that you tape the front panel glass with clear packing tape using overlapping strips, before you begin. This helps to ensure that the panel stays intact, and reduces the chances of puncturing the digitizing layer, and damaging the LCD upon removal.
You want to use clear tape so that you are able to see how any of the glass remnants are shifting during removal.
Comments from a fresh iPad4 WiFi repair.
* Get the assembled panel with the camera bracket and home button. It's worth it.
* These instructions (for the 3?) don't account for the home button cable. It runs along the bottom edge next to the left corner. It's almost impossible to not sever during removal. I have some photos of it I'll try to post when I can figure out how.
* Have light compressed air available to make sure the LCD is clean before reassembling.
* Test fit before pulling off the adhesive strips. I had to do some minor aluminum straightening because of a corner drop, almost blew it had I not test fitted and found this out before sticking it down.
* Test the display and home button before sticking the new glass down, make sure it works, and is all clean.
* I second recommendations for clear tape. Mine was so shattered on the left edge, I had to peel it out in chunks. Tape helped a lot.
* I needed 3 hours for the whole process.
Good luck, and take your time. It can be done!
One problem with the guide saying "To reassemble your device, follow these instructions in reverse order" is that some of the trivial reassembly steps get missed. Like the fact that for repairs involving disconnecting the LCD, you may need to hold the home and power buttons simultaneously for 10 seconds to get the display to light up after reconnecting items. I had tried multiple times to get the display to function, and only after doing this step did it finally come on. If this info is somewhere in the guide, or in the iFixit Front Panel Assembly package, I must have missed it. I just wish I had found this advice BEFORE I managed to break the flap on the LCD ZIF connector through repeated attempts to seat the cable "properly"...