はじめに
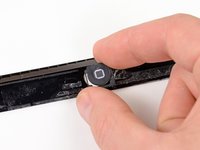
ご注意:これは単純にフロントパネル(ガラスとデジタイザを含む)を交換するための完全版ガイドです。フロントパネルアセンブリ交換用パーツをお持ちの場合は、古いフロントパネルからホームボタンを取り出す手前で作業を止めて、新しいフロントパネルアセンブリをインストールするために手順を逆の順番に従って進めてください。
必要な工具と部品
ビデオの概要
-
-
鍋を十分な量のお湯で満たして、iOpener を完全に沈めます。
-
お湯を沸かして熱くなったら火を止めます。
-
iOpenerを熱湯の中に約2−3分間沈めます。iOpener全体が完全に浸かっているか確認してください。
-
トングなどを浸かって、温まったiOpenerをお湯から取り出します。
-
タオルでiOpener全体を拭き取ります。
-
iOpenerの準備は整いました。iOpenerを再度温める必要がある場合は、お湯を沸騰させて、火を止めてからiOpenerを2-3分間浸してください。
-
-
-
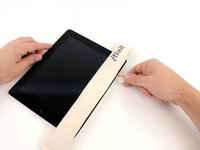
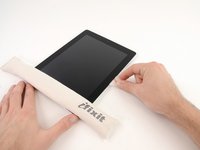
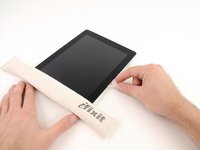
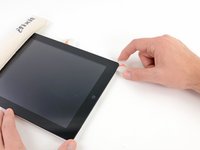
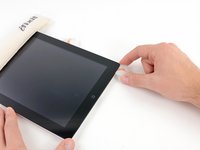
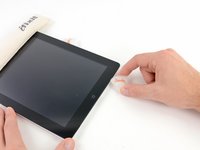
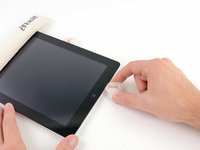
液晶画面に割れがある場合、画面がさらに割れるのと破片によって怪我するのを防ぐため、画面にテープなどを貼って保護してください。
-
iPadの液晶画面全体に透明なテープを端を重ねるようにして貼ります。
-
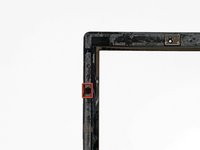
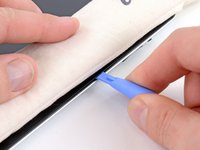
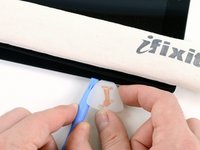
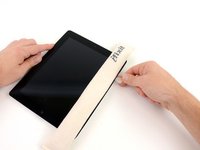
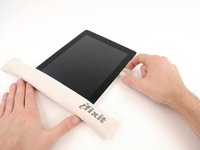
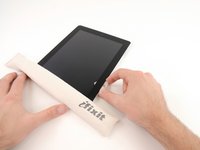
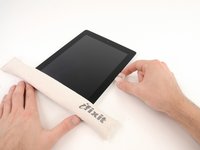
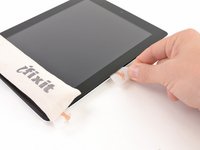
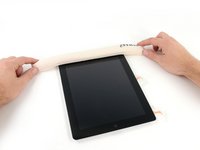
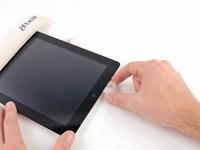
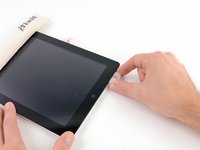
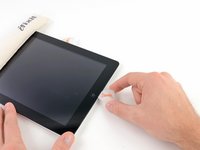
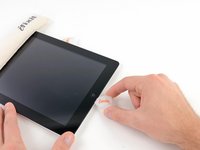
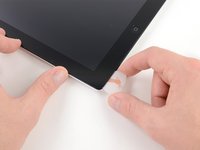
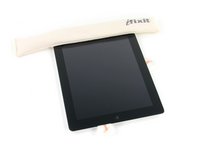
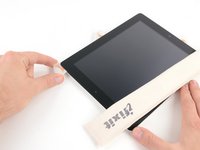
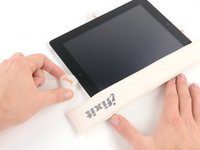
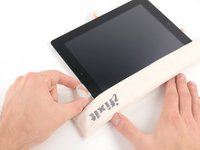
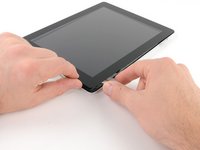
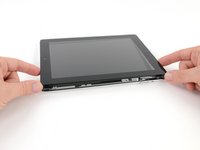
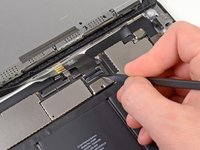
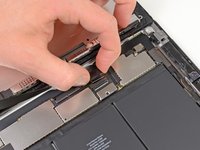
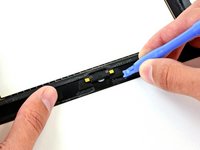
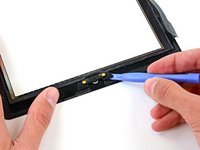
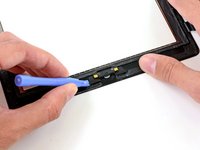
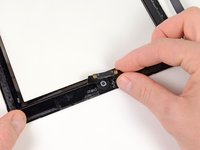
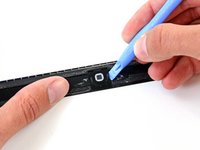
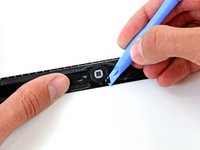
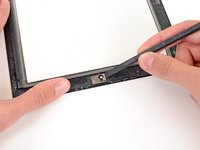
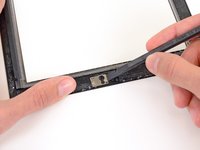
この修理ガイドの記述通りに作業を進められるようベストを尽くしてください。しかしガラスが壊れてしまった場合、作業を続けるに従ってひび割れは広がっていきます。ガラスを取り出すために、メタル製のこじ開け用ツールを使用してください。
-
-


このデバイスを再組み立てするには、インストラクションを逆の順番に従って作業を進めてください。
このデバイスを再組み立てするには、インストラクションを逆の順番に従って作業を進めてください。
131 の人々がこのガイドを完成させました。
以下の翻訳者の皆さんにお礼を申し上げます:
100%

Midori Doiさんは世界中で修理する私たちを助けてくれています! あなたも貢献してみませんか?
翻訳を始める ›

6 件のコメント
This guide and the iFixit toolkit was everything I needed to replace the glass on my iPad 3. They are right, it is diffficult, but doable with care.
Great Guide. Removing the display was less difficult than I thought after initially reading the guide. As others pointed out, DO tape the screen. This is even a good idea it's not yet cracked. Mine broke at one point and if it does, it's a mess. I had a screen protector on my display which caught all the little pieces.
Also while it might be possible to save the wifi antenna, i wasn't able to. I recommend buying the new wifi antenna together with the screen replacement right away to not get stuck waiting for parts should it break during screen removal.
I was going to add the button comment as a comment for the part but realized there's no place to do that. Now I can't edit the comment so here is some more:
A note on the bezel: You will notice dents on the bezel after the operation. Not sure if it's just my lack of skills but I doubt one can manage to jam the opener between bezel and glass without producing dents in the bezel.
Also a few remarks on the spare parts. The home button that comes included with the fully assembled replacement screen is rather flimsy. It more or less fully lacks the usual click when you press it. Hopefully it will last a while. I only noticed after I reassembled everything but using the original button might be much better. Also the replacement adhesive seems much less strong.
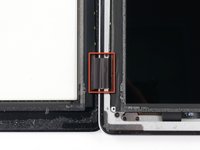
Success but it took me more like 3 hours, in part because I had a lot of broken glass. Do tape the glass and do wear safety glasses -- I've never done a repair where glass was flying so much. I did not break the Wi-Fi cable but I completely tore the digitizer cable in the lower left edge. Fortunately I had purchased the full assembly (IF116-018-3) that includes a new digitizer cable. Not necessarily a fun repair but who can argue with a $35 repair cost? The metal spudger (IF145-012-1) worked best for prying up the glass panel. Be sure to read the comments in step 30 to prevent damage to the ZIF connector.
The guide is excellent, and the parts provided first-rate. I do not know if the adhesive used on the digitizer plate is the same as in the original iPad. I found that the adhesive strips were not as strong as I would have liked, and although I was very careful to throughly clean the surfaces being attached , I found that the digitizer would still flex slightly when pressed.
I used a strong contact adhesive to secure the plate, and settles on Goop. I used it on the corners and also around the area of the home button, that needs to be seated very securely in order to make a good contact with the two pins it connects to. I followed the adhesive instructions carefully (thin bead on both surfaces, let it air dry for a couple min before contact), and then tightly secured the digitizer to the frame and bezel with scotch tape to keep things pressed down. The next morning the plate was on as tightly as when the iPad was new. I don’t know if this precludes future removal of the screen, however.