はじめに
このガイドを参照して、壊れたアンテナを交換しましょう。
必要な工具と部品
-
-
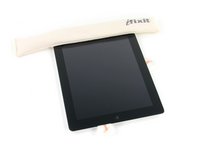
鍋を十分な量のお湯で満たして、iOpener を完全に沈めます。
-
お湯を沸かして熱くなったら火を止めます。
-
iOpenerを熱湯の中に約2−3分間沈めます。iOpener全体が完全に浸かっているか確認してください。
-
トングなどを浸かって、温まったiOpenerをお湯から取り出します。
-
タオルでiOpener全体を拭き取ります。
-
iOpenerの準備は整いました。iOpenerを再度温める必要がある場合は、お湯を沸騰させて、火を止めてからiOpenerを2-3分間浸してください。
-
-
-
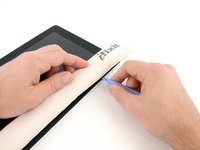
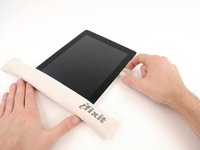
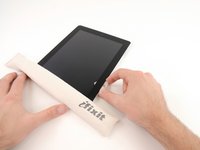
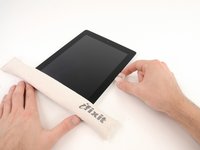
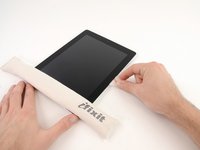
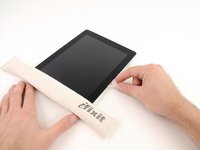
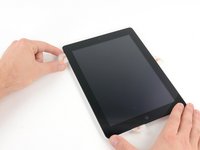
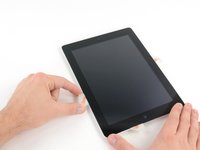
液晶画面に割れがある場合、画面がさらに割れるのと破片によって怪我するのを防ぐため、画面にテープなどを貼って保護してください。
-
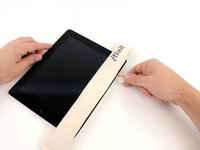
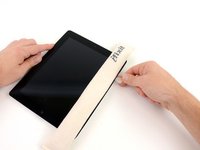
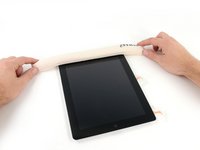
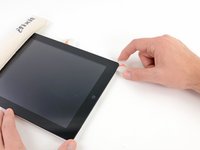
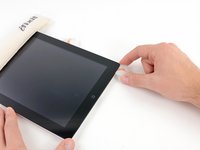
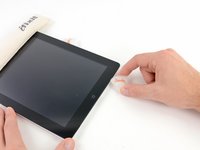
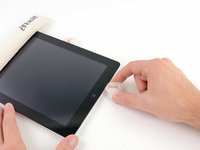
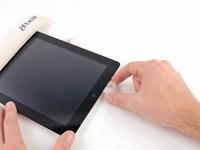
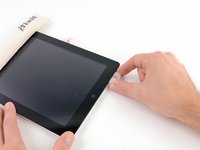
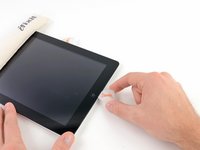
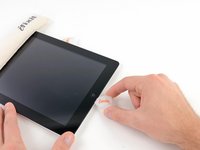
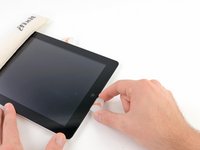
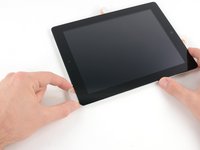
iPadの液晶画面全体に透明なテープを端を重ねるようにして貼ります。
-
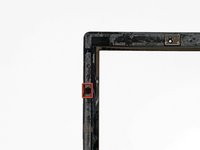
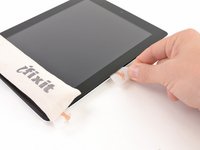
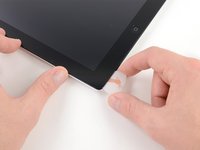
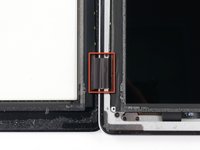
この修理ガイドの記述通りに作業を進められるようベストを尽くしてください。しかしガラスが壊れてしまった場合、作業を続けるに従ってひび割れは広がっていきます。ガラスを取り出すために、メタル製のこじ開け用ツールを使用してください。
-
-
-
-
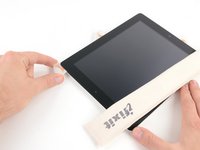
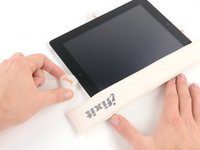
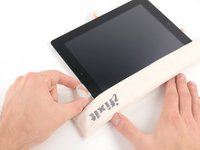
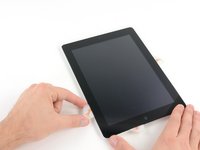
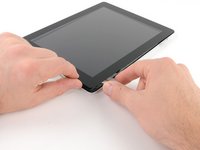
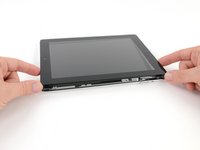
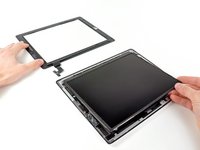
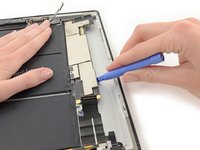
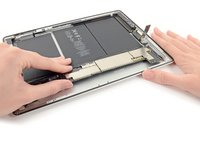
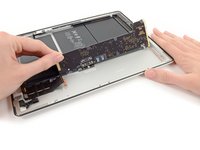
音量ボタンに最も近い長辺側の端からLCDを持ち上げて、慎重にリアケースから裏返します。
-
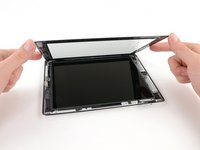
LCDフロント側をうつ伏せます。傷がつかないように柔らかい布の上に載せてください。
-
-
-
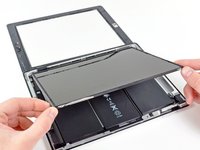
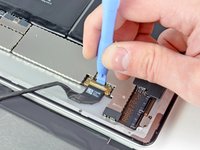
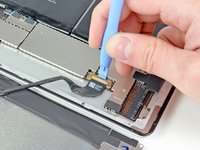
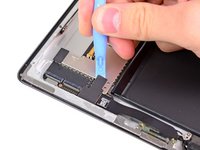
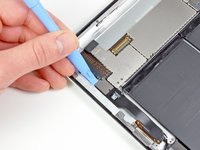
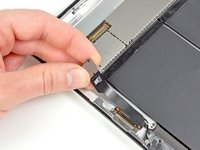
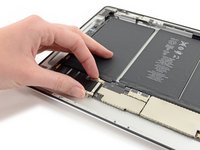
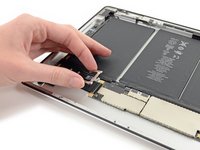
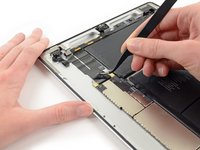
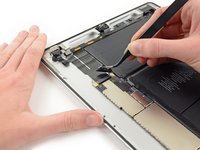
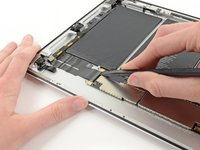
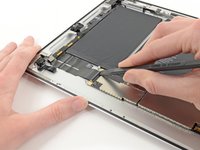
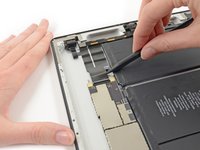
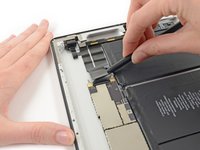
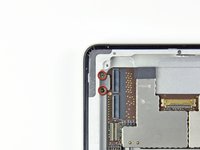
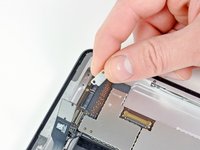
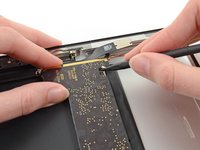
ドックコネクタ/スピーカーケーブルを作業の邪魔にならない場所で固定し、リアケースに留められた接着剤からBluetooth/Wi-Fiアンテナケーブルを剥がします。
-


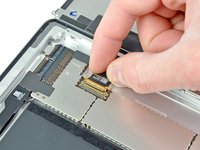


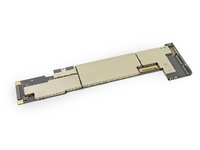


デバイスを再度組み立てるには、この説明書の逆の順番で組み立ててください。また、フロントパネルを再度取り付ける際は、私たちのiPad 2 Wi-Fi EMC 2560のフロントパネルの接着ストリップガイドを参照してください。
デバイスを再度組み立てるには、この説明書の逆の順番で組み立ててください。また、フロントパネルを再度取り付ける際は、私たちのiPad 2 Wi-Fi EMC 2560のフロントパネルの接着ストリップガイドを参照してください。
35 の人々がこのガイドを完成させました。


コメント 1 件
I’ve seen other guides that avoid having to remove the entire logic board by just popping the metal shield over the WiFi board on the bottom part of the logic board then popping out the WiFi board with the antenna cable attached. I assume there’s some good reason for not using this approach? Is there some risk of damaging the WiFi board? It’s just a press fit into the base of the logic board and there’s sufficient clearance to thread the antenna cable up from the bottom and out thru the space where the WiFi board goes. The metal shield can be pried off and pushed back on without damaging it, and the WiFi board can be eased up from it’s socket with the tip of an exacto knife blade. Removing the entire logic requires that it be re-seated so the metal contacts at each end mate and requires an adhesive to hold it in place. What’s wrong with this alternative?