はじめに
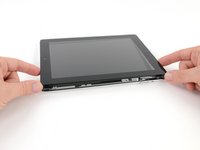
割れたフロントパネルを交換するための必須条件です。
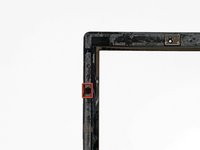
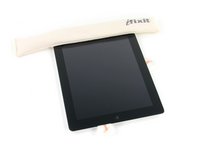
必要な工具と部品
-
-
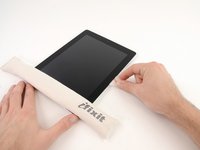
鍋を十分な量のお湯で満たして、iOpener を完全に沈めます。
-
お湯を沸かして熱くなったら火を止めます。
-
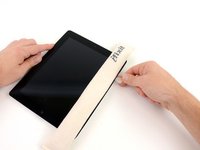
iOpenerを熱湯の中に約2−3分間沈めます。iOpener全体が完全に浸かっているか確認してください。
-
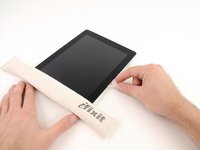
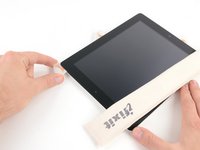
トングなどを浸かって、温まったiOpenerをお湯から取り出します。
-
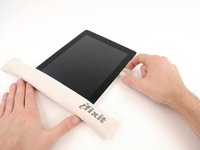
タオルでiOpener全体を拭き取ります。
-
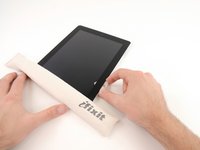
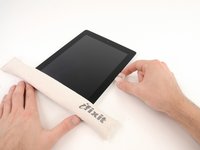
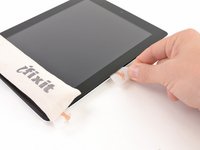
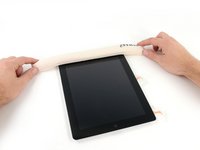
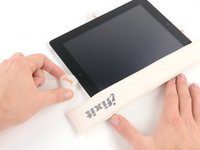
iOpenerの準備は整いました。iOpenerを再度温める必要がある場合は、お湯を沸騰させて、火を止めてからiOpenerを2-3分間浸してください。
-
-
-
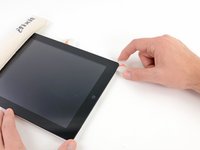
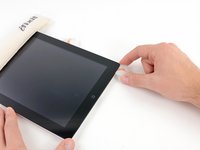
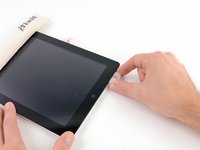
液晶画面に割れがある場合、画面がさらに割れるのと破片によって怪我するのを防ぐため、画面にテープなどを貼って保護してください。
-
iPadの液晶画面全体に透明なテープを端を重ねるようにして貼ります。
-
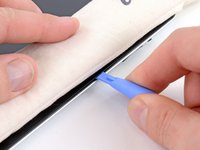
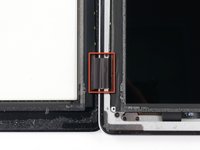
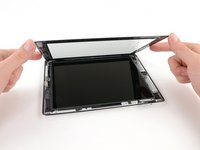
この修理ガイドの記述通りに作業を進められるようベストを尽くしてください。しかしガラスが壊れてしまった場合、作業を続けるに従ってひび割れは広がっていきます。ガラスを取り出すために、メタル製のこじ開け用ツールを使用してください。
-
-


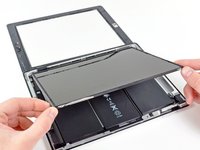
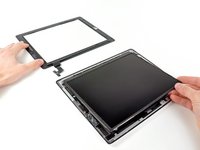
デバイスを再度組み立てるには、この説明書の逆の順番で組み立ててください。また、フロントパネルを再度取り付ける際は、私たちのiPad 2 Wi-Fiのフロントパネルの接着ストリップガイドを参照してください。
デバイスを再度組み立てるには、この説明書の逆の順番で組み立ててください。また、フロントパネルを再度取り付ける際は、私たちのiPad 2 Wi-Fiのフロントパネルの接着ストリップガイドを参照してください。
209 の人々がこのガイドを完成させました。
以下の翻訳者の皆さんにお礼を申し上げます:
100%

これらの翻訳者の方々は世界を修理する私たちのサポートをしてくれています。 あなたも貢献してみませんか?
翻訳を始める ›

6 件のコメント
There is one very important step not documented here. There is a wireless antenna attached to the screen just to the right of the home button. This also can be easily ripped if you aren't looking for it.
Additionally, take great care near the volume control button area since there is wiring under there for power. Consider viewing other youtube videos of the process to get different perspectives.
Last, be very patient---take deep breaths as you slowly pull the screen up.
One other step that would be nice to see is how to properly bend the flex cable of the new digitizer ( which out of the box is straight and stiff). The hardest part of the repair for me was negotiating the flex cable of the new glass so that the new glass would fit flush on the lower left corner. It has to bend in a certain way.This drove me nuts.
since you custom screen your guitar picks, have you thought of putting 'depth' lines on them (don't insert past this line for the edges and this line for the wifi area)?
I successfully performed this repair a couple of days ago. I would agree that it is very difficult. I spent a full hour just going over the instructions and putting tape marks on the ipad - it was very helpful to have a clear mental picture of where all the danger spots are.
In my case, the screen was severely cracked, so the repair did not proceed as pictured. It was basically impossible to get anything but small shards of glass to come up at any given time, so after some releasing, I ended up simply lifting the center part of the screen up off the ipad, leaving cracked glass around the bezel. Knowing where all the internal parts were was essential in this case, since I could have easily damaged some parts otherwise. I could see that the way the screen was lifting away, the antenna, for example, would not be affected. Some luck may have been involved, but the repair did work.