はじめに
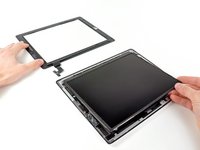
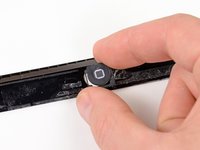
ご注意: フロントパネルを交換するための完全版修理ガイドです。フロントパネルアセンブリの交換用パーツをお持ちの場合は、古いフロントパネルからホームボタンを取り出す手前で作業を止めてください。それから新しいフロントパネルアセンブリをインストールするために、逆の手順で作業を進めます。
このガイドはWi-Fiモデル用に撮影されています。そのため、内部画像は若干異なりますが、手順は同じです。
必要な工具と部品
-
-
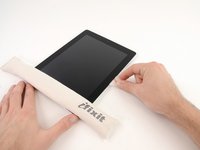
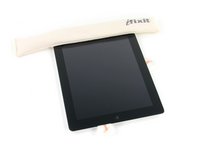
鍋を十分な量のお湯で満たして、iOpener を完全に沈めます。
-
お湯を沸かして熱くなったら火を止めます。
-
iOpenerを熱湯の中に約2−3分間沈めます。iOpener全体が完全に浸かっているか確認してください。
-
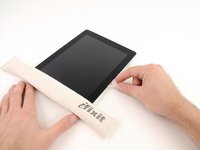
トングなどを浸かって、温まったiOpenerをお湯から取り出します。
-
タオルでiOpener全体を拭き取ります。
-
iOpenerの準備は整いました。iOpenerを再度温める必要がある場合は、お湯を沸騰させて、火を止めてからiOpenerを2-3分間浸してください。
-
-
-
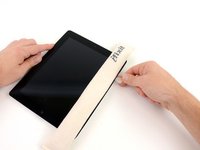
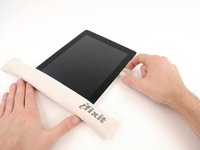
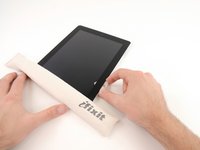
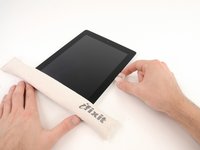
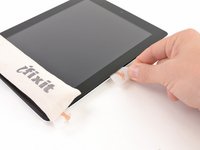
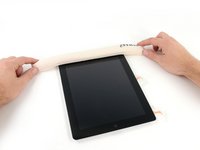
液晶画面に割れがある場合、画面がさらに割れるのと破片によって怪我するのを防ぐため、画面にテープなどを貼って保護してください。
-
iPadの液晶画面全体に透明なテープを端を重ねるようにして貼ります。
-
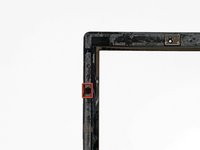
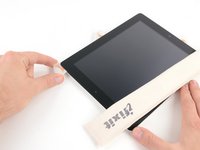
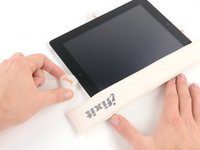
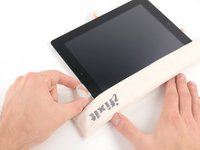
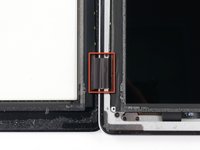
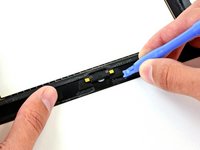
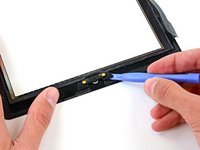
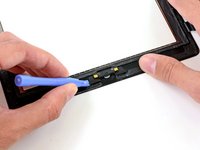
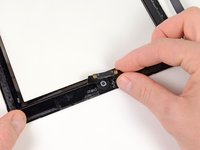
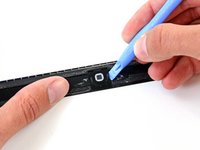
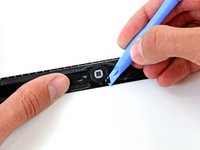
この修理ガイドの記述通りに作業を進められるようベストを尽くしてください。しかしガラスが壊れてしまった場合、作業を続けるに従ってひび割れは広がっていきます。ガラスを取り出すために、メタル製のこじ開け用ツールを使用してください。
-
-


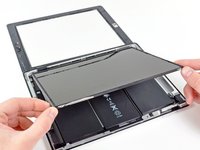


このデバイスを再組み立てするには、インストラクションを逆の順番に従って作業を進め、フロントパネルを再装着するには、 iPad 2 GSM フロントパネルの接着ストリップ ガイドを参照してください。
このデバイスを再組み立てするには、インストラクションを逆の順番に従って作業を進め、フロントパネルを再装着するには、 iPad 2 GSM フロントパネルの接着ストリップ ガイドを参照してください。
179 の人々がこのガイドを完成させました。
以下の翻訳者の皆さんにお礼を申し上げます:
100%

Midori Doiさんは世界中で修理する私たちを助けてくれています! あなたも貢献してみませんか?
翻訳を始める ›

9 件のコメント
I would recommend that in cases of replacing shattered screens, that you tape the front panel glass with clear packing tape using overlapping strips, before you begin. This helps to ensure that the panel stays intact, and reduces the chances of puncturing the digitizing layer, and damaging the LCD upon removal.
You want to use clear tape so that you are able to see how any of the glass remnants are shifting during removal.
Great job and tips as well
Just so anyone knows attempting this its a mess of glass in most cases. keep a vacuum cleaner at arms length and were eye protection. And the caution about the wifi antenna is no joke. Thats a real ##&&% read it several times.
I had trouble with my iOpener and ended up using a heat gun, instead. It worked great, esp. with how shattered the glass was. It allowed me to heat only the area I was working on and made the process much faster. It still took me about 2 hours, but that's because I had a lot of little shards that I was trying to keep from ruining other components.