この翻訳は、ソースガイドの最新の更新を反映していない可能性があります。 翻訳の更新に協力してください。 または ソースガイドを参照してください。
はじめに
フロントベゼルを取り外して、お持ちのiMacの内部コンポーネントにアクセスします。
必要な工具と部品
-
-
この手順は未翻訳です。 翻訳を手伝う。
-
Remove the following 12 screws securing the front bezel to the rear case:
-
bottom centre two are long (26mm)
-
four on sides (two left, two right) are medium (18mm)
-
and the remaining six (four top, two bottom corners) are short (14mm).
-
-
この手順は未翻訳です。 翻訳を手伝う。
-
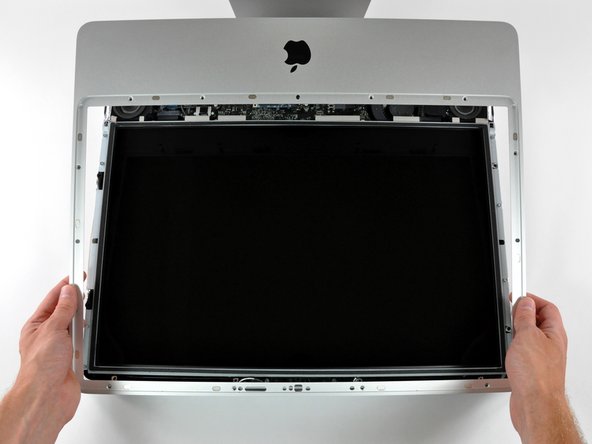
Gently lift the front bezel from its top edge off the rear case.
-
Once the top edge of the front bezel has cleared the rear case, rotate the front bezel toward the stand and lift it off the rear case.
-
Rotate the front bezel away from the rest of the device and lay it above the top edge of the iMac.
-


デバイスを再度組み立てるには、この説明書の逆の順番で組み立ててください。
デバイスを再度組み立てるには、この説明書の逆の順番で組み立ててください。
12 の人々がこのガイドを完成させました。

2 件のコメント
Mystery: I have removed and replaced my bezel many times - most recently to repair the vid card. However this time while powering up fine before replacing the bezel - now, once bezel is in place it won’t power on - but I hear a ‘click’ in the lower right corner after pushing the power. But then, if I pull the bezel back about an inch from the top - it starts >Something seems to be ‘shorting’ ?