メインコンテンツにスキップ

この修理ガイドは変更されています。最新の未承認バージョンに切り替えます。

iMac Intel 24" EMC 2111 Optical Drive Replacement

必要条件のみ
この修理ガイドは、他のガイドの前提条件として使用されます。それ自体は不完全で、単独で使用されることはありません。
  1. iMac Intel 24" EMC 2111 Optical Drive Replacement, Optical Drive: 手順 1、 1の画像 1
    • Remove the strip of tape covering the optical drive cable connector.

  2. iMac Intel 24" EMC 2111 Optical Drive Replacement: 手順 2、 2の画像 1 iMac Intel 24" EMC 2111 Optical Drive Replacement: 手順 2、 2の画像 2
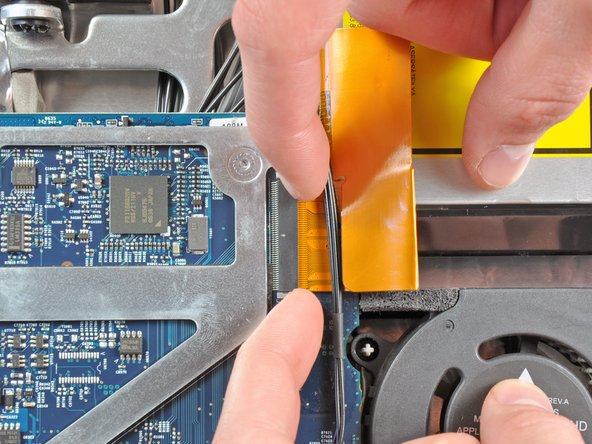
    • Gently pull the cable retainer on the optical drive cable ZIF socket toward the right side of the iMac.

    • The retainer should move about 1 mm and stop. Do not attempt to remove the retainer.

  3. iMac Intel 24" EMC 2111 Optical Drive Replacement: 手順 3、 1の画像 1
    • Pull the optical drive ribbon cable out of its socket, being careful not to rip it in the process.

  4. iMac Intel 24" EMC 2111 Optical Drive Replacement: 手順 4、 1の画像 1
    • Pull the optical drive thermal sensor connector toward the right side of the iMac to disconnect it from the logic board.

  5. iMac Intel 24" EMC 2111 Optical Drive Replacement: 手順 5、 1の画像 1
    • Peel off the strip of EMI tape attaching the right side of the optical drive to the rear case.

  6. iMac Intel 24" EMC 2111 Optical Drive Replacement: 手順 6、 1の画像 1
    • Push down on the optical drive bracket retaining clip while pulling the top edge of the optical drive away from the rear case.

  7. iMac Intel 24" EMC 2111 Optical Drive Replacement: 手順 7、 2の画像 1 iMac Intel 24" EMC 2111 Optical Drive Replacement: 手順 7、 2の画像 2
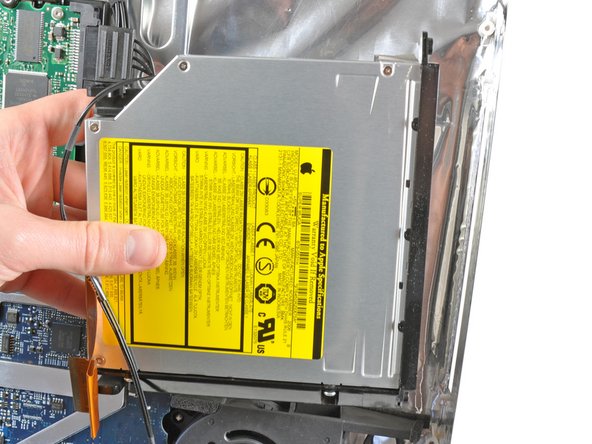
    • Rotate the optical drive slightly toward the bottom edge of the iMac while pulling it away from the rear case to release the lower retaining clip.

    • Pull the optical drive away from the right side of the rear case and remove it from the iMac.

終わりに

To reassemble your device, follow these instructions in reverse order.

作成者

2人の作成者と共同で作成されました。

Andrew Bookholt

586,112 ポイント

619のガイドは作成済み

0 件のコメント

コメントを追加

統計データ:

過去 24時間: 0

過去 7 日: 0

過去 30 日: 0

今までの合計 240