はじめに
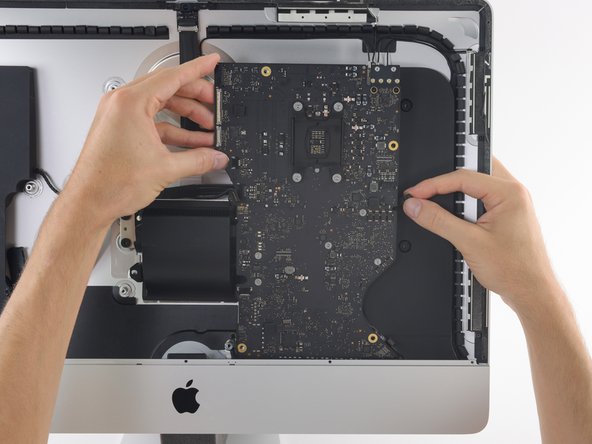
このガイドでは、RAMとSATAハードドライブをアップグレードするために2017 iMac 4Kでロジックボードを取り外す方法について詳しく説明しています。(例えば、弊社のMacキットを購入した場合)
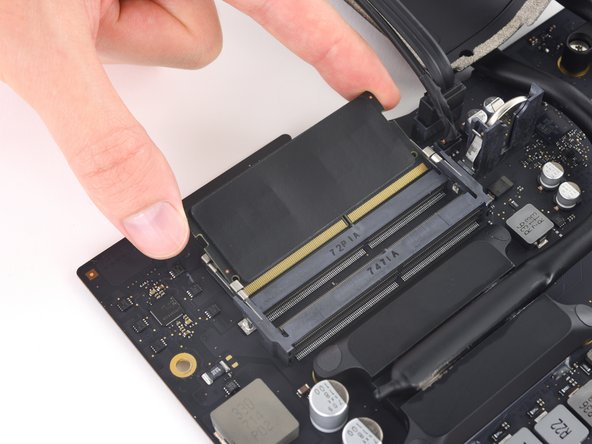
このガイドで使用されている一部の画像は、2015年モデルのもので、外観に幾つか違いがあります。
ファイルやシステムを保ったまま、アップグレードを行う前に、ハードドライブ を交換/アップグレードする場合、交換用ドライブに既存のハードドライブ を複製して ください。
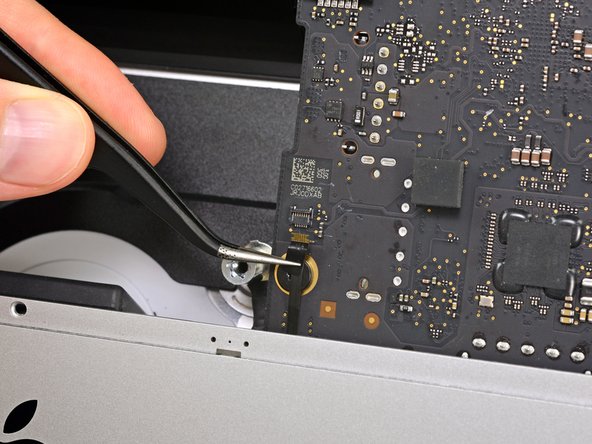
このガイドは、大型のコンデンサを搭載した電源装置を扱うため、”潜在的に危険”とマークされています。 iMacのプラグを抜き、電源ボタンを10秒以上押し続けて、コンデンサを放電してください。 ボードの端を持ち、表面のコンポーネントに絶対に触れないでください。
必要な工具と部品
-
-
iFixitの梱包用ボックスを使ってウェッジ用サポートを作ることができます。こちらから組み立てガイドを参照してください。
-
iMacの作業を始める前に、コンピューターの電源を外して電源のキャパシタを放電するため約10秒間電源を押し続けてください。
-
-


このデバイスを再組み立てするには、インストラクションを逆の順番に従って作業を進めてください。
このデバイスを再組み立てするには、インストラクションを逆の順番に従って作業を進めてください。
22 の人々がこのガイドを完成させました。
以下の翻訳者の皆さんにお礼を申し上げます:
100%

Midori Doiさんは世界中で修理する私たちを助けてくれています! あなたも貢献してみませんか?
翻訳を始める ›


5 件のコメント
Be very careful. I also replaced my fusion drive with a 2T SSD and maxed the ram to 32gb but somehow I screwed up the microphone. I had to pay Apple 520.00 to fix it because they had to replace the whole back cover. Took about a week to get it back from Apple. Good luck!
Frank, along the bottom right hand side of the aluminum case where the screen slots in there are three small holes. Make sure the adhesive doesn't cover those as it is the microphone. To do this, I laid the screen adhesive, and then cut a section out over those holes.
successful upgrade my iMac to 2 TB SSD and 32gb RAM with no complications. Thank for this useful guide
Hats off team!! Really nice and helpful guide.
Done and worked on an iMac Retina 4K 2017. Upgraded SSD Crucial 2Tb MX500 + 2 x 16Gb RAM. Finished and working!!
100% satisfied with the improvement.
Please take your time and read ALL users comments. They have experienced issues that you can avoid. Use adhesive tape to fix some connectors, be careful when removing the display and check everyting works before setting the new adhesives.
Time 1h 47m. Most time consuming and delicated parts - Removing screen and adhesive and finally setting the new adhesives and fitting the screen.