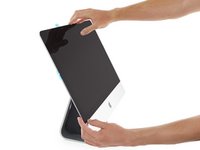
はじめに
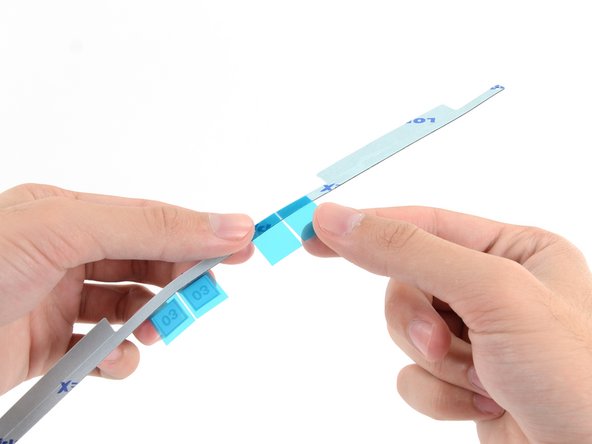
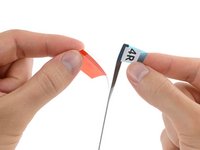
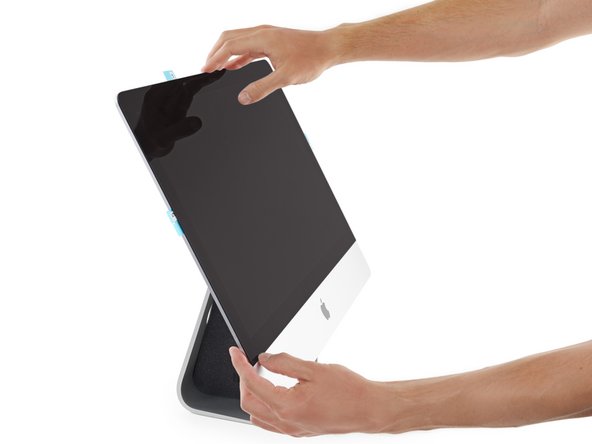
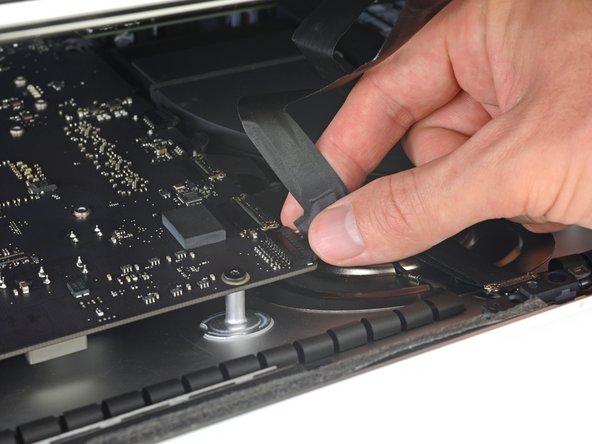
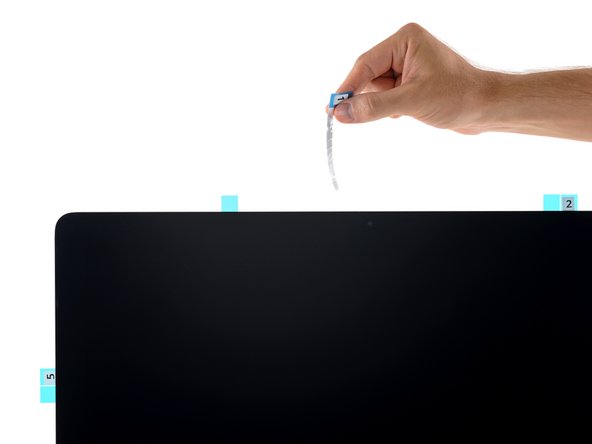
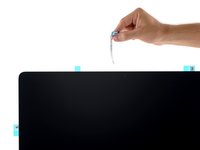
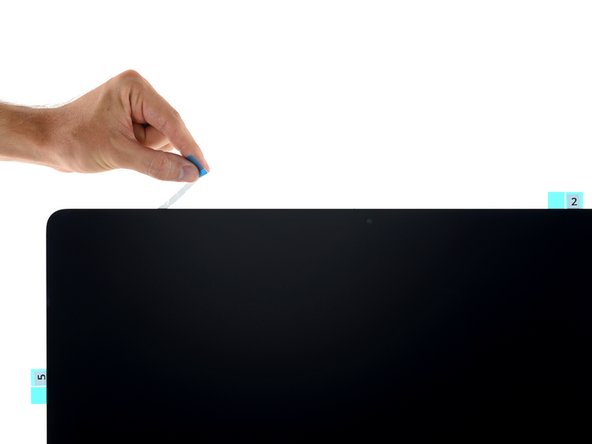
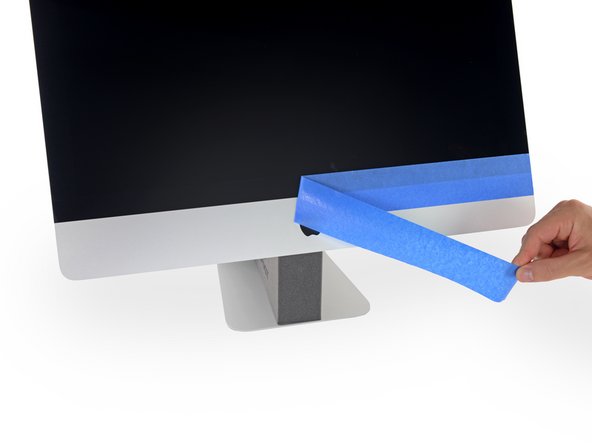
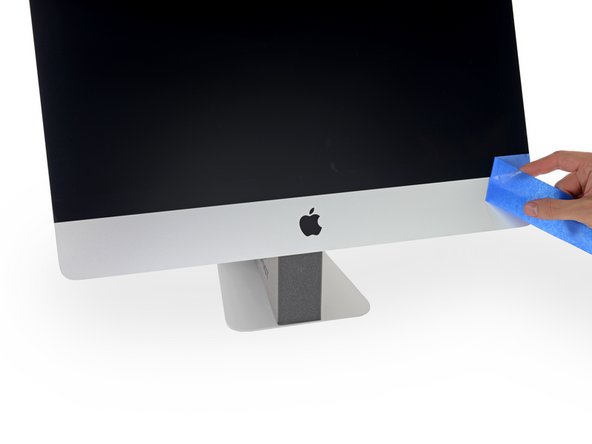
ディスプレイを外すには、スクリーン周辺の接着剤を切り離す必要があります。接着剤が切断した後、ディスプレイを再装着する際に再利用ができません。そのため、新しい接着ストリップに交換しなければなりません。
必要な工具と部品


108 の人々がこのガイドを完成させました。
以下の翻訳者の皆さんにお礼を申し上げます:
100%

Midori Doiさんは世界中で修理する私たちを助けてくれています! あなたも貢献してみませんか?
翻訳を始める ›


7件のガイドコメント
Be VERY CAREFUL with the bottom strips. I found them very difficult. The front peeled off first allowing the strips to stretch. Made it work but went slow and meticulously. I found the use of a headlamp useful instead of a flashlight.
I’ve just upgraded the RAM in two iMacs requiring adhesive strips and had a problem both times. In the first, the white tape on the lower part of the ‘3’ strip broke leaving about 50% behind.. In the second, both ‘2’ tags came off the white tape leaving all the tape still attached to the sticky layer. Both these instances caused a major problem as part of the screen was already stuck down. I had to try to make a gap between the screen and the case to insert a craft knife to loosen an edge of the white tape so I could grab it with my tweezers. Nightmare! Perhaps the adhesive strip kits sold in Europe aren’t as good quality as the ones sold in the US.
Thank you iFixIt for top notch parts, instructions and tutorials. The reassembly went smoothly, removing the adhesive on the iMac was much easier than the iWatch I performed earlier. The adhesive strips went on easily (kudos for the alignment notches). Like previous comments, the only issue I had was w/ the bottom strips (4L/4R) in that the backing doesn’t want to release and the backing with the adhesive strip actually releases from the front backing instead. I carefully teased the adhesive from front backing with the bent tip iFixIt tweezers and then was able to get the backing released, but it wasn’t optimal because the front backing was slightly releasing from the adhesive as I was applying it and if not careful would stretch a bit which could cause miss-alignment when you get to the end of the adhesive. All-in-all the reassembly of the iMac is one of the easier ones.