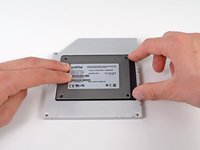
はじめに
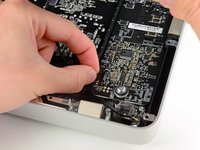
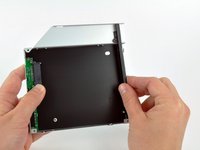
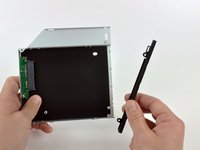
新しいソフトウェアをインストールすると速度の向上、容量の増大やバグの軽減など、iMacにセカンドドライブをインストールすると多くの利点があります。 このガイドを参照して、当社の光学ベイドライブエンクロージャを使用して取り付けます。
必要な工具と部品
-
この手順で使用する道具:Heavy-Duty Suction Cups (Pair)$14.95
-
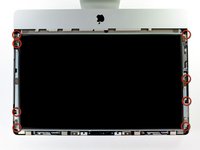
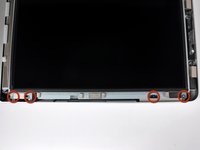
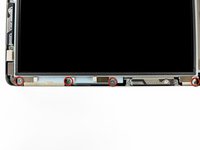
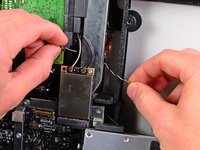
ガラスパネルの上部コーナーの2箇所に吸盤カップを取り付けます。
-
吸盤カップがうまく装着しない場合は、ガラスパネルと吸盤カップを中性洗剤などで綺麗に拭き取ってください。
-
-


デバイスを再組み立てする際は、これらのインストラクションを逆の順番に従って作業を進めてください。
デバイスを再組み立てする際は、これらのインストラクションを逆の順番に従って作業を進めてください。
68 の人々がこのガイドを完成させました。
以下の翻訳者の皆さんにお礼を申し上げます:
100%

Midori Doiさんは世界中で修理する私たちを助けてくれています! あなたも貢献してみませんか?
翻訳を始める ›


13 件のコメント
Well, actually, it was much easier than I thought.
The only problem about this is that the hard drive temperature sensor cable. Even I bought the same brand HD, it still doesn't work. So I have to install fan control to control the fan speed.
But other than that, it works very smooth. The speed is great.
Thanks, ifixit. The home tech toolkit is great and really helpful.
Hi. I wanna know if is mandatory to connect the SSD with enclosure or it's possible to connect directly to SATA cable like on model EMC 2428 that has an third SATA conector free and then fix the SSD to back panel with 3M
Im pretty sure if you want to just mount it with tape that would be perfectly fine. Had mine apart and even thought about it myself before properly mounting it.
2389 doesnt support this. cd player isnt even sata
ty no ty
I just replaced with a 250GB SSD... So yes it does support this.