はじめに
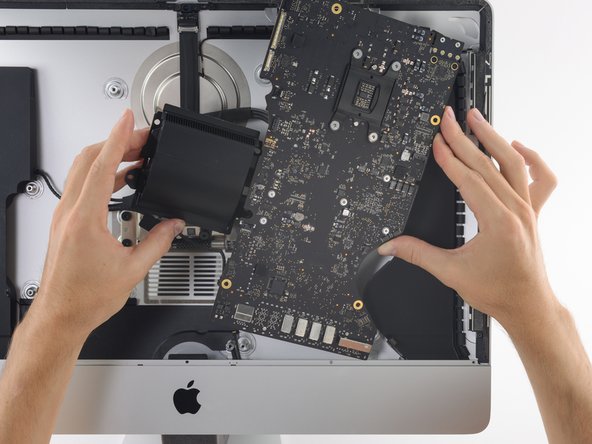
この手順に従って、21.5インチ Retina 4K Late 2017 iMacのロジックボードを取り出したり、交換します。
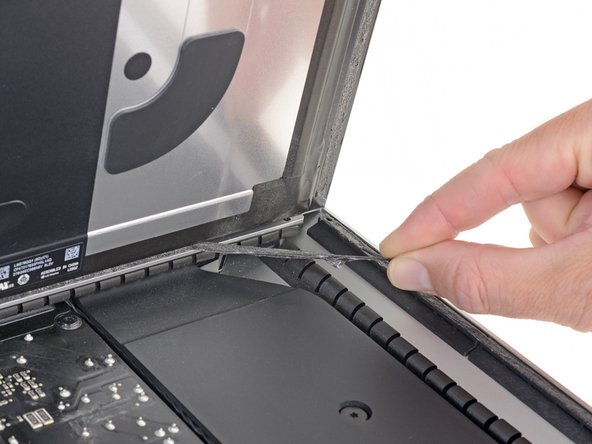
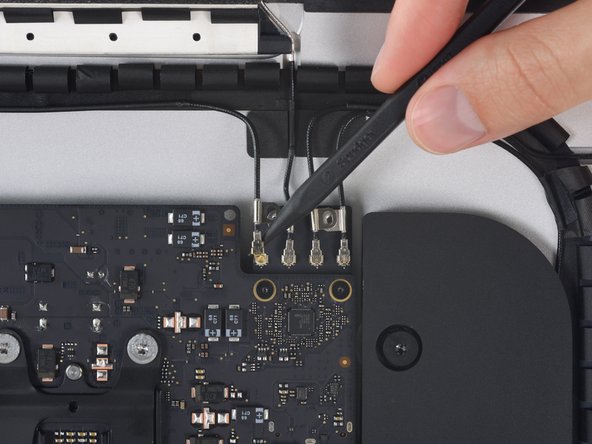
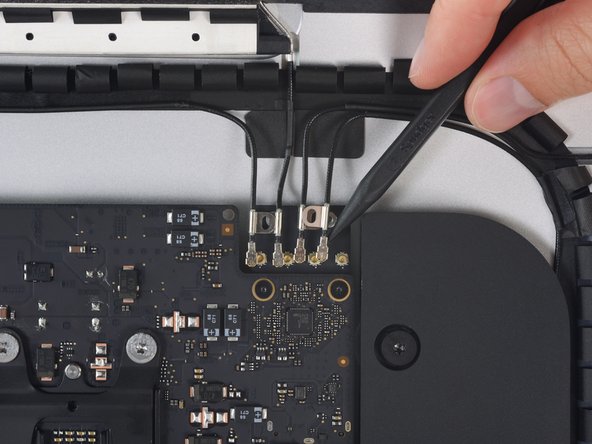
このガイド中では、2015iMacモデルを使用した画像があります。マイナーな外見上の違いはありますが、手順自体に影響しません。
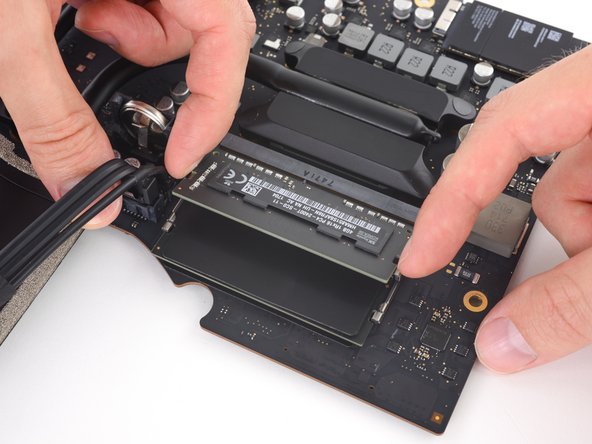
このガイドは大型のキャパシタを取り扱うため、”潜在的に危険”と警告されています。iMacのプラグを抜いて、電源ボタンを少なくとも10秒間長押しして、キャパシタを放電してください。ボードの作業は、端を摘んでください。ボードの表面は触らないでください。
必要な工具と部品
-
-
iFixitの梱包用ボックスを使ってウェッジ用サポートを作ることができます。こちらから組み立てガイドを参照してください。
-
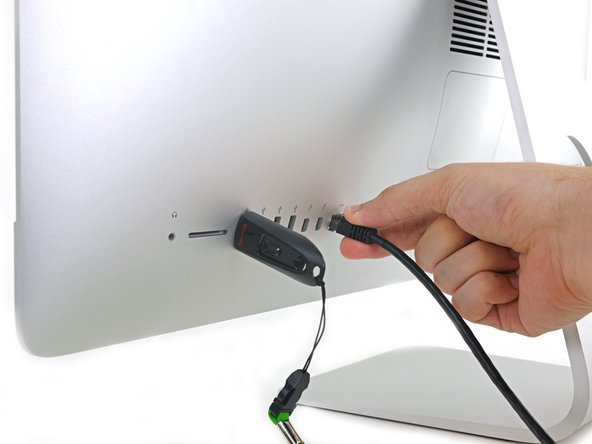
iMacの作業を始める前に、コンピューターの電源を外して電源のキャパシタを放電するため約10秒間電源を押し続けてください。
-
-


このデバイスを再組み立てするには、インストラクションを逆の順番に従って作業を進めてください。
このデバイスを再組み立てするには、インストラクションを逆の順番に従って作業を進めてください。
4 の人々がこのガイドを完成させました。
以下の翻訳者の皆さんにお礼を申し上げます:
100%

Midori Doiさんは世界中で修理する私たちを助けてくれています! あなたも貢献してみませんか?
翻訳を始める ›

5 件のコメント
Hello, very good explanation .
Got a question please
I have the imac 4k 21.5 late 2015, can I change the motherboard? To be able to upgrade ram, does or fits in the 2015 body and with all parts?
I did it. Everything went very well, but the two thunderbolt plugs are not working after all. LAn and USb is doing well. Any suggestions about it?
I am running into the same issue after upgrading the RAM and SSD. Have you found a fix?
Can the GPU be upgraded?
Re” I did it. Everything went very well, but the two thunderbolt plugs are not working after all. LAn and USb is doing well. Any suggestions about it?” You need to disassemble the iMac again to the point where the logic board is loose (step 58-59 on this guide). Connect a thunderbolt cable, a USB cable and and ethernet cable to the back of the iMac with the logic board in place but the logic board screws not tightened. This will ensure the ports are correctly lined. Tighten the logic board screws and finish the reassembly (at this point you can disconnect the cables.) . This should solve the problem.