メインコンテンツにスキップ

iMac Intel 17" Optical Drive Replacement

必要条件のみ
この修理ガイドは、他のガイドの前提条件として使用されます。それ自体は不完全で、単独で使用されることはありません。

必要な工具と部品

  1. iMac Intel 17" Optical Drive Replacement, Optical Drive: 手順 1、 1の画像 1
    • Remove the two 7 mm T10 Torx screws securing the optical drive clip to the logic board.

  2. iMac Intel 17" Optical Drive Replacement: 手順 2、 1の画像 1
    • Remove the optical drive clip.

  3. iMac Intel 17" Optical Drive Replacement: 手順 3、 1の画像 1
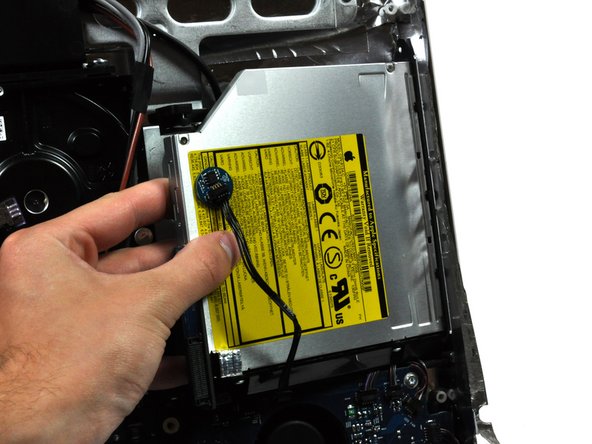
    • Pull the optical drive thermal sensor cable connector away from its socket on the logic board.

  4. iMac Intel 17" Optical Drive Replacement: 手順 4、 2の画像 1 iMac Intel 17" Optical Drive Replacement: 手順 4、 2の画像 2
    • Squeeze the two optical drive bracket ears together while pulling the drive toward yourself.

    • It may be helpful to hold the logic board down near the optical drive connector when pulling the drive toward yourself to avoid both components lifting together.

    • Pull the optical drive away from the side of the rear panel and remove it from the iMac.

終わりに

To reassemble your device, follow these instructions in reverse order.

ある他の人がこのガイドを完成しました。

作成者

3人の作成者と共同で作成されました。

Walter Galan

694,573 ポイント

1,203のガイドは作成済み

0 件のコメント

コメントを追加

統計データ:

過去 24時間: 0

過去 7 日: 0

過去 30 日: 0

今までの合計 1,721