このバージョンは誤った内容を含んでいる可能性があります。最新の承認済みスナップショットに切り替えてください。
この手順は未翻訳です。 翻訳を手伝う。
Set the IHome on a surface facing upward.
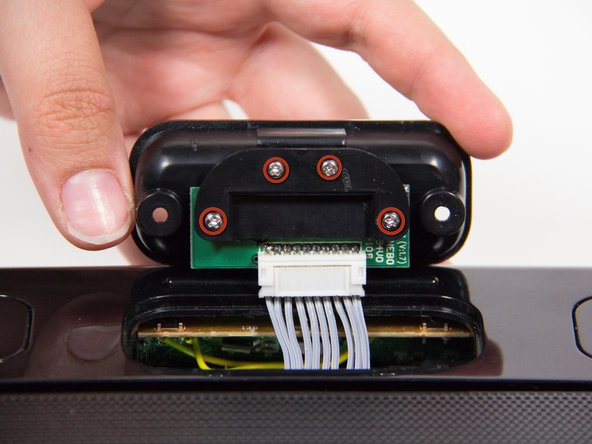
Locate the two screws on the docking station adapter.
Remove the following screws:
Two 10 mm Phillips #0
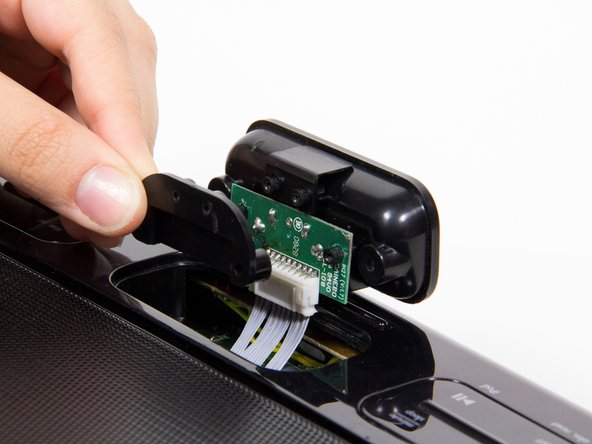
Grip the plastic adapter case and pull upwards with a medium amount of force. You will have to twist forward a little so that the connections are visible.
The adapter will still be connected with wires, so make sure not to pull too hard.
Four 7 mm Phillips #0
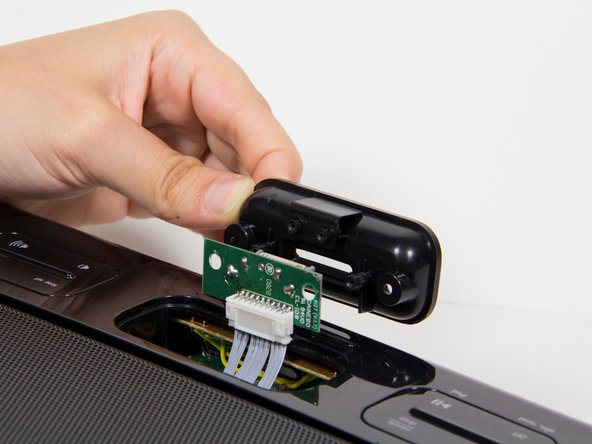
Lift up the two black plastic pieces that have come loose on either side of the circuit board, and set them aside.
Carefully pry apart the bundle of white wires connected at the junction with the plastic opening tool.
Do this slowly. Be careful not to damage the wires
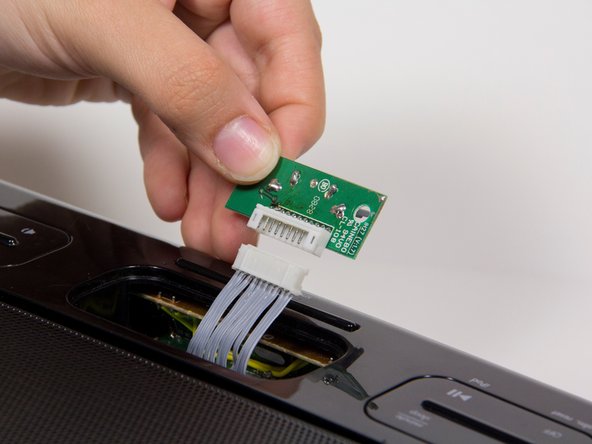
Lift up the circuit board that has become loose.
Pull out the adapter, and replace it with the new one.
キャンセル: このガイドを終了できませんでした。
ある他の人がこのガイドを完成しました。
11人の作成者と共同で作成されました。
メンバー登録日: 10/09/12
76 ポイント
9のガイドは作成済み
バッジ: 7
+4 個以上のバッジ
CPSU-AMIDO-F12S3G21
4 メンバー
サイズを選択し、以下のコードをコピーして、このガイドを小さなウィジェットとしてサイト/フォーラムに埋め込みます。
過去 24時間: 1
過去 7 日: 5
過去 30 日: 13
今までの合計 2,336