この修理ガイドは変更されています。最新の未承認バージョンに切り替えます。
はじめに
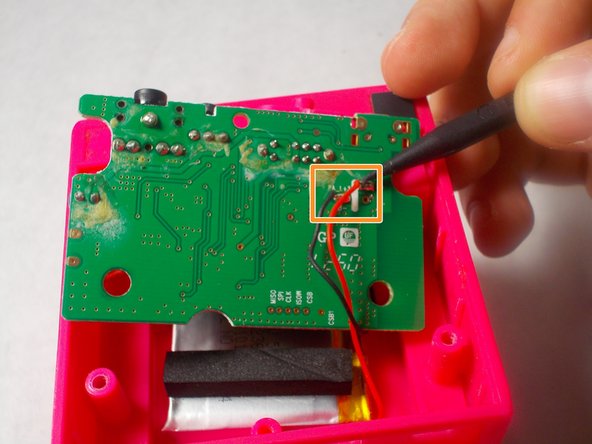
This guide will assist you in removing and replacing the main circuit board in the iBT16. This component houses all of the functional pieces of the device, and problems may arise if individual insignificant components or electrical connections between components on the board fail. Replacing the motherboard is often more practical than doing an in depth diagnosis and replacing the problem component.
必要な工具と部品
-
-
Using the Philips #00 Screwdriver, unscrew and remove the four 9mm black screws on the base plate of the device.
-
-
-
-
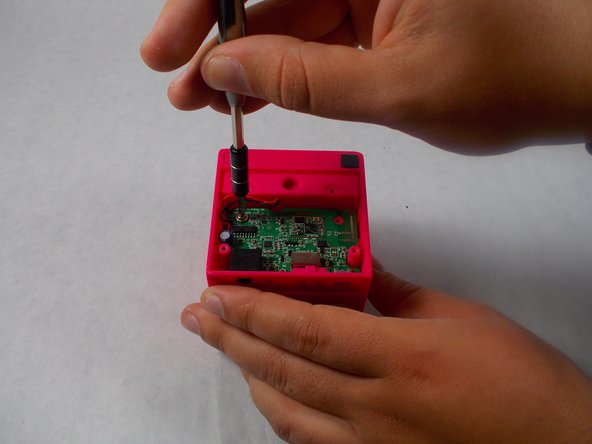
Unscrew the two 10mm silver phillips screws holding the motherboard in place on the inside of the device.
-
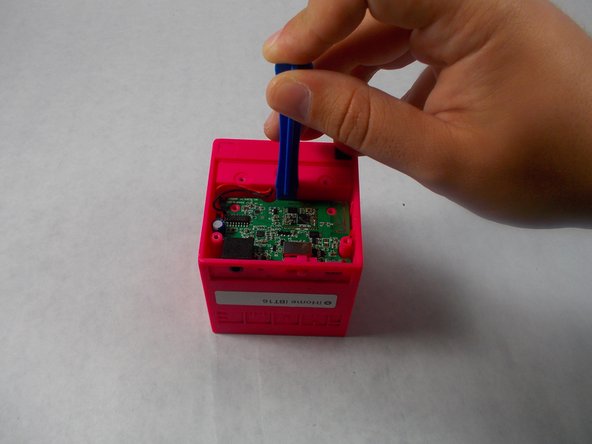
Use the plastic opening tool to pry the motherboard out of the device housing.
-


To reassemble your device, follow these instructions in reverse order.
To reassemble your device, follow these instructions in reverse order.
チーム

UMass Dartmouth, Team S8-G4, Valliere Spring 2018 UMass Dartmouth, Team S8-G4, Valliere Spring 2018人のメンバー
UMASSD-VALLIERE-S18S8G4
3 メンバー
6のガイドは作成済み