はじめに
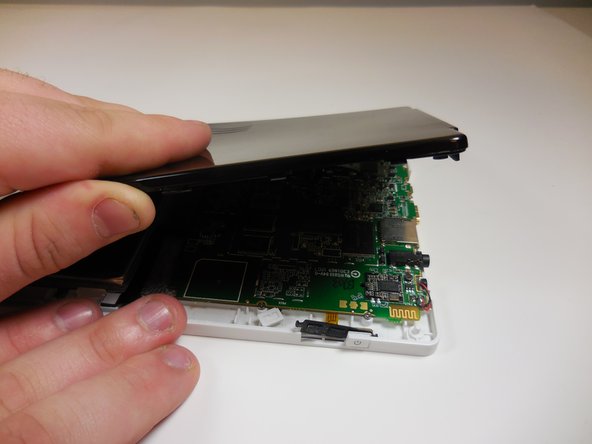
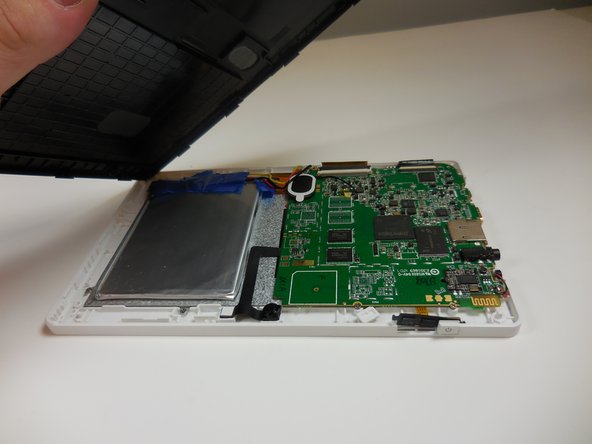
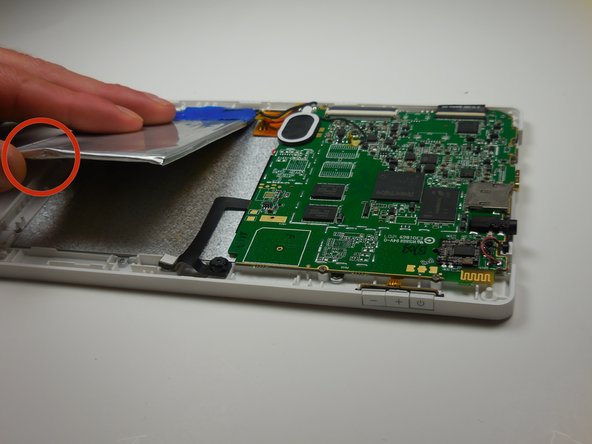
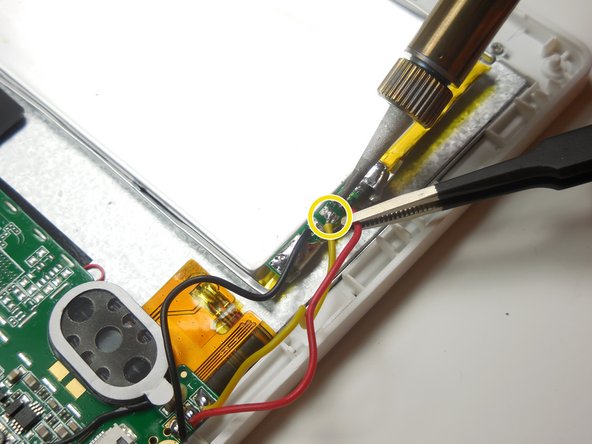
This simple task of replacing the battery will lengthen the lifespan of the charge on the iDeaUSA CT702.
必要な工具と部品


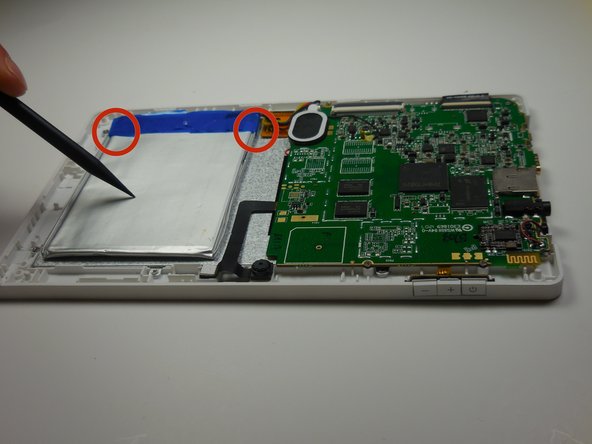
もう少しです!
To reassemble your device, Start from step 9 and work backwards.
終わりに
To reassemble your device, Start from step 9 and work backwards.
チーム

Colorado Springs, Team 4-7, Panko Spring 2015 Colorado Springs, Team 4-7, Panko Spring 2015人のメンバー
UCCS-PANKO-S15S4G7
3 メンバー
10のガイドは作成済み