この翻訳は、ソースガイドの最新の更新を反映していない可能性があります。 翻訳の更新に協力してください。 または ソースガイドを参照してください。
はじめに
このガイドを参照して、損傷したインバーター/AirPortケーブルを交換しましょう。
必要な工具と部品
-
この手順は未翻訳です。 翻訳を手伝う。
-
Use a pin (or anything you like) to remove the three rubber feet from the lower case.
-
-
-
この手順は未翻訳です。 翻訳を手伝う。
-
Remove the following 11 screws from the bottom of the computer:
-
Three 3 mm Phillips around the battery compartment. (Some models may only have two screws.)
-
Three 4.5 mm Phillips along the optical drive bezel. (a magnetic screwdriver may help to lift these screws out)
-
One 11 mm Phillips in the lower right corner. (if present)
-
Four 14.5 mm Phillips.
-
-
この手順は未翻訳です。 翻訳を手伝う。
-
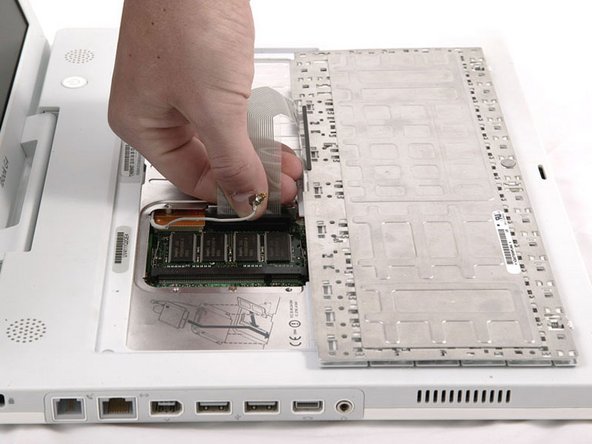
Lift the top shield up from the right side, minding the upper left corner, which may catch on the metal framework.
-
If your iBook has Bluetooth, as discussed in the previous step, you will need to slide the antenna through the lower I-shaped hole in the shield before completely removing the shield.
-
-
この手順は未翻訳です。 翻訳を手伝う。
-
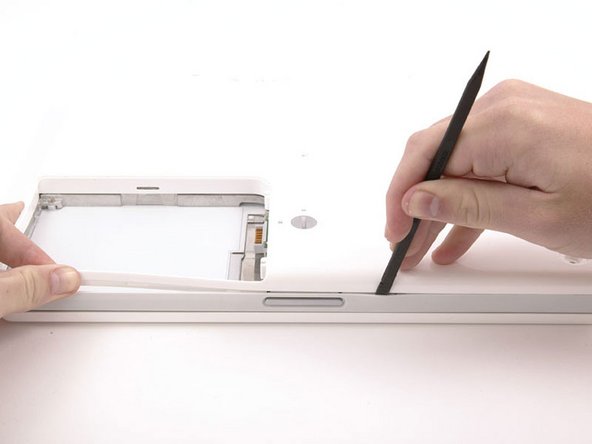
Remove the pieces of tape covering the display data and microphone cables near the bottom edge of the display.
-
-
この手順は未翻訳です。 翻訳を手伝う。
-
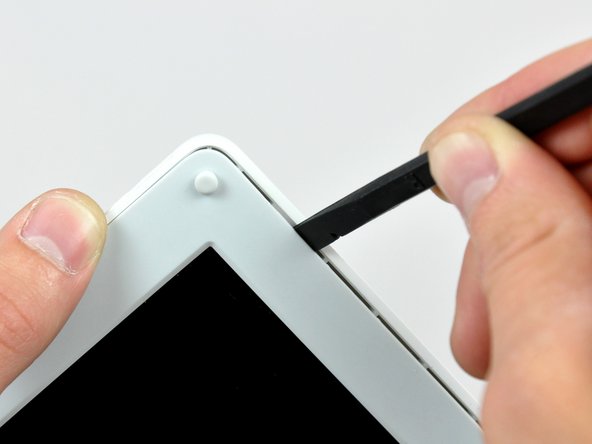
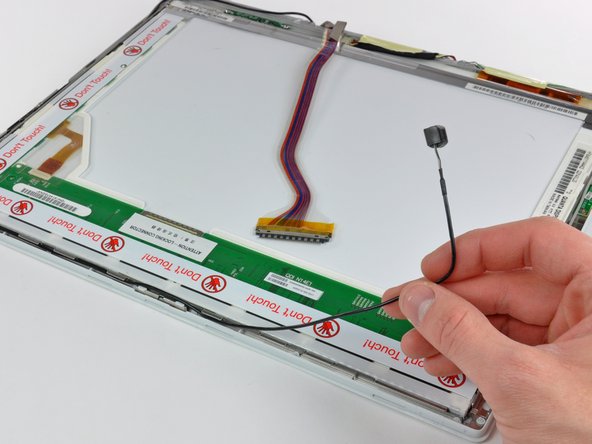
Remove the two pieces of tape covering the inverter/AirPort cables along the lower edge of the display.
-
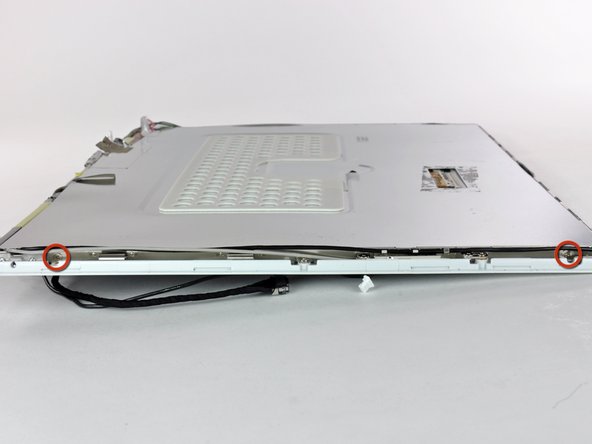
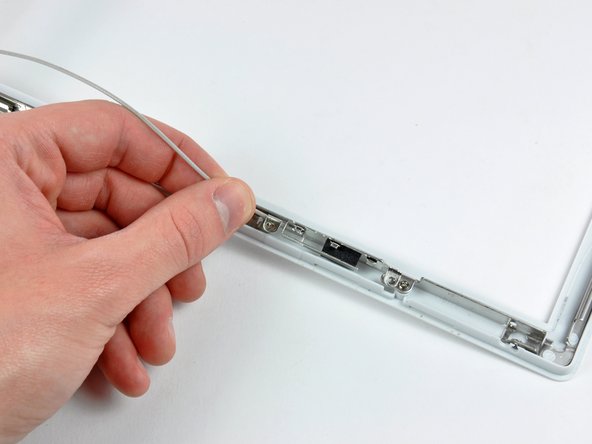
Carefully peel the inverter cable ground strap off the cast aluminum frame of the clutch hinges.
-


デバイスを再度組み立てるには、この説明書の逆の順番で組み立ててください。
デバイスを再度組み立てるには、この説明書の逆の順番で組み立ててください。
ある他の人がこのガイドを完成しました。
