メインコンテンツにスキップ

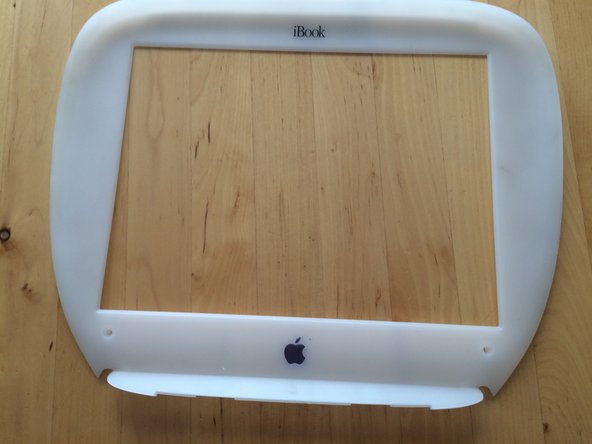
iBook G3 Clamshell LCD Bezel Replacement

必要な工具と部品

  1. iBook G3 Clamshell LCD Bezel Replacement, Battery Cover: 手順 1、 1の画像 1
    • Use a coin to unscrew the battery cover, and remove battery.

  2. iBook G3 Clamshell LCD Bezel Replacement, Back Cover: 手順 2、 2の画像 1 iBook G3 Clamshell LCD Bezel Replacement, Back Cover: 手順 2、 2の画像 2
    • Use a t8 Torx driver to unscrew the two screws holding in the back cover, then remove the cover.

  3. iBook G3 Clamshell LCD Bezel Replacement: 手順 3、 1の画像 1
    • Open the screen, and remove the two t8 Torx screws holding the bezel in place.

  4. iBook G3 Clamshell LCD Bezel Replacement: 手順 4、 2の画像 1 iBook G3 Clamshell LCD Bezel Replacement: 手順 4、 2の画像 2
    • Use a flat tip screw driver to unsnap the bezel from its place.

    • When at the top rubberized area, pry the bezel down.

終わりに

To reassemble your device, follow these instructions in reverse order.

ある他の人がこのガイドを完成しました。

作成者

1人の作成者と共同作成されました。

aidan

メンバー登録日: 02/26/16

101 ポイント

1ガイドが承認済み

0 件のコメント

コメントを追加

統計データ:

過去 24時間: 2

過去 7 日: 7

過去 30 日: 25

今までの合計 3,330