はじめに
Use this guide to replace a damaged cosmetic clutch cover.
必要な工具と部品
-
-
Use a coin to rotate the battery locking screw 90 degrees clockwise.
-
Lift the battery out of the computer.
-
-
-
Pull the keyboard release tabs toward you and lift up on the keyboard until it pops free.
-
If the keyboard does not come free, use a small flathead screwdriver to turn the keyboard locking screw 180 degrees in either direction and try again.
-
Flip the keyboard over, away from the screen, and rest it face-down on the trackpad area.
-
-
-
-
Remove the following 4 screws on the bottom of the computer:
-
Two 3 mm Phillips from the left side of the computer.
-
One 4.5 mm Phillips near the latch mechanism (this screw may be missing in 800 MHz iBooks)
-
One 14.2 mm Phillips near the front, right corner.
-
-
-
Remove the following 14 screws (some models may be missing a couple of screws):
-
One 2.5 mm Phillips.
-
Six 3.5 mm Phillips.
-
One 4.5 mm Phillips near the sleep light with a small shaft.
-
Two 4.5 mm Phillips with larger shafts.
-
Four 5 mm Phillips
-
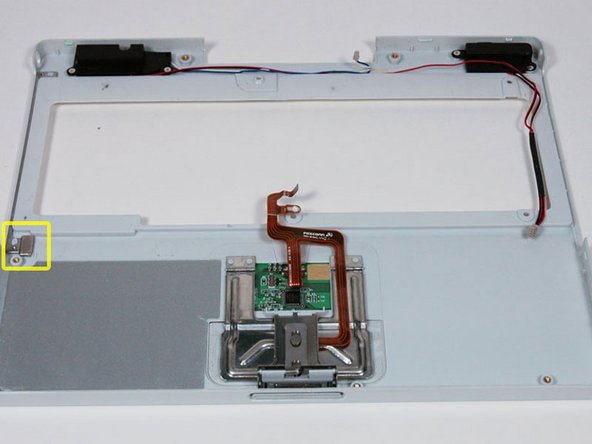
If a screw is inserted in the left hole, the 14.2 mm screw in step 24 can not be inserted to hold the top case down.
-
-
-
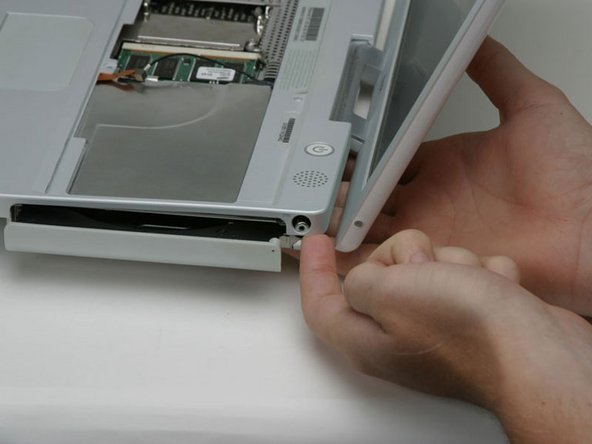
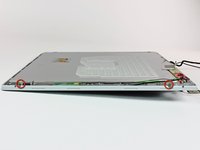
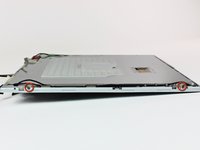
Use a 1.5mm hex screwdriver to remove the two hex screws on either side of the display (four screws total).
-
-
-
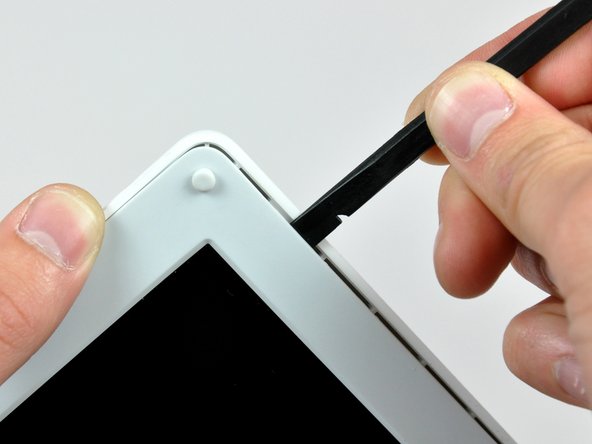
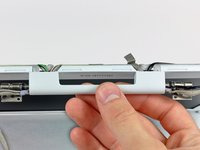
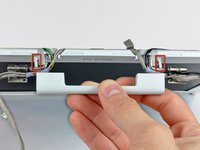
Remove the second of the two Phillips screws securing the clutch cover to the cast aluminum frame of the clutch hinges.
-
To reassemble your device, follow these instructions in reverse order.
To reassemble your device, follow these instructions in reverse order.
ある他の人がこのガイドを完成しました。
添付文書
1件のガイドコメント
On Mon, Apr 18, 2011 at 2:11 AM, Michael Vega <pslvega@gmail.com> wrote:
Yes, except 1 metal rod from end of clamp on bottom is on board, the others are
still on plastic clamp.
4/21/11 Clutch repair manual step 28/29 show exactly the part & area, does not appear to be soldered, just bonded with something?


