メインコンテンツにスキップ

Zune Flash 2nd Generation Communications Board Replacement

必要な工具と部品

  1. Zune Flash 2nd Generation Communications Board Replacement, Back Cover: 手順 1、 2の画像 1 Zune Flash 2nd Generation Communications Board Replacement, Back Cover: 手順 1、 2の画像 2
    • Prior to disassembly, verify the hold switch is engaged to ensure the device will not turn on during the procedure.

    • If the device turns on while it is being disassembled it could cause irreversible damage to the device.

    • PICS MAKE NO SENSE.

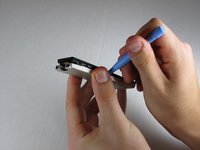
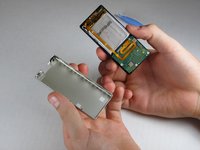
  2. Zune Flash 2nd Generation Communications Board Replacement: 手順 2、 2の画像 1 Zune Flash 2nd Generation Communications Board Replacement: 手順 2、 2の画像 2
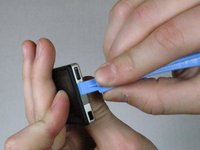
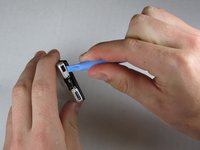
    • Remove the top metal clip by inserting a Zune opening tool in between the faceplate and back cover and pulling gently back as shown in the images.

    • You should hear a 'click' as the clip detaches from the device.

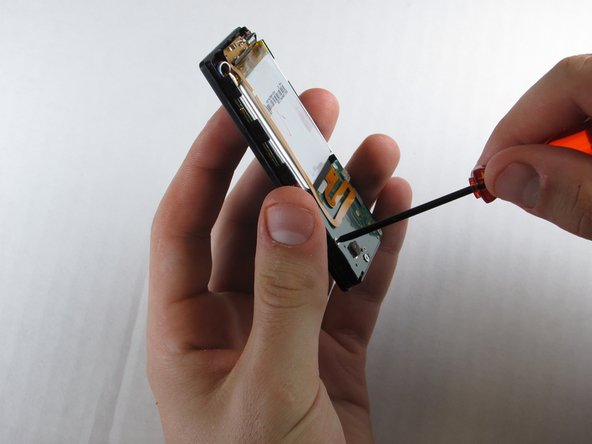
  3. Zune Flash 2nd Generation Communications Board Replacement: 手順 3、 1の画像 1
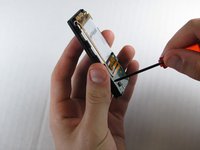
    • Remove the two screws shown using a Y00 Tri-Wing screwdriver.

  4. Zune Flash 2nd Generation Communications Board Replacement: 手順 4、 3の画像 1 Zune Flash 2nd Generation Communications Board Replacement: 手順 4、 3の画像 2 Zune Flash 2nd Generation Communications Board Replacement: 手順 4、 3の画像 3
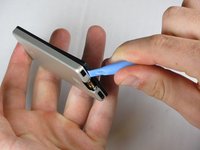
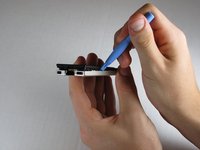
    • Insert the Zune opening tool between the faceplate and the back cover, starting from the top and slowly work your way around the device.

  5. Zune Flash 2nd Generation Communications Board Replacement: 手順 5、 3の画像 1 Zune Flash 2nd Generation Communications Board Replacement: 手順 5、 3の画像 2 Zune Flash 2nd Generation Communications Board Replacement: 手順 5、 3の画像 3
    • Work your way around the Zune until the back cover comes free. Remove the back plate and set it aside.

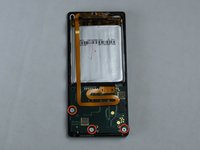
  6. Zune Flash 2nd Generation Communications Board Replacement, Communications Board: 手順 6、 2の画像 1 Zune Flash 2nd Generation Communications Board Replacement, Communications Board: 手順 6、 2の画像 2
    • Remove the three screws (5.5mm by 3mm) from the backside of the Zune using a small Tri-Wing screwdriver.

  7. Zune Flash 2nd Generation Communications Board Replacement: 手順 7、 2の画像 1 Zune Flash 2nd Generation Communications Board Replacement: 手順 7、 2の画像 2
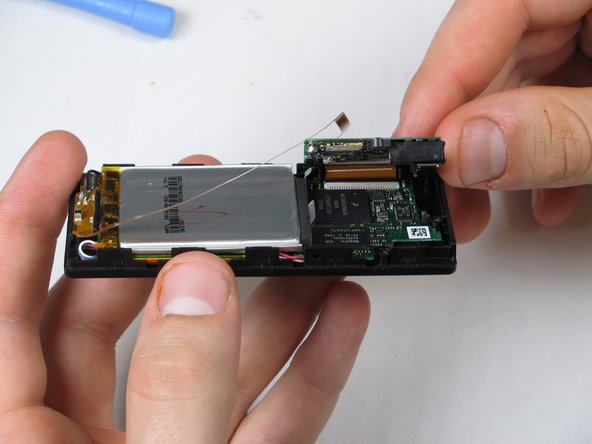
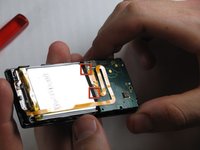
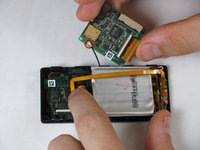
    • Use your finger to pry back the two clear flaps.

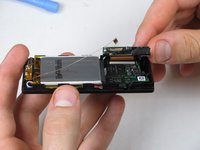
    • Slowly lift the communications board that was held down by the clear flaps.

    • Be careful not to accidentally detach the slim ribbon that connects between the communications board and the device.

  8. Zune Flash 2nd Generation Communications Board Replacement: 手順 8、 1の画像 1
    • Disconnect the ribbon cable with the Zune opening tool by flipping up the black plastic flap where the ribbon cable connects to the memory board.

    • Pull the ribbon cable out of the memory board.

  9. Zune Flash 2nd Generation Communications Board Replacement: 手順 9、 1の画像 1
    • Peal the slim ribbon cable off the communications board using your fingers.

    • This slim ribbon is attached using an adhesive, so it cannot be reattached without more adhesive.

  10. Zune Flash 2nd Generation Communications Board Replacement: 手順 10、 2の画像 1 Zune Flash 2nd Generation Communications Board Replacement: 手順 10、 2の画像 2
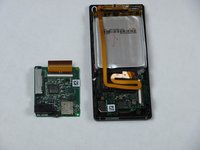
    • Pull the cable connector straight up using your fingers.

    • Communications board remains.

終わりに

To reassemble your device, follow these instructions in reverse order.

3 の人々がこのガイドを完成させました。

作成者

6人の作成者と共同で作成されました。

ybahman

メンバー登録日: 11/01/09

139 ポイント

4のガイドは作成済み

チーム

Cal Poly, Team 9-20, Regan Fall 2009 Cal Poly, Team 9-20, Regan Fall 2009人のメンバー

CPSU-REGAN-F09S9G20

5 メンバー

7のガイドは作成済み

0 件のコメント

コメントを追加

統計データ:

過去 24時間: 0

過去 7 日: 0

過去 30 日: 4

今までの合計 3,503