メインコンテンツにスキップ

Zotac GTX 1080 Ti Mini Fans Replacement

必要な工具と部品

  1. Zotac GTX 1080 Ti Mini Fans Replacement, Zotac GTX 1080 Ti Mini Fans: 手順 1、 2の画像 1 Zotac GTX 1080 Ti Mini Fans Replacement, Zotac GTX 1080 Ti Mini Fans: 手順 1、 2の画像 2
    • Be sure to properly ground yourself with an anti-static wristband before working on the graphics card.

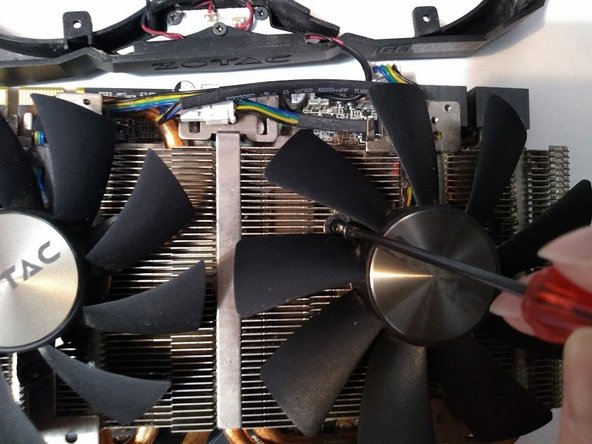
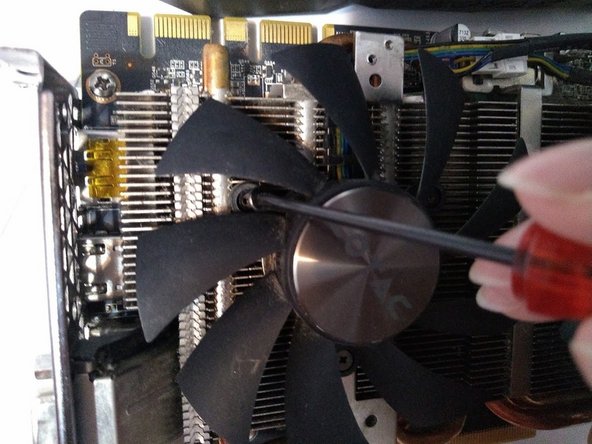
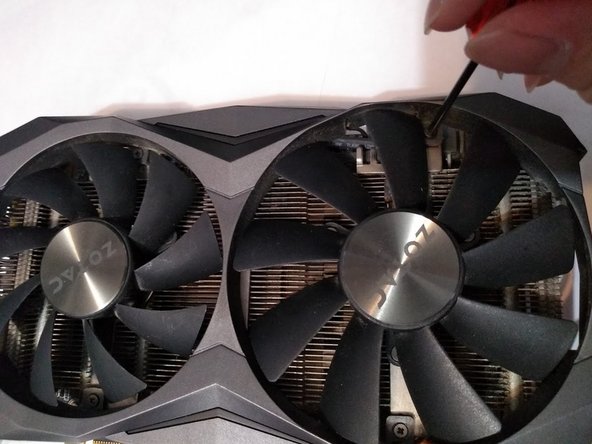
    • Use a Phillips #0 screwdriver to remove the two 4mm screws from the right side of the shroud.

  2. Zotac GTX 1080 Ti Mini Fans Replacement: 手順 2、 2の画像 1 Zotac GTX 1080 Ti Mini Fans Replacement: 手順 2、 2の画像 2
    • Use a Phillips #0 screwdriver to remove the two 4mm screws from the left side of the shroud.

  3. Zotac GTX 1080 Ti Mini Fans Replacement: 手順 3、 2の画像 1 Zotac GTX 1080 Ti Mini Fans Replacement: 手順 3、 2の画像 2
    • Look for the fan header located beside the 16-pin power connector.

    • Gently pry the fan connector apart from the header with a flathead screwdriver.

  4. Zotac GTX 1080 Ti Mini Fans Replacement: 手順 4、 2の画像 1 Zotac GTX 1080 Ti Mini Fans Replacement: 手順 4、 2の画像 2
    • Slowly and carefully lift the shroud off the heatsink.

    • During this step, make sure not to damage the LED connector that is still connecting the shroud to the PCB.

    • Flip the shroud along the top of the graphics card.

  5. Zotac GTX 1080 Ti Mini Fans Replacement: 手順 5、 3の画像 1 Zotac GTX 1080 Ti Mini Fans Replacement: 手順 5、 3の画像 2 Zotac GTX 1080 Ti Mini Fans Replacement: 手順 5、 3の画像 3
    • Remove the three 3 mm Phillips screws holding the fans to the heatsink with a Phillips #0 screwdriver.

    • Remove the broken fans.

  6. Zotac GTX 1080 Ti Mini Fans Replacement: 手順 6、 3の画像 1 Zotac GTX 1080 Ti Mini Fans Replacement: 手順 6、 3の画像 2 Zotac GTX 1080 Ti Mini Fans Replacement: 手順 6、 3の画像 3
    • Place the replacement fan on top of the heatsink with the screw holes aligned.

    • Screw the fans into place using a Phillips #0 screwdriver.

  7. Zotac GTX 1080 Ti Mini Fans Replacement: 手順 7、 1の画像 1
    • Reconnect the fan connector to its header.

  8. Zotac GTX 1080 Ti Mini Fans Replacement: 手順 8、 3の画像 1 Zotac GTX 1080 Ti Mini Fans Replacement: 手順 8、 3の画像 2 Zotac GTX 1080 Ti Mini Fans Replacement: 手順 8、 3の画像 3
    • Place the shroud back over the heatsink and screw it back into place using a Phillips #0 screwdriver.

終わりに

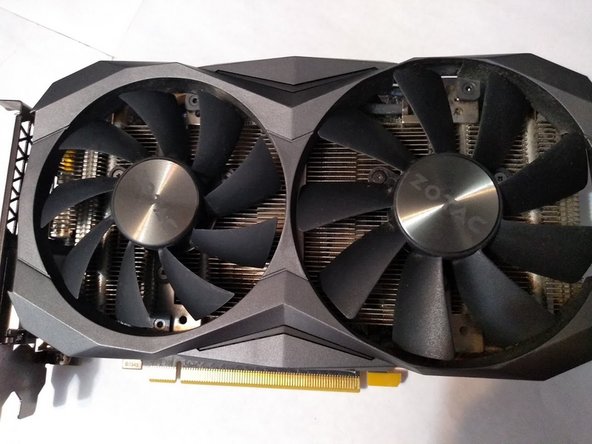
Hopefully, your graphics card is fully replaced and completely working now.

ある他の人がこのガイドを完成しました。

作成者

3人の作成者と共同で作成されました。

Victor Pan

メンバー登録日: 01/27/21

175 ポイント

1ガイドが承認済み

チーム

York University, Team S16-G7, Turner Winter 2021 York University, Team S16-G7, Turner Winter 2021人のメンバー

YORK-TURNER-W21S16G7

3 メンバー

2のガイドは作成済み

コメント 1 件

Do you know what size (diameter and thread) the 4mm and 3mm screws are?

cchagadorn - 返信

コメントを追加

統計データ:

過去 24時間: 5

過去 7 日: 19

過去 30 日: 71

今までの合計 4,690