はじめに
The following guide will provide instructions on how to repair a SPM Vent Kit in a Zoll Impact Uni-Vent 731. This is a useful guide if there are any damages to the SPM Vent Kit and it needs to be replaced.
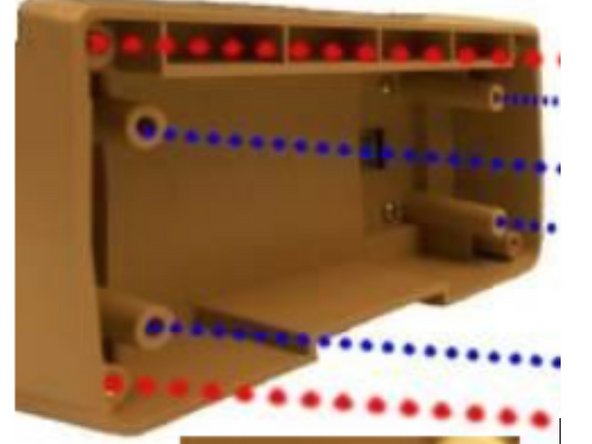
For more information on replacing the SPM Vent kit, please refer to page 21 in the service manual.
必要な工具と部品


To reassemble your device, follow these instructions in reverse order.
To reassemble your device, follow these instructions in reverse order.
ある他の人がこのガイドを完成しました。

チーム

Cal Poly, Team S1-G5, Zimmerman Spring 2020 Cal Poly, Team S1-G5, Zimmerman Spring 2020人のメンバー
CPSU-ZIMMERMAN-S20S1G5
5 メンバー
5のガイドは作成済み