この修理ガイドは変更されています。最新の未承認バージョンに切り替えます。
はじめに
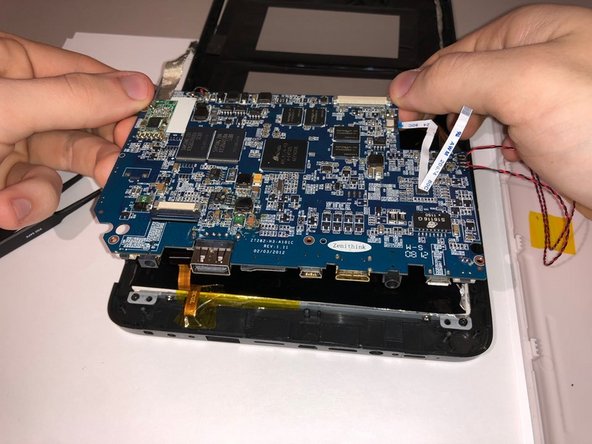
In the process of disconnecting the motherboard you will begin with taking off 4 screws with a phillips screwdriver. Once that is done you should be careful with disconnecting all the cables connected to the board, making sure you don't tear any of the wires.
必要な工具と部品
-
-
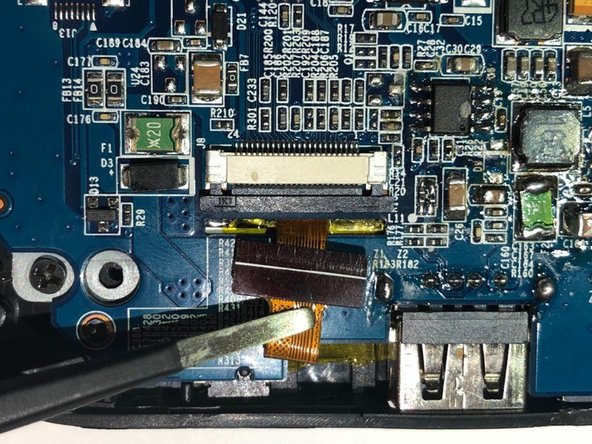
Peel back the touch interface chip (which is on the top right of the motherboard, covered in yellow tape.)
-
-


To reassemble your device, follow these instructions in reverse order.
To reassemble your device, follow these instructions in reverse order.
2 の人々がこのガイドを完成させました。
チーム

University of North Texas, Team S6-G1, Thompson Fall 2018 University of North Texas, Team S6-G1, Thompson Fall 2018人のメンバー
UNT-THOMPSON-F18S6G1
3 メンバー
5のガイドは作成済み