メインコンテンツにスキップ

Zeepad 7DRK Power and Volume Button Replacement

必要な工具と部品

  1. Zeepad 7DRK Power and Volume Button  Replacement, Power and Volume Buttons: 手順 1、 1の画像 1
    • First find the power and volume buttons so that you are familiar with their location.

    • The smaller button is the power button and the larger button is the volume button.

  2. Zeepad 7DRK Power and Volume Button  Replacement: 手順 2、 2の画像 1 Zeepad 7DRK Power and Volume Button  Replacement: 手順 2、 2の画像 2
    • To open the tablet, use one of the soft-tip prying tools.

    • It is easiest to start by using the corner of the tool first and sliding the rest in. Then carefully move the tool around the edges of the tablet until it separates.

  3. Zeepad 7DRK Power and Volume Button  Replacement: 手順 3、 1の画像 1
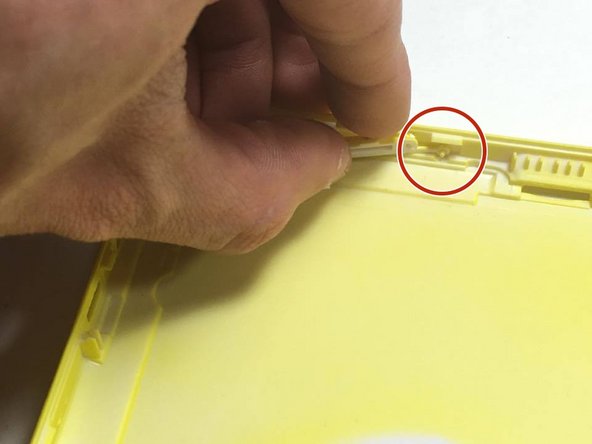
    • Be careful of how you open the tablet, as the button will want to fall out. Try opening it flat on its back to avoid this problem.

    • This is what the tablet looks like when pried apart.

  4. Zeepad 7DRK Power and Volume Button  Replacement: 手順 4、 2の画像 1 Zeepad 7DRK Power and Volume Button  Replacement: 手順 4、 2の画像 2
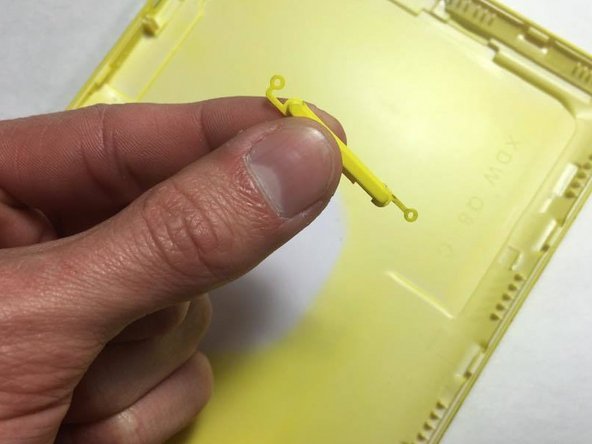
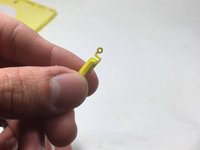
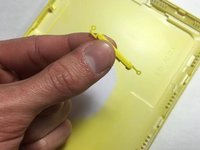
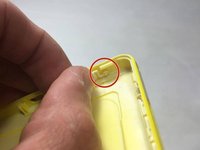
    • In the first picture you will see the power button. Notice the small plastic ring that sticks out the side, this is so the piece can be positioned easily when you put it back together.

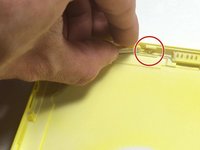
    • In the second picture, the volume control button is shown. Again notice the small locator rings.

  5. Zeepad 7DRK Power and Volume Button  Replacement: 手順 5、 2の画像 1 Zeepad 7DRK Power and Volume Button  Replacement: 手順 5、 2の画像 2
    • Now remove the old or broken buttons, and replace them.

終わりに

To reassemble your device, follow these instructions in reverse order.

ある他の人がこのガイドを完成しました。

作成者

5人の作成者と共同で作成されました。

Trevor Taylor

メンバー登録日: 10/20/16

234 ポイント

2のガイドは作成済み

チーム

UMass Dartmouth, Team 6-8, Martin Fall 2016 UMass Dartmouth, Team 6-8, Martin Fall 2016人のメンバー

UMASSD-MARTIN-F16S6G8

3 メンバー

10のガイドは作成済み

0 件のコメント

コメントを追加

統計データ:

過去 24時間: 0

過去 7 日: 3

過去 30 日: 6

今までの合計 341