メインコンテンツにスキップ

ZCWA BR151 Wheel Replacement

必要な工具と部品

  1. ZCWA BR151 Wheel Replacement, Water Tank: 手順 1、 1の画像 1
    • Turn off the device.

  2. ZCWA BR151 Wheel Replacement: 手順 2、 2の画像 1 ZCWA BR151 Wheel Replacement: 手順 2、 2の画像 2
    • Remove the water tank by sliding the latch down with a finger and grasping the bottom of the water tank.

    • Pull it out.

  3. ZCWA BR151 Wheel Replacement, Wheel: 手順 3、 2の画像 1 ZCWA BR151 Wheel Replacement, Wheel: 手順 3、 2の画像 2
    • Flip the device over to access the bottom panel.

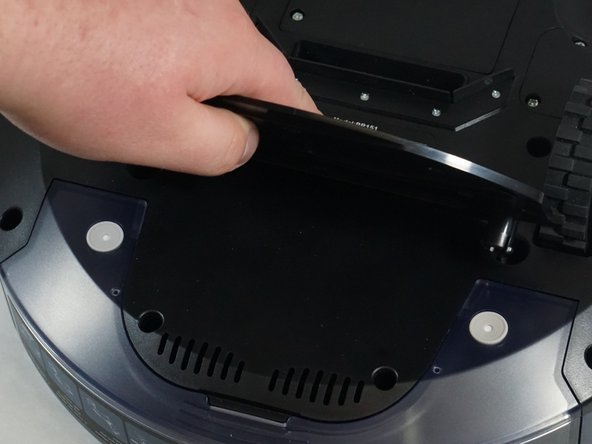
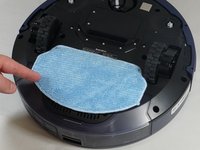
    • Remove the cloth mop covering by lifting it from the velcro on the plastic mop attachment.

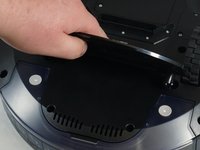
    • Remove the plastic mop attachment by placing your fingers underneath and prying it up.

  4. ZCWA BR151 Wheel Replacement: 手順 4、 1の画像 1
    • Remove the six 6 mm screws on the bumper guards using a Phillips #0 screwdriver.

    • Remove the bumper guards by lifting them.

  5. ZCWA BR151 Wheel Replacement: 手順 5、 1の画像 1
    • Use a Phillips #1 screwdriver to remove the ten 10 mm screws from the bottom plate.

  6. ZCWA BR151 Wheel Replacement: 手順 6、 1の画像 1
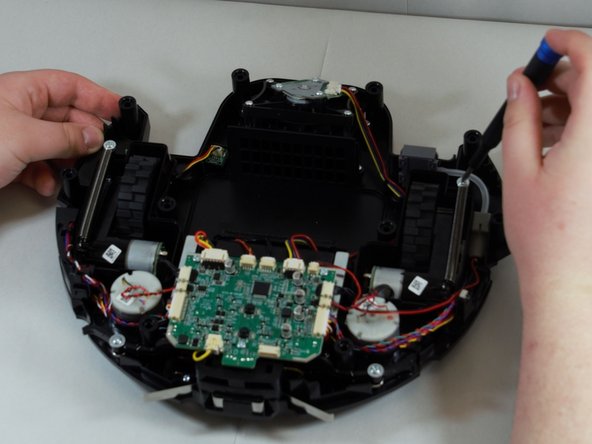
    • Use a Phillips #1 screwdriver to remove three 8 mm screws from the wheel plate.

  7. ZCWA BR151 Wheel Replacement: 手順 7、 2の画像 1 ZCWA BR151 Wheel Replacement: 手順 7、 2の画像 2
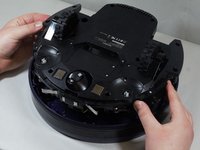
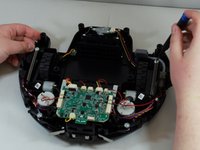
    • Carefully lift the bottom panel off of the top.

    • The top and bottom panels are attached by a set of wires. They will not fully detach at this point.

    • Gently place the bottom of the device on your workspace surface, wheels down, exposing the inner workings of the device.

  8. ZCWA BR151 Wheel Replacement: 手順 8、 1の画像 1
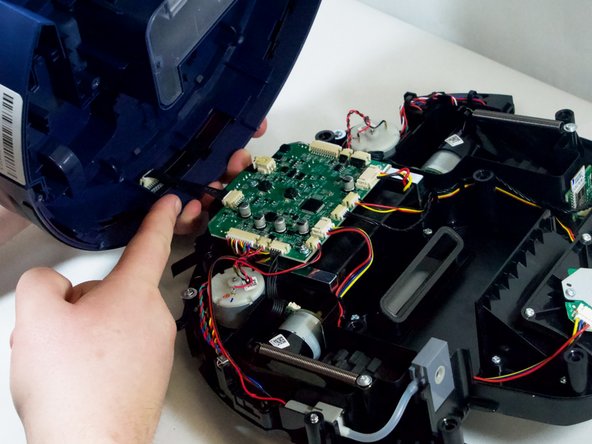
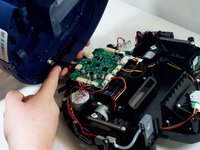
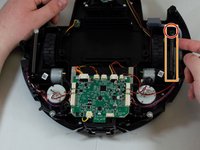
    • Though optional, we recommend separating the top and bottom panels for easy access to the wheels.

    • Pinch the wire bracket that is on the top panel while pulling the bracket away.

    • Pull the cable away from the connector in the same direction as the individual wires are running.

    • Pull evenly on the full width of the cable so that no individual wires are overly strained.

  9. ZCWA BR151 Wheel Replacement: 手順 9、 3の画像 1 ZCWA BR151 Wheel Replacement: 手順 9、 3の画像 2 ZCWA BR151 Wheel Replacement: 手順 9、 3の画像 3
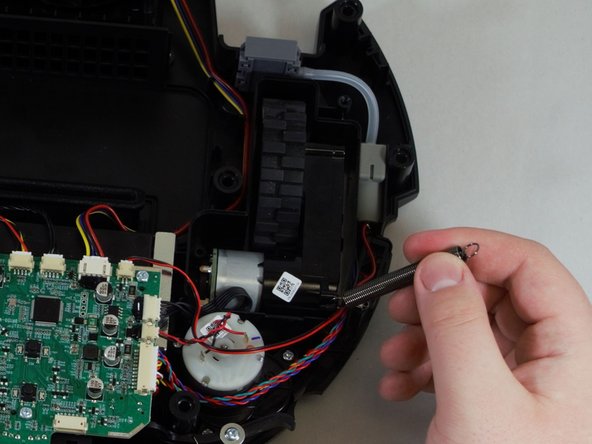
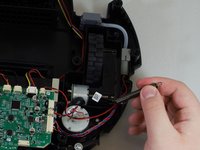
    • Using a Phillips #1 screwdriver, remove the single screw to the spring.

    • Once the spring is unscrewed, slowly pull it towards you, then to the left of the spring bracket to free the spring.

  10. ZCWA BR151 Wheel Replacement: 手順 10、 2の画像 1 ZCWA BR151 Wheel Replacement: 手順 10、 2の画像 2
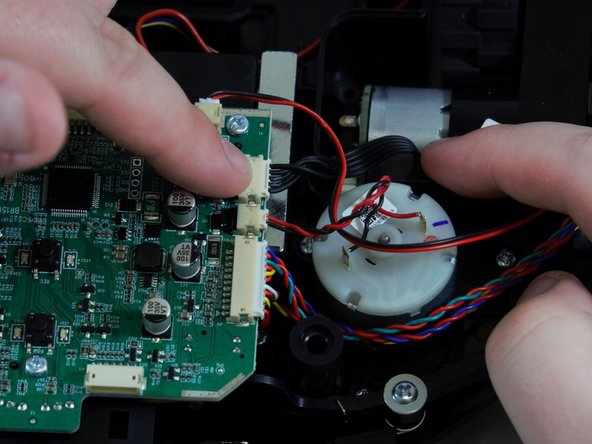
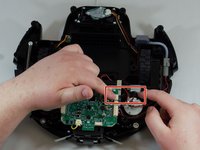
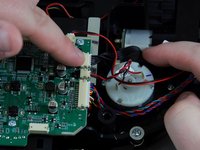
    • The wheel's motor is still attached to the motherboard of the device. Locate the wheel's wiring and the port connector on the motherboard.

    • Pinch the silver brackets and pull the wire casing away from the motherboard.

    • Pull evenly on the full width of the cable so that no individual wires are overly strained.

    • Remove the wheel from the vacuum.

    • Repeat Steps 6-10 to replace the wheel on the opposite side.

終わりに

To reassemble your device, follow these instructions in reverse order.

ある他の人がこのガイドを完成しました。

作成者

3人の作成者と共同で作成されました。

Gavin H. Stackhouse

メンバー登録日: 01/31/24

351 ポイント

2のガイドは作成済み

チーム

Tennessee Tech University, Team 1-1, Pickering Spring 2024 Tennessee Tech University, Team 1-1, Pickering Spring 2024人のメンバー

TNTECH-PICKERING-S24S1G1

4 メンバー

6のガイドは作成済み

0 件のコメント

コメントを追加

統計データ:

過去 24時間: 0

過去 7 日: 5

過去 30 日: 23

今までの合計 98