メインコンテンツにスキップ

Yuneec ST10 Plus Screen Replacement

必要な工具と部品

  1. Yuneec ST10 Plus Screen Replacement, Battery: 手順 1、 1の画像 1
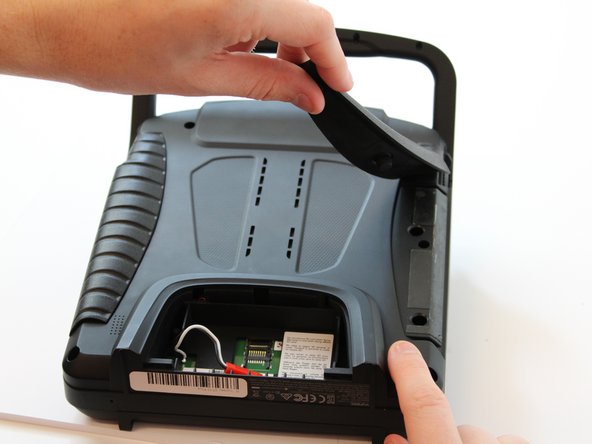
    • Flip the controller upside down to access the battery compartment.

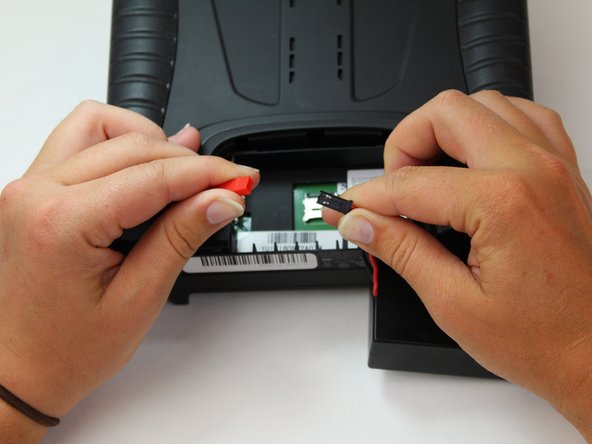
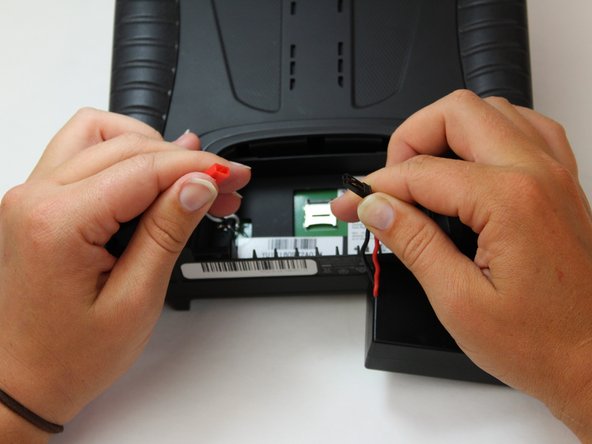
    • Grab the compartment door and pull down.

  2. Yuneec ST10 Plus Screen Replacement: 手順 2、 1の画像 1
    • Gently lift the blue tab connected to the battery in order to remove the battery from its housing.

  3. Yuneec ST10 Plus Screen Replacement: 手順 3、 3の画像 1 Yuneec ST10 Plus Screen Replacement: 手順 3、 3の画像 2 Yuneec ST10 Plus Screen Replacement: 手順 3、 3の画像 3
    • To disconnect the battery from the remote, grab the red and black connectors.

    • Pull gently on connectors until they disconnect.

  4. Yuneec ST10 Plus Screen Replacement, Screen: 手順 4、 2の画像 1 Yuneec ST10 Plus Screen Replacement, Screen: 手順 4、 2の画像 2
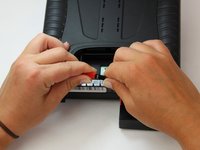
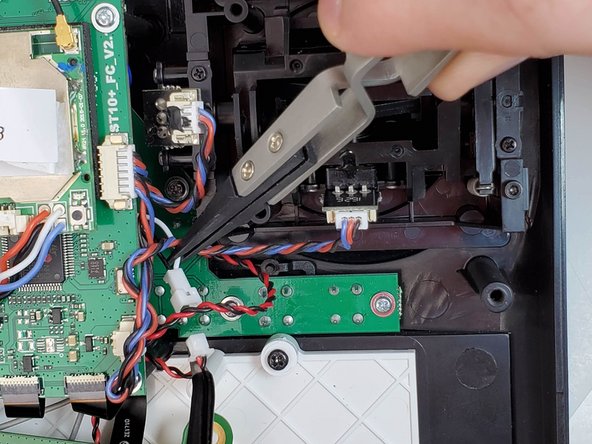
    • Slide the Jimmy underneath the rubber grips and pry upwards.

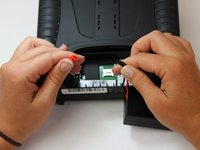
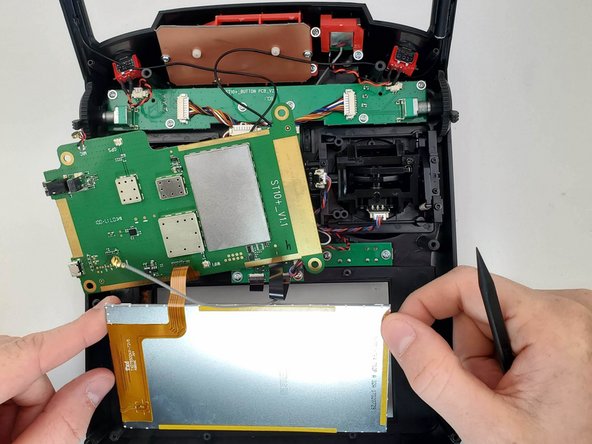
    • With your free hand grasp the rubber grips and pull upward to remove it.

  5. Yuneec ST10 Plus Screen Replacement: 手順 5、 1の画像 1
    • Remove the six 1.3 cm screws located on the back panel of the remote using the 5.5mm hex screw bit.

  6. Yuneec ST10 Plus Screen Replacement: 手順 6、 1の画像 1
    • Remove the four 6mm screws from the handle using the 4mm hex driver bit.

  7. Yuneec ST10 Plus Screen Replacement: 手順 7、 2の画像 1 Yuneec ST10 Plus Screen Replacement: 手順 7、 2の画像 2
    • Carefully pull up and over on the back panel to remove. Take your time because there are wires connecting the two panels that can easily be torn.

  8. Yuneec ST10 Plus Screen Replacement: 手順 8、 1の画像 1
    • Take a Phillips #0 screwdriver to unscrew the three 5mm screws on the screen circuit board.

  9. Yuneec ST10 Plus Screen Replacement: 手順 9、 1の画像 1
    • Take the flat end of the spudger and place it under the white lock on the ribbon cable's ZIF connector. Then lift it up on the white lock to allow the ribbon cable to be removed.

  10. Yuneec ST10 Plus Screen Replacement: 手順 10、 2の画像 1 Yuneec ST10 Plus Screen Replacement: 手順 10、 2の画像 2
    • Gently pry up the black tape on the center ribbon connector

    • On the ribbon connector is a black lock located on top of the connector closest to the ribbon.

    • To unlock, use the spudger's pointed end to place under the lock and lift up.

    • Remove the ribbon cable.

  11. Yuneec ST10 Plus Screen Replacement: 手順 11、 1の画像 1
    • Carefully disconnect the two wires connected underneath the screen motherboard with the plastic spudger.

  12. Yuneec ST10 Plus Screen Replacement: 手順 12、 1の画像 1
    • Using the Phillips #0 screw driver, remove the four 6mm screws holding the screen fan plate on.

  13. Yuneec ST10 Plus Screen Replacement: 手順 13、 2の画像 1 Yuneec ST10 Plus Screen Replacement: 手順 13、 2の画像 2
    • Using the tweezers, disconnect your screen connection wires.

  14. Yuneec ST10 Plus Screen Replacement: 手順 14、 2の画像 1 Yuneec ST10 Plus Screen Replacement: 手順 14、 2の画像 2
    • Using too much force will destroy screen plate.

    • There is a location on the upper right hand corner, where you can use the spudger to gently pry the screen up.

    • Remove the screen.

終わりに

To reassemble your device, follow these instructions in reverse order.

ある他の人がこのガイドを完成しました。

作成者

4人の作成者と共同で作成されました。

Joshua Collins

メンバー登録日: 01/27/20

586 ポイント

4のガイドは作成済み

0 件のコメント

コメントを追加

統計データ:

過去 24時間: 1

過去 7 日: 3

過去 30 日: 8

今までの合計 174