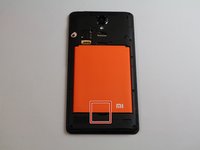
メインコンテンツにスキップ

Xiaomi Redmi Note Front-Facing Camera Replacement

必要な工具と部品

  1. Xiaomi Redmi Note Front-Facing Camera Replacement, Battery: 手順 1、 1の画像 1
    • Make sure the Xiaomi Redmi Note is powered off before removing the battery.

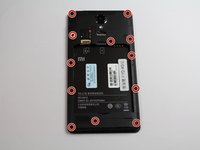
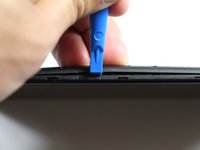
    • Insert the plastic opening tool between the charging port and the rear case.

    • Pry the end of the rear case up from the charging port.

  2. Xiaomi Redmi Note Front-Facing Camera Replacement: 手順 2、 2の画像 1 Xiaomi Redmi Note Front-Facing Camera Replacement: 手順 2、 2の画像 2
    • Run the plastic opening tool along the seam on the side of the phone to remove the rear casing.

  3. Xiaomi Redmi Note Front-Facing Camera Replacement: 手順 3、 2の画像 1 Xiaomi Redmi Note Front-Facing Camera Replacement: 手順 3、 2の画像 2
    • Locate the indentation at the bottom of the battery.

    • Place a finger in the indentation and lift up to remove the battery.

  4. Xiaomi Redmi Note Front-Facing Camera Replacement, Midframe: 手順 4、 2の画像 1 Xiaomi Redmi Note Front-Facing Camera Replacement, Midframe: 手順 4、 2の画像 2
    • Remove twelve 3.5mm Phillips #00 screws from the midframe.

  5. Xiaomi Redmi Note Front-Facing Camera Replacement: 手順 5、 2の画像 1 Xiaomi Redmi Note Front-Facing Camera Replacement: 手順 5、 2の画像 2
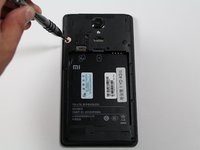
    • Insert a plastic opening into the seam between the midframe and the bottom frame of the phone.

    • Run the plastic opening tool along the seam.

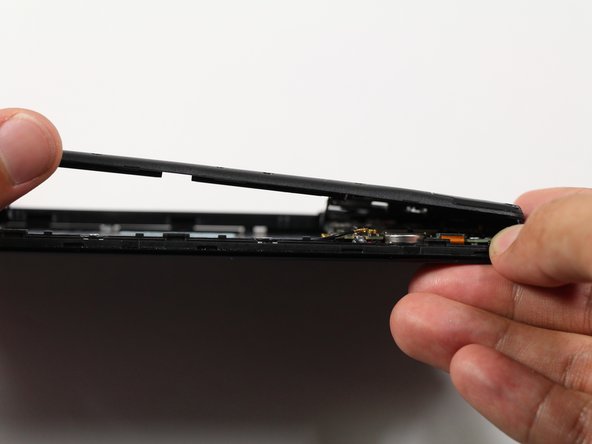
    • Pry up the midframe with the plastic opening tool.

    • Once the midframe has been sufficiently lifted with the tool, place a hand underneath the edge to lift the entire component out of the frame.

    • There will be snapping sounds as the clips on the midframe disconnect from the phone.

  6. Xiaomi Redmi Note Front-Facing Camera Replacement, Front-Facing Camera: 手順 6、 3の画像 1 Xiaomi Redmi Note Front-Facing Camera Replacement, Front-Facing Camera: 手順 6、 3の画像 2 Xiaomi Redmi Note Front-Facing Camera Replacement, Front-Facing Camera: 手順 6、 3の画像 3
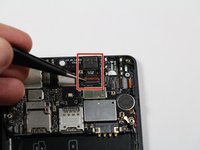
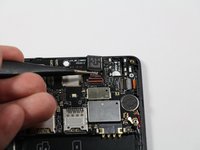
    • Use tweezers to lift the retaining flap of the zero insertion force (ZIF) connector to the upright position.

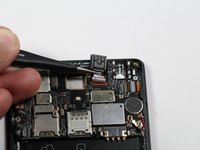
    • Use tweezers to pull the ribbon cable out of the ZIF connector.

    • Remove the front-facing camera from the motherboard.

終わりに

To reassemble your device, follow these instructions in reverse order.

2 の人々がこのガイドを完成させました。

作成者

2人の作成者と共同で作成されました。

Caitlin Settles

メンバー登録日: 04/26/17

738 ポイント

2のガイドは作成済み

チーム

Cal Poly, Team S22-G4, Livingston Spring 2017 Cal Poly, Team S22-G4, Livingston Spring 2017人のメンバー

CPSU-LIVINGSTON-S17S22G4

4 メンバー

16のガイドは作成済み

0 件のコメント

コメントを追加

統計データ:

過去 24時間: 1

過去 7 日: 3

過去 30 日: 11

今までの合計 1,372