はじめに
Use this guide to replace your Xiaomi Mi Note's screen display.
必要な工具と部品
-
-
Locate the hole for the Dual SIM SD card on the left side of the phone.
 FixBotに聞いてみる
-
-
-
Use the Dual SIM SD card removal tool (or use a paper clip) and insert it into the slot hole until the tray pops out.
-
-
-
Use your suction cup to grip the back of the phone. Once the suction cup is secure, pull back with moderate force and the back plate should snap free.
-
-
-
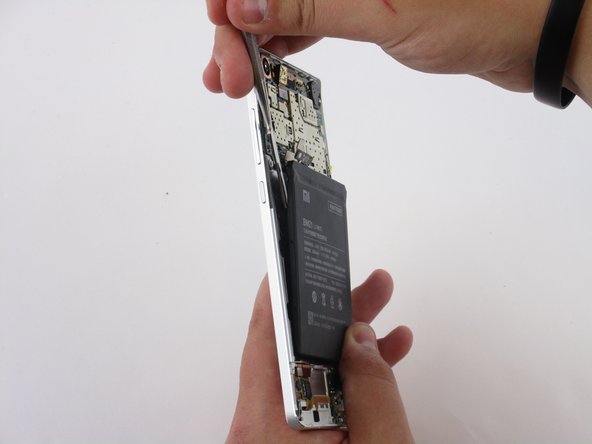
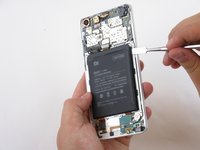
Once the back plate is off you will need to detach the frames that hold in the battery. Locate and remove the screws (Screws are marked in the image). You can then pull the frame off with ease once the screws have been removed.
-
Remove the six 3.5mm Phillips #000 black screws using a securing part of the back panels.
-
Remove the seven 2.5mm Phillips #000 black screws securing part of the back panels.
-
Remove the five 2mm Phillips #000 silver screws securing the remaining back panels.
-
-
-
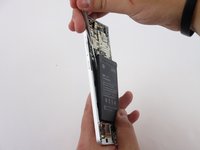
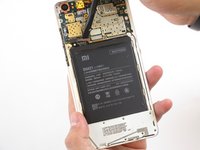
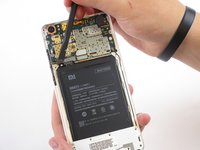
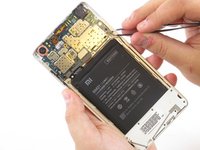
Use a nylon spudger to pry upwards to detach the ribbon that's connecting the battery to the motherboard.
-
-
-
-
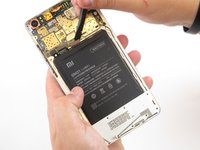
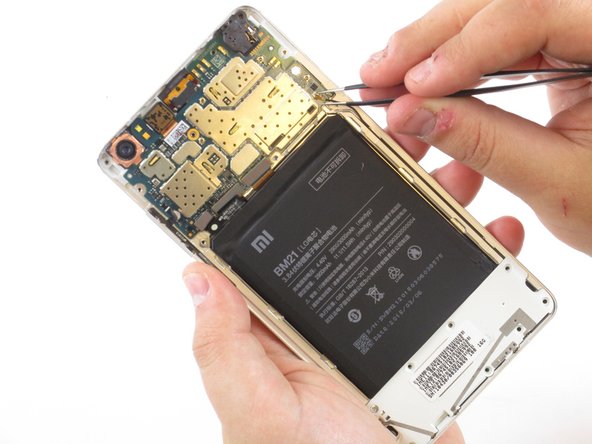
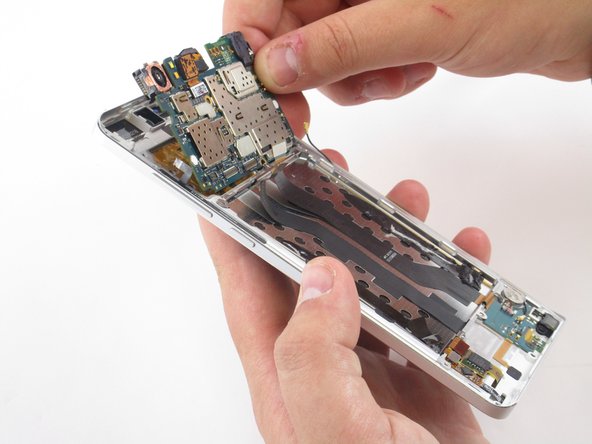
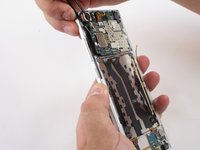
Insert a nylon or metal spudger underneath the battery at any point. Then slide the spudger around all the edges to loosen it. The battery can now be easily lifted out of the frame.
-
-
-
Use a spudger to detach the ribbons connected to the motherboard using an upward prying motion.
-
-
この手順で使用する道具:Tweezers$4.99
-
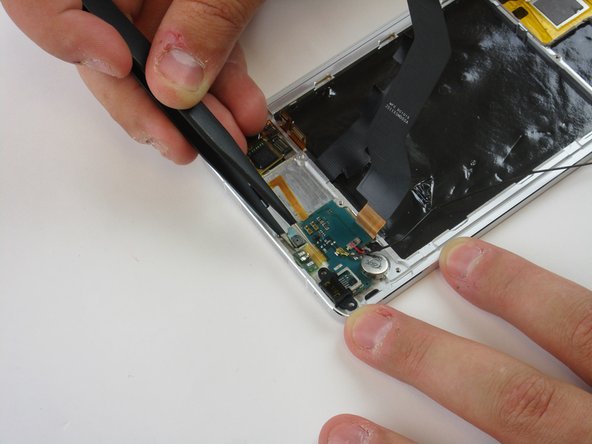
Use tweezers to detach the small ribbon on left side located near the volume buttons using an upwards prying motion.
-
You will also need to detach the microphone cord located on the right side along the frame using an upwards prying motion as well.
-
-
-
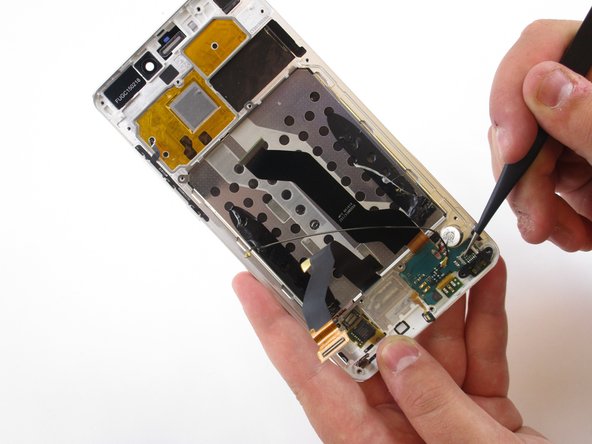
Using tweezers slowly start prying upwards at the locations shown in the images. After carefully prying around the edges of the dock connector, it can now lifted upwards out of the frame.
-
-
-
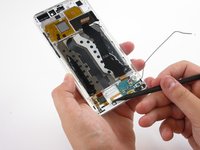
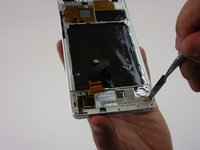
Using a spudger detach the top two ribbons that connect the screen to the touch sensor and motherboard using an upwards prying motion.
-
-
-
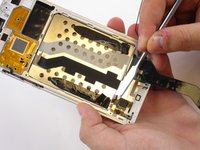
Using tweezers lift the two remaining ribbons from the bottom frame by grasping the ribbons at any point and lifting towards the bottom of the frame.
-
-
-
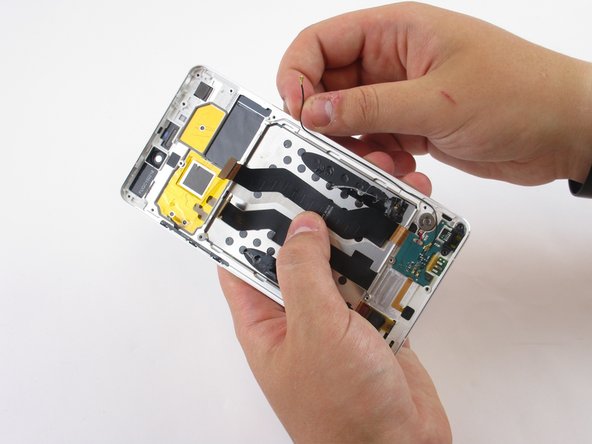
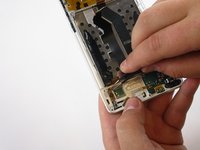
Peel back the ribbon attached to the back metal frame.
-
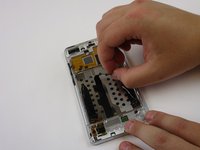
Use your spudger at any point to get underneath the metal frame. Slide the spudger around the sides of the metal to free it from the frame.
-
-
-
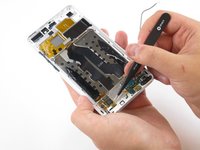
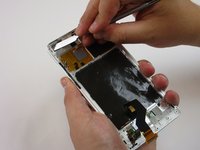
Apply considerable force to the back corners using your spudger to help relieve it of the adhesive as shown.
-
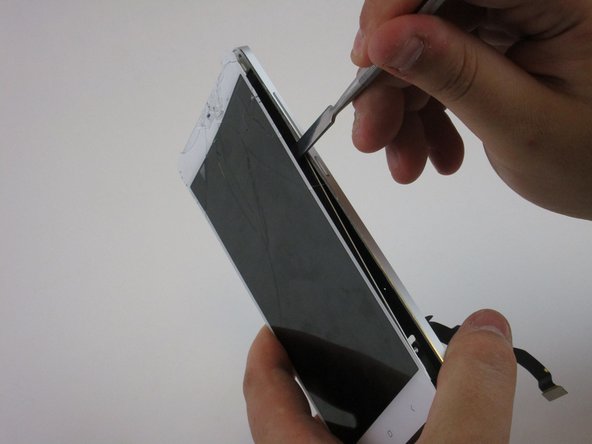
Once you have freed the screen from a portion of the adhesive, wedge your spudger around the front edge to work around the edges of the screen and frame in order to fully remove it from the frame.
-


To reassemble your device, follow these instructions in reverse order.
21 の人々がこのガイドを完成させました。
チーム

USF Tampa, Team 1-6, Sullivan Fall 2015 USF Tampa, Team 1-6, Sullivan Fall 2015人のメンバー
USFT-SULLIVAN-F15S1G6
4 メンバー
12のガイドは作成済み
3件のガイドコメント
Hello, I have unmounted my mi note pro to change the battery. I successfully changed it but now my phone's touch screen does not work anymore. The screen displays but the touch function doesn't work. Can someone help me identify the part I might have damaged or disconnected accidentally?