はじめに
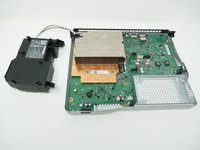
このガイドでは、Xbox One Xの電源を取り外す方法を詳しく説明します。
必要な工具と部品
-
-
-
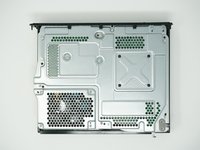
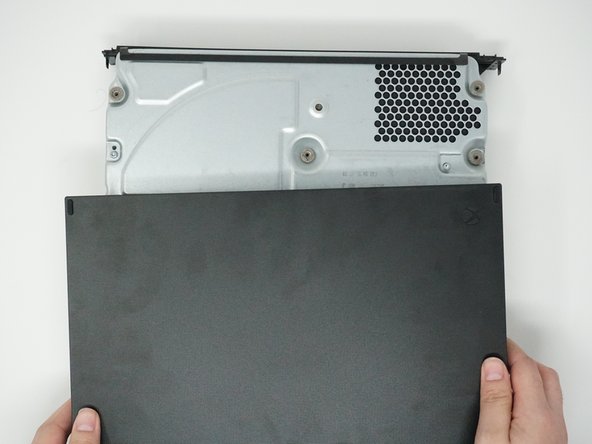
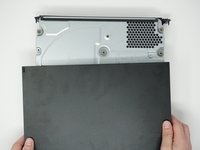
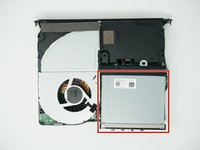
デバイスをもう一度裏返して、上部を上に向けます。
-
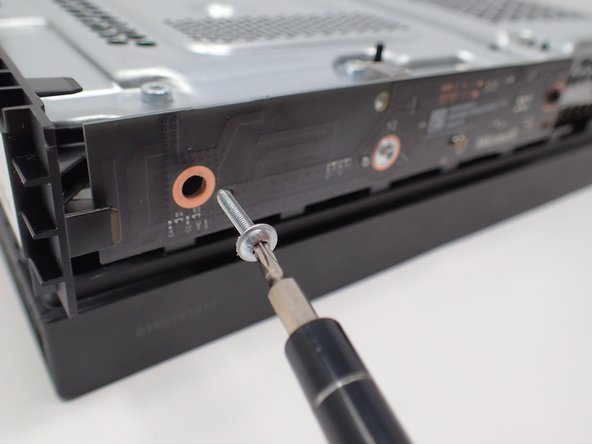
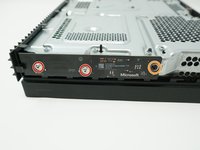
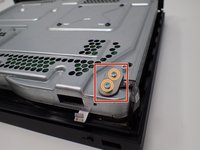
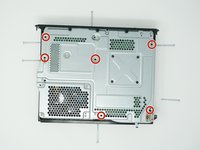
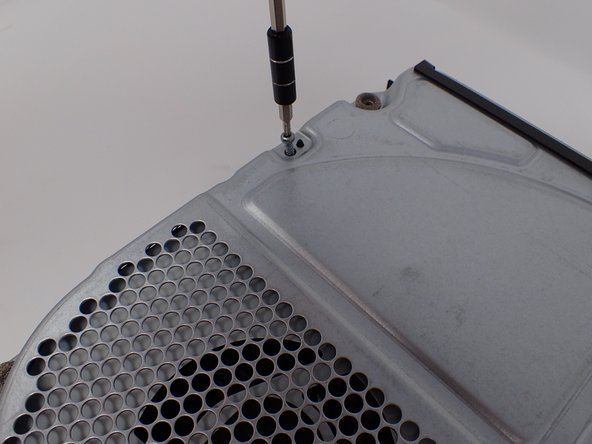
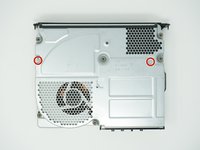
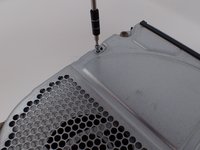
トルクス T9ドライバーを使用して、メタルケースの左下コーナーに付いている小さい11 ㎜ネジ4本を取り外します。
-
-
-
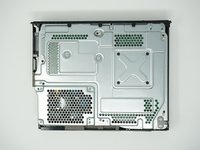
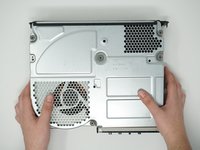
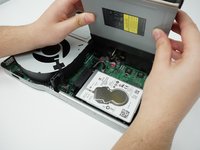
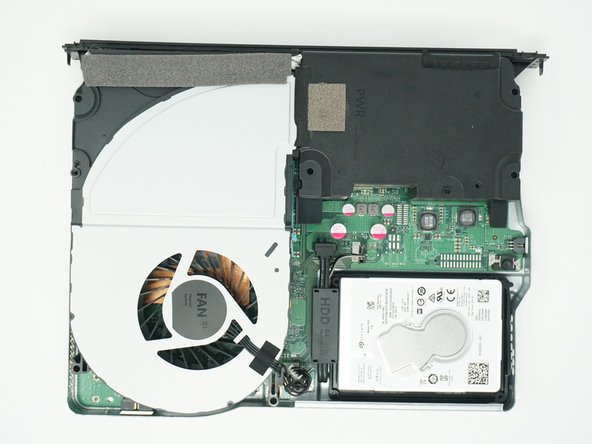
コンソールを裏返しにします。
-
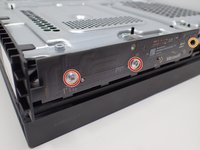
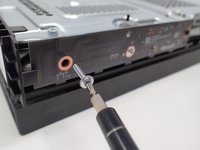
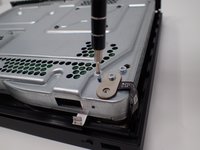
T10トルクスドライバーを使って、ハードドライブを上部メタルケースに固定している11.4 mmネジを4本外します。
-
-
-
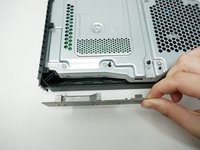
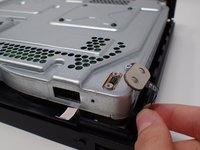
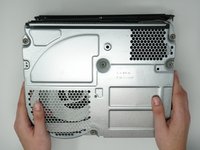
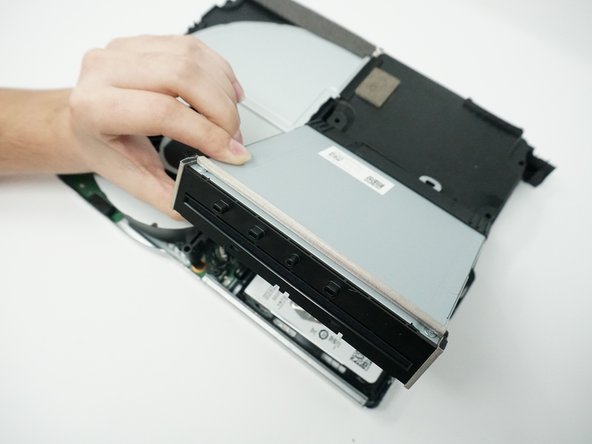
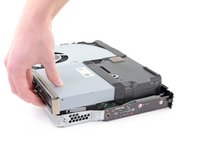
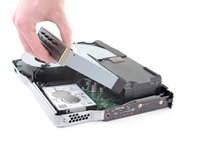
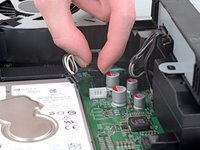
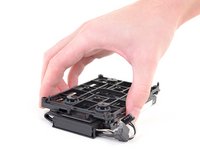
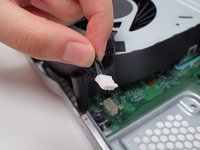
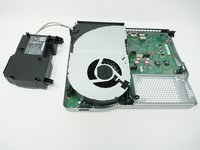
ディスクドライブが外れていることに注意しながら、本体を裏返します。
-
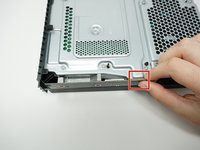
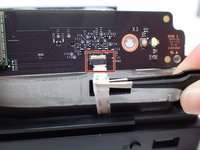
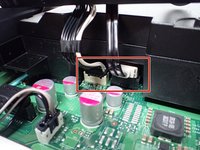
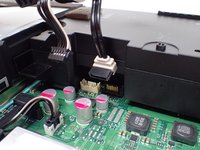
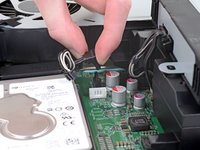
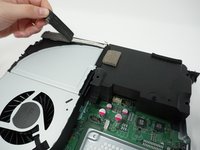
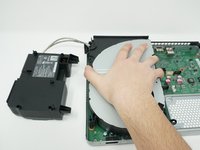
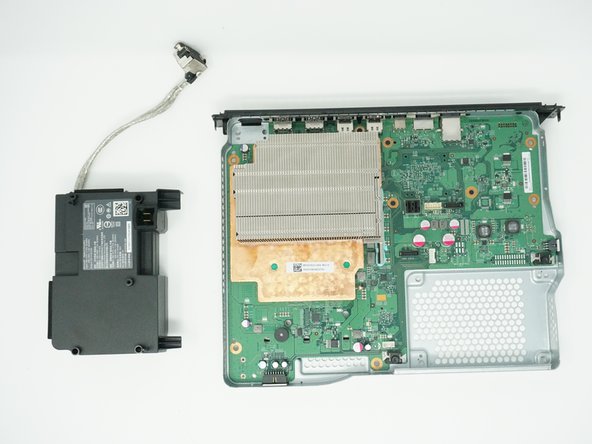
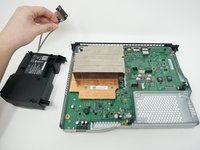
ディスクドライブを持ち上げると、メタルタブが電源から外れます。
-
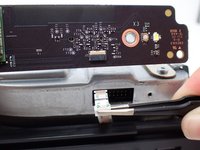
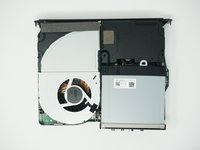
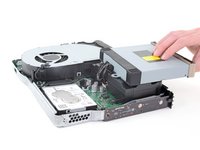
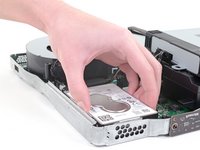
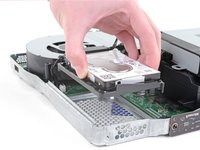
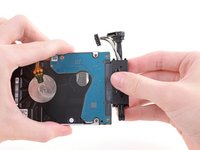
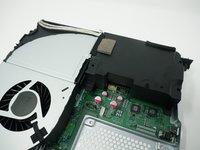
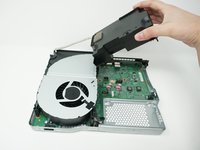
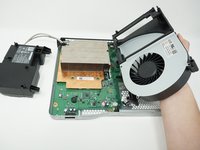
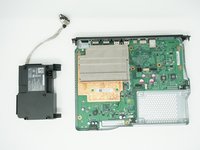
ディスクドライブを裏返して、電源の上に重ねます。ディスクドライブは最初に装着されていた位置から逆の方向に向きます。
-
-
-
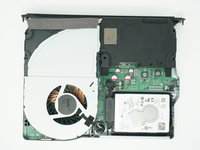
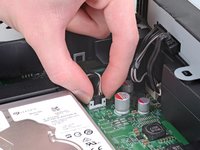
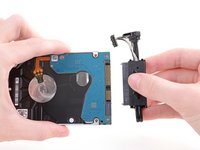
ハードドライブを裏返して、プラスチックのマウンタブラケットを上向きにします。
-
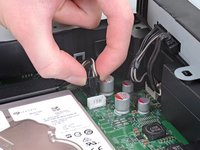
T10トルクスドライバーを使って、ハードドライブをマウンタブランドに固定している 8.6 mmネジを4本外します。
-


元通りに組み立てるには、これらの手順を逆に実行してください。
9 の人々がこのガイドを完成させました。
以下の翻訳者の皆さんにお礼を申し上げます:
100%

prednin5mgさんは世界中で修理する私たちを助けてくれています! あなたも貢献してみませんか?
翻訳を始める ›
チーム

Cal Poly, Team S2-G6, Livingston Winter 2018 Cal Poly, Team S2-G6, Livingston Winter 2018人のメンバー
CPSU-LIVINGSTON-W18S2G6
4 メンバー
23のガイドは作成済み
6件のガイドコメント
Hola, ¿dónde podría comprar una fuente de energía? Gracias
just let mi knlw where i can buy this spares power suply becouse i checked all internet and not find
Can a power supply be dismantled also to check fuse and capacitors?
So I followed this to the letter. However at the end I was unable to remove the metal piece in Step 21 of the PSU as it was still screwed down to the frame. After going back through I noticed that a step was missing between 8 and 10. In Step 8 the 2 screws holding the metal piece shown in Step 21 to the frame are shown screwed in and yet by Step 10 they are out. There was no image highlighting which screws they ware like in Step 8.
Additionally, what size screws are those?
Also, it seems Step 8, 9 and 10 are out of order.