メインコンテンツにスキップ

Xbox Duke Controller 6-Pin Cable Replacement

必要な工具と部品

  1. Xbox Duke Controller 6-Pin Cable Replacement, Face Plate: 手順 1、 3の画像 1 Xbox Duke Controller 6-Pin Cable Replacement, Face Plate: 手順 1、 3の画像 2 Xbox Duke Controller 6-Pin Cable Replacement, Face Plate: 手順 1、 3の画像 3
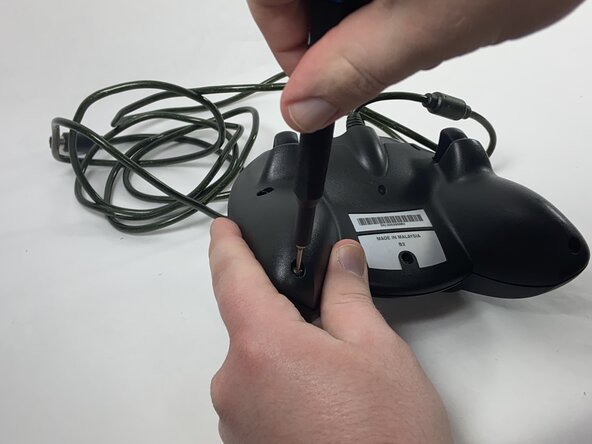
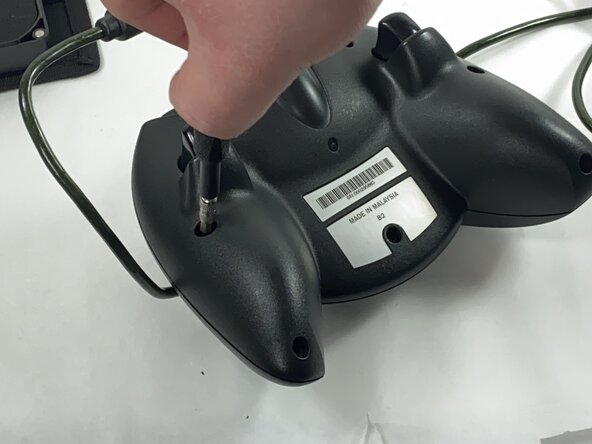
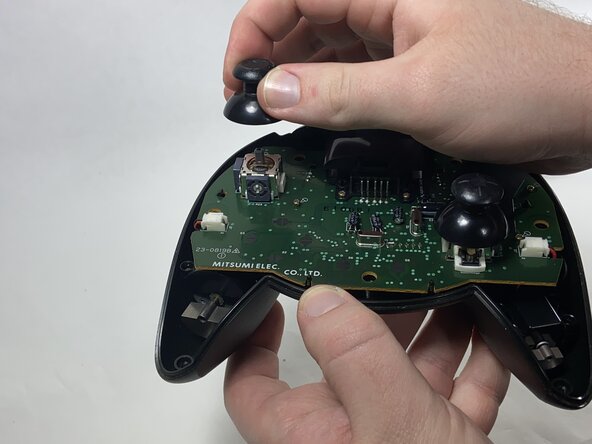
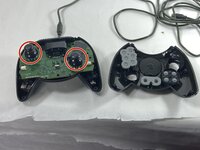
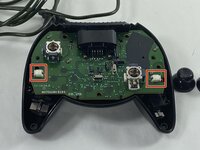
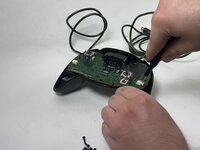
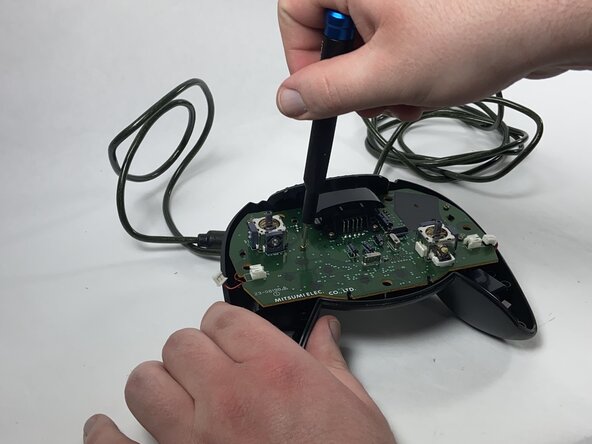
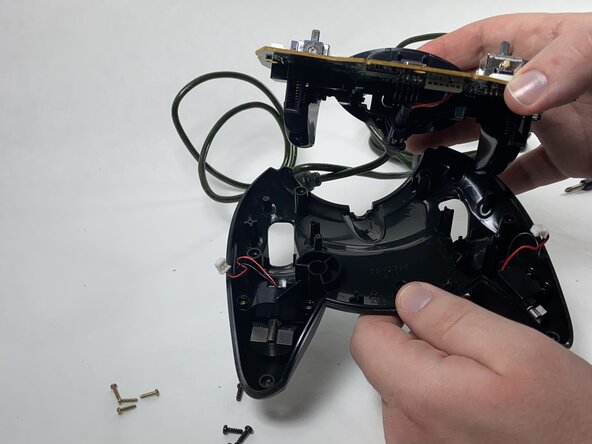
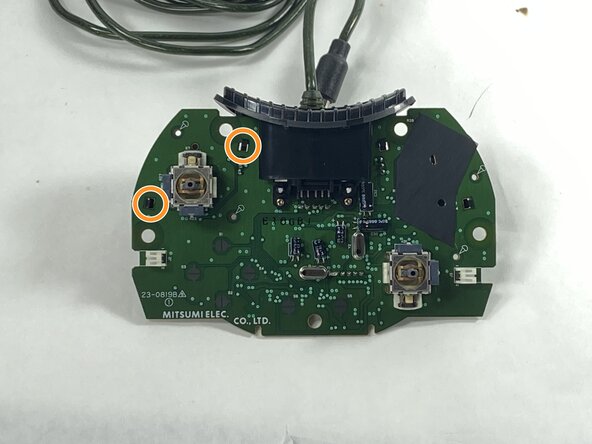
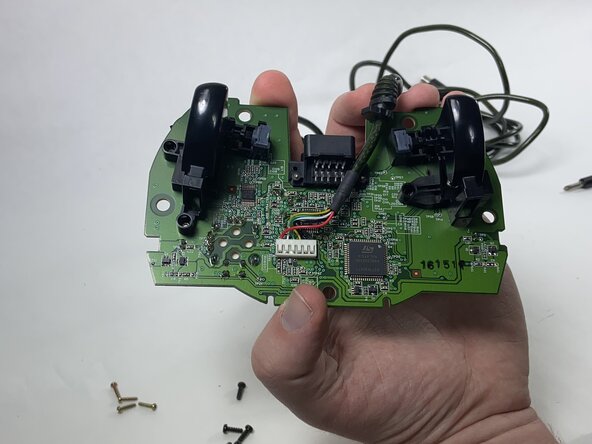
    • Remove the seven black 8 mm screws holding the two halves of the Duke together using a Phillips #1 screwdriver.

    • To reach the deeply set screws, use a longer screw driver or a 4.0 socket bit in addition to the PH1 bit.

  2. Xbox Duke Controller 6-Pin Cable Replacement: 手順 2、 3の画像 1 Xbox Duke Controller 6-Pin Cable Replacement: 手順 2、 3の画像 2 Xbox Duke Controller 6-Pin Cable Replacement: 手順 2、 3の画像 3
    • Remove the two halves of the Duke, placing the top plate face-down so the buttons don't fall out.

  3. Xbox Duke Controller 6-Pin Cable Replacement, Potentiometer: 手順 3、 2の画像 1 Xbox Duke Controller 6-Pin Cable Replacement, Potentiometer: 手順 3、 2の画像 2
    • Remove the stick caps from the potentiometers.

  4. Xbox Duke Controller 6-Pin Cable Replacement: 手順 4、 2の画像 1 Xbox Duke Controller 6-Pin Cable Replacement: 手順 4、 2の画像 2
    • Disconnect the connectors attaching the rumble motors to the motherboard using a pair of tweezers.

    • Be gentle when slipping the tweezers underneath the flaps of the connectors; they are fragile and can snap.

  5. Xbox Duke Controller 6-Pin Cable Replacement: 手順 5、 2の画像 1 Xbox Duke Controller 6-Pin Cable Replacement: 手順 5、 2の画像 2
    • Using a Phillips #1 screwdriver, remove the four yellow 8 mm screws holding the motherboard to the bottom half of the controller.

  6. Xbox Duke Controller 6-Pin Cable Replacement: 手順 6、 2の画像 1 Xbox Duke Controller 6-Pin Cable Replacement: 手順 6、 2の画像 2
    • Remove the motherboard from the bottom half of the controller.

  7. Xbox Duke Controller 6-Pin Cable Replacement: 手順 7、 3の画像 1 Xbox Duke Controller 6-Pin Cable Replacement: 手順 7、 3の画像 2 Xbox Duke Controller 6-Pin Cable Replacement: 手順 7、 3の画像 3
    • Desolder the connector pins holding the left trigger assembly in place.

    • Remove the trigger assembly by pushing on the black connectors that hold them to the motherboard.

  8. Xbox Duke Controller 6-Pin Cable Replacement: 手順 8、 1の画像 1
    • Desolder all of the connector pins holding the potentiometer in place.

    • Pull out the potentiometers and solder the new ones into place.

  9. Xbox Duke Controller 6-Pin Cable Replacement, 6-Pin Cable: 手順 9、 3の画像 1 Xbox Duke Controller 6-Pin Cable Replacement, 6-Pin Cable: 手順 9、 3の画像 2 Xbox Duke Controller 6-Pin Cable Replacement, 6-Pin Cable: 手順 9、 3の画像 3
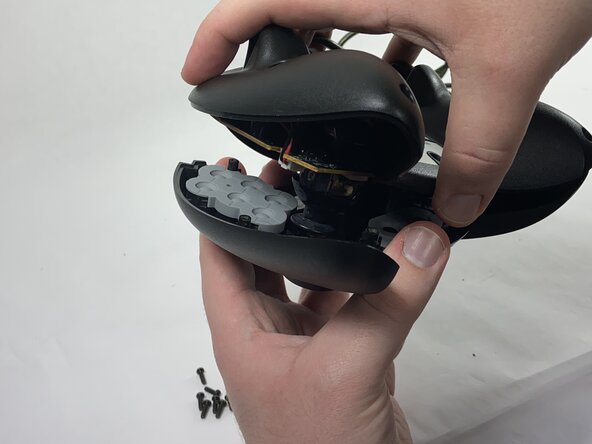
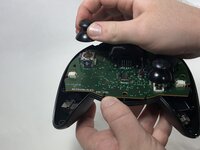
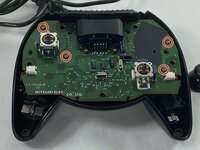
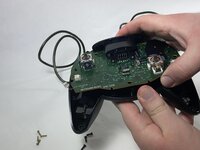
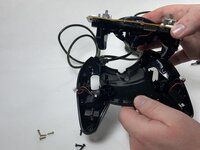
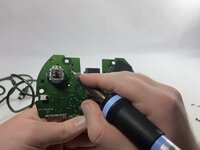
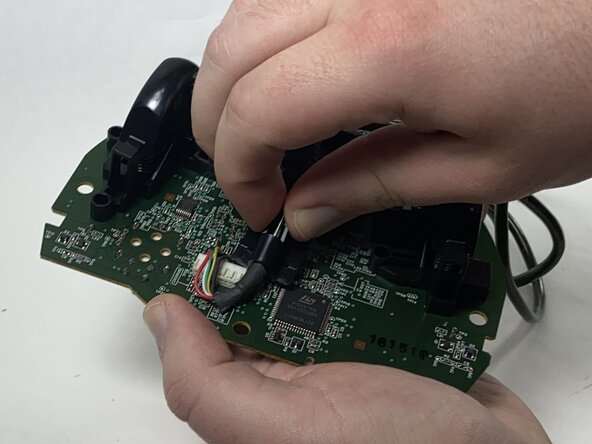
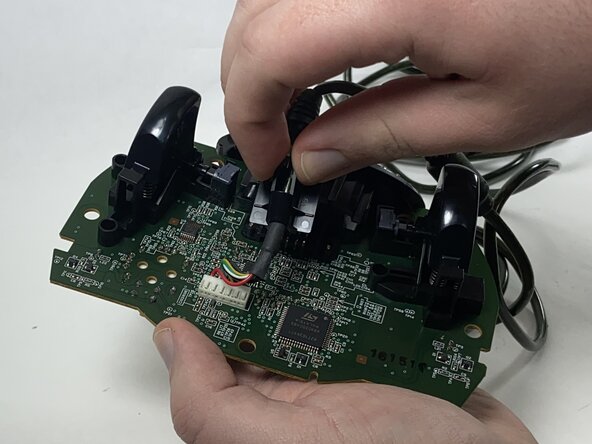
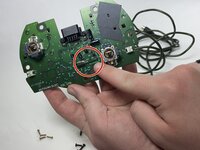
    • Disconnect the cable from the memory card slot, sliding the black plastic holder out of the slot.

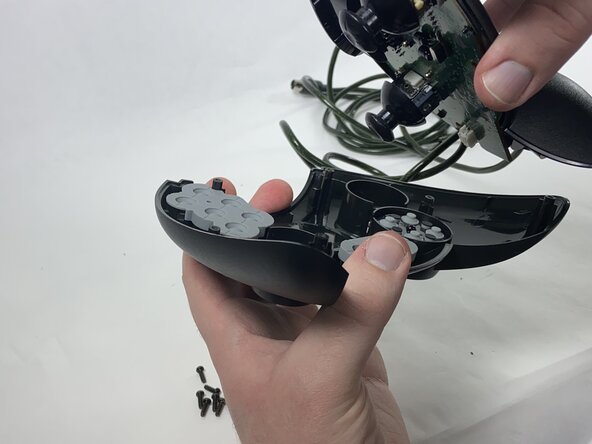
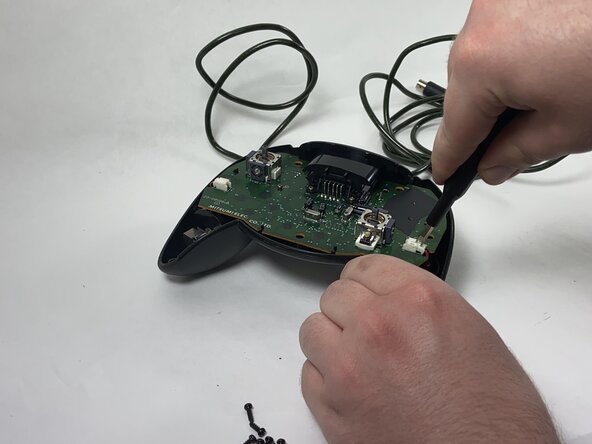
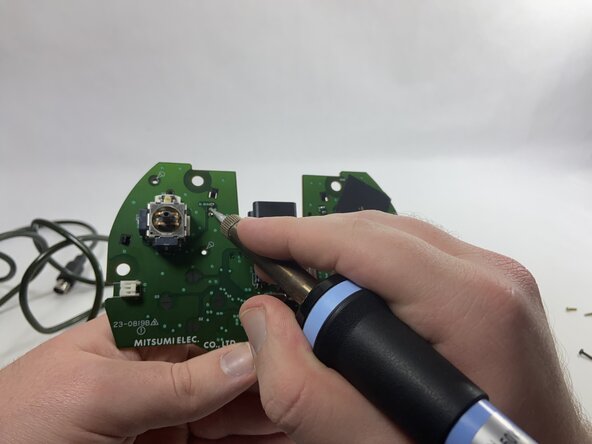
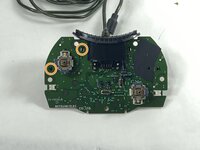
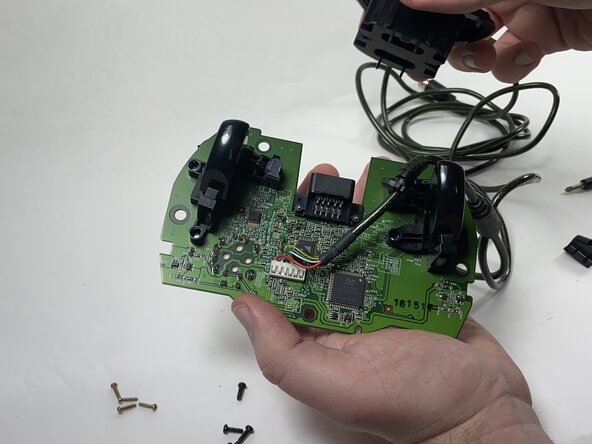
    • Remove the plastic piece from the cable.

  10. Xbox Duke Controller 6-Pin Cable Replacement: 手順 10、 2の画像 1 Xbox Duke Controller 6-Pin Cable Replacement: 手順 10、 2の画像 2
    • Remove the memory card slot by sliding it away from the motherboard.

  11. Xbox Duke Controller 6-Pin Cable Replacement: 手順 11、 2の画像 1 Xbox Duke Controller 6-Pin Cable Replacement: 手順 11、 2の画像 2
    • Desolder the pins holding the cable in place, then pull the cable away from the motherboard.

    • Solder the new cable into the motherboard.

終わりに

To reassemble your device, follow these instructions in reverse order.

2 の人々がこのガイドを完成させました。

作成者

1人の作成者と共同作成されました。

Anthony Casino

メンバー登録日: 02/15/25

630 ポイント

4のガイドは作成済み

チーム

UMass Dartmouth, Team 1-1, Gulbrandsen Spring 2025 UMass Dartmouth, Team 1-1, Gulbrandsen Spring 2025人のメンバー

UMASSD-GULBRANDSEN-S25S1G1

1 メンバー

4のガイドは作成済み

0件のガイドコメント

コメントを追加

統計データ:

過去 24時間: 3

過去 7 日: 11

過去 30 日: 54

今までの合計 350