はじめに
This replacement guide will show you how to replace both the shell and thumbstick of an Xbox 360 Controller. Our trial actually included 3 different controllers; one in which had a faulty thumbstick, one in which had broken bumpers and another broken thumbstick but a very cool shell, and one generic Xbox 360 controller. However, for the sake of this guide, we used generic terms, assuming you are only using 2 controllers.
必要な工具と部品
-
-
Remove all batteries or power sources from remote.
-
This is to ensure that there are no electric currents traveling through the remote, ensuring you will not be shocked.
-
This is very important.
-
-
-
Using a TP Torx T8 Screwdriver, remove all 6 screws from the back of your controller.
-
Keep the screws in a safe place to ensure you will not lose them.
-
-
-
Remove barcode sticker from back wall of battery port.
-
Remove hidden screw from location of sticker with the same TP Torx T8 Screwdriver.
-
-
-
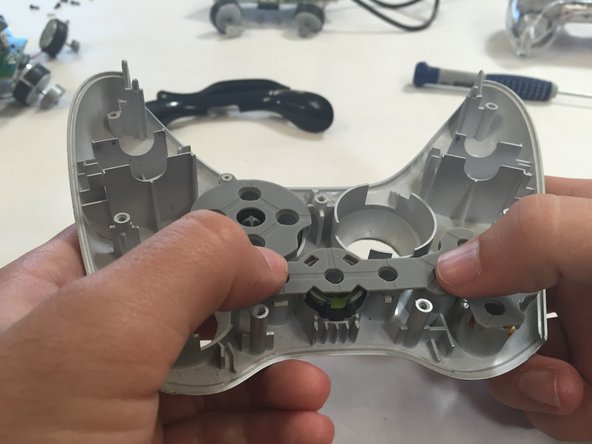
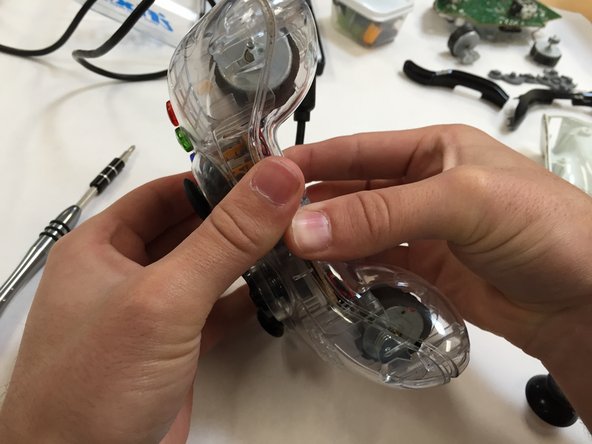
Pry open the controller. Optionally, gently push in the thumbstick to eject the back half. (Some buttons may fall out.)
-
This will leave you with 2 separate pieces. Disconnect rumble motors, using fingers on sides of connectors.
-
-
-
To remove bumper housing and bottom piece, pull away from the shell (along the axis of the screwposts).
-
-
-
-
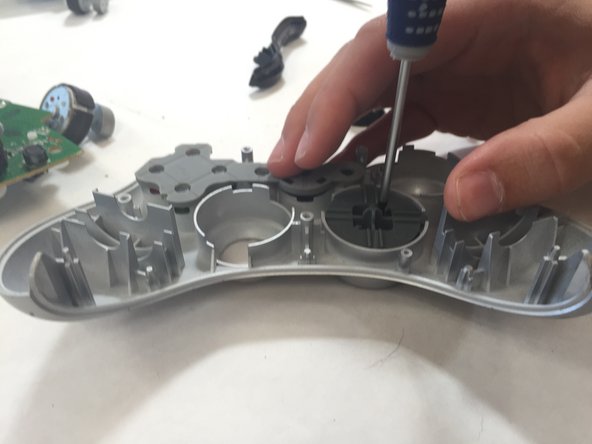
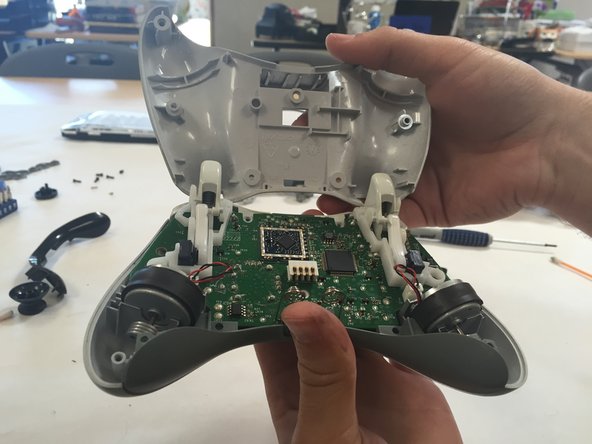
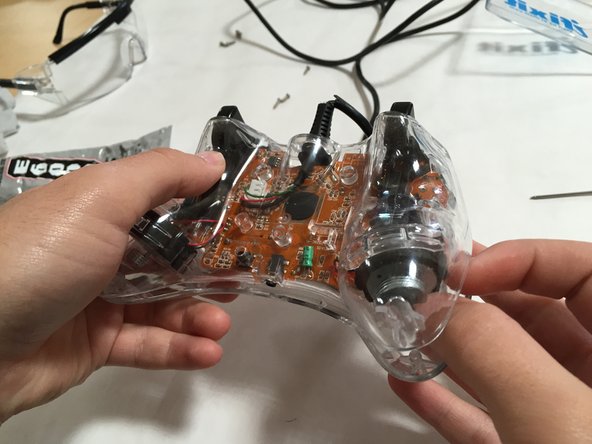
Remove all mesh and buttons from controller, as well as the motherboard.
-
Remember to keep small parts in a safe place to prevent the loss of a part.
-
Later photo will clarify which button goes in which hole.
-
-
-
To remove arrow keys, locate the screws hidden within the key.
-
Using 1.5 crosshead screwdriver, remove these screws and "store them in a safe place."
-
-
-
Clean shells and buttons with rubbing alcohol if needed.
-
Do not consume rubbing alcohol.
-
-
-
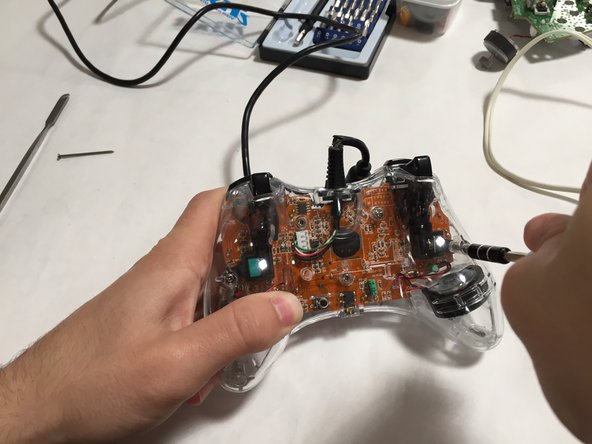
Place the triggers and the motherboard in their respective places.
-
Re-attach rumble motors. Note orientation of T-slot in connector.
-
-
-
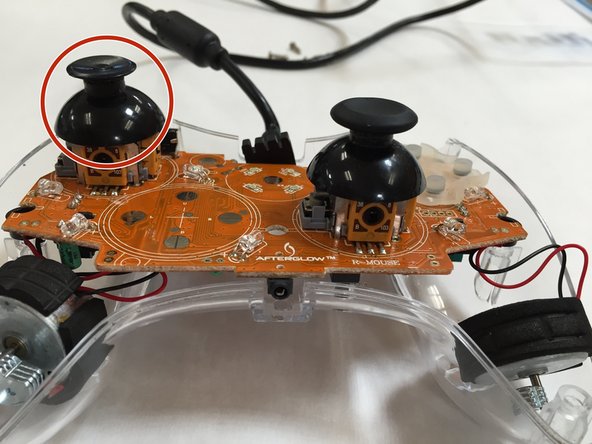
To remove thumbstick, pull the thumbstick vertically off of its base.
-
Place the new thumbstick onto its base, pushing it down as far as possible without breaking the base.
-
If you have purchased the wrong style of thumbstick, superglue, hot glue, or any other adhesive should work fine. Simply use a needle to put some adhesive and/or glue into the hole.
-


You have successfully replaced the shell, and thumbstick, on your Xbox 360 Controller, congratulations!
12 の人々がこのガイドを完成させました。
2件のガイドコメント
Ok, so I did this exactly as shown but now my controller doesn't work. I'm an fps player and I need to aim down sights but the left trigger doesn't work. But when I open up my menu (Xbox guide) it won't stop aiming down sights even though I'm not touching the trigger at all. It works perfectly fine on everything else like the guide or Netflix but doesn't work for things like destiny or battlefield 4. And yes it worked before and everything else works. If you can help please do. Cause I spent around $40 on everything
"Security" Torx T8 is necessary, since the screw heads have center pins.