メインコンテンツにスキップ

Wrought Iron Security Door Handle Replacement

必要な工具と部品

ビデオの概要

  1. Wrought Iron Security Door Handle Replacement, Wrought Iron Security Door Handle: 手順 1、 3の画像 1 Wrought Iron Security Door Handle Replacement, Wrought Iron Security Door Handle: 手順 1、 3の画像 2 Wrought Iron Security Door Handle Replacement, Wrought Iron Security Door Handle: 手順 1、 3の画像 3
    • First, open and then position the door to a desired width.

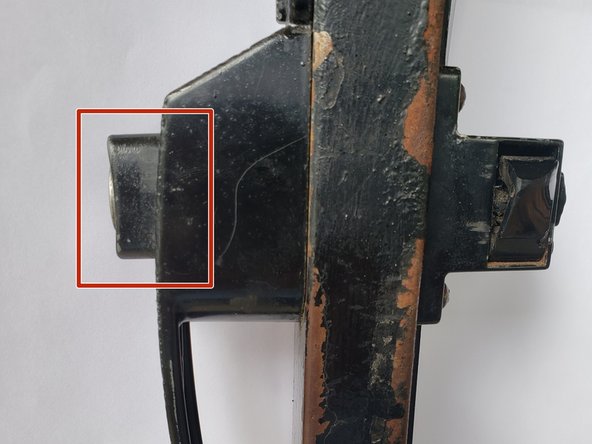
    • Secure the door by using the sliding latch of the cylinder or door prop.

    • This will enable the door to stay open while replacing the handle.

    • Use a screwdriver to begin removing the screws from the handle.

    • The type of screwdriver to use will depend on the type of screws. A Philip screwdriver is being used to remove the screws from the security door.

  2. Wrought Iron Security Door Handle Replacement: 手順 2、 3の画像 1 Wrought Iron Security Door Handle Replacement: 手順 2、 3の画像 2 Wrought Iron Security Door Handle Replacement: 手順 2、 3の画像 3
    • Carefully begin to disassemble all parts of the handle by removing the handle from the door.

    • It may be easier to begin removing the exterior handle first while removing the screws from the interior handle.

    • Continue to disassemble the interior handle by removing the top and bottom screws.

  3. Wrought Iron Security Door Handle Replacement: 手順 3、 2の画像 1 Wrought Iron Security Door Handle Replacement: 手順 3、 2の画像 2
    • Once the handle is disassembled, make sure all of the parts from the handle that is being replaced are free of any type of debris, remaining parts, etc.

  4. Wrought Iron Security Door Handle Replacement: 手順 4、 3の画像 1 Wrought Iron Security Door Handle Replacement: 手順 4、 3の画像 2 Wrought Iron Security Door Handle Replacement: 手順 4、 3の画像 3
    • When installing the new handle to the wrought iron security door, begin by inserting the lock shaft in the middle of the exterior handle.

    • Insert the lock shaft, along with the exterior handle, through the center hole of the door to where the handle is being replaced.

  5. Wrought Iron Security Door Handle Replacement: 手順 5、 3の画像 1 Wrought Iron Security Door Handle Replacement: 手順 5、 3の画像 2 Wrought Iron Security Door Handle Replacement: 手順 5、 3の画像 3
    • Once the exterior handle is installed along with the lock shaft, align the new handle according to where the current holes are positioned.

    • Insert or thread the top and bottom screws by hand into the interior handle.

    • While holding the exterior handle in place, carefully insert the interior door handle along with the screws to connect with the exterior handle.

  6. Wrought Iron Security Door Handle Replacement: 手順 6、 2の画像 1 Wrought Iron Security Door Handle Replacement: 手順 6、 2の画像 2
    • Once both handles and screws are inserted and in place, by holding the exterior handle, use the Philip screwdriver to finish installing the screws.

    • It may be easier to hold the exterior door handle in place while installing the screws.

  7. Wrought Iron Security Door Handle Replacement: 手順 7、 2の画像 1 Wrought Iron Security Door Handle Replacement: 手順 7、 2の画像 2
    • After completing the installation of the screws to the handle, make sure that all parts of the handle are functioning properly and securely.

終わりに

To reassemble the handle, follow these instructions in reverse order.

ある他の人がこのガイドを完成しました。

作成者

2人の作成者と共同で作成されました。

Marsha Hill

メンバー登録日: 06/09/23

175 ポイント

1ガイドが承認済み

チーム

University of Memphis, Team 1-2, Lane Summer 2023 University of Memphis, Team 1-2, Lane Summer 2023人のメンバー

UM-LANE-SU23S1G2

3 メンバー

1のガイドは作成済み

0 件のコメント

コメントを追加

統計データ:

過去 24時間: 1

過去 7 日: 16

過去 30 日: 47

今までの合計 380