-
-
In order to change the air filter, start with the removal of the outer metal casing. Use the appropriate security bit.
-
Using the special bit, remove the large screws at the bottom of the casing.
-
To remove the case, lift the indicated spot with your hands.
-
The direction for turning the screws is different than what was indicated on the small sticker above the hole.
-
-
-
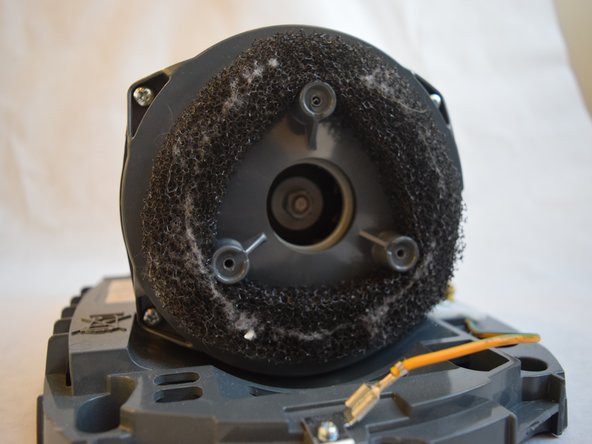
To access both filters, unscrew all three 1/2" Ph2 screws.
-
Gently pull the plate away from the black, coarse filter.
-
-
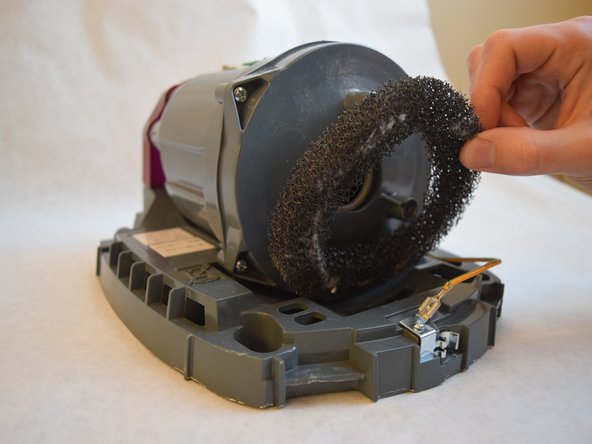
After removing the small grey filter, pull on the black, ring-shaped filter to remove it.
-
We recommend either vacuuming the filters or washing them to remove the dust that has accumulated on the filter.
-
Leave the filters out to dry for 24 hours before putting it back into use, in order to avoid water damage or electric shock!
このガイドを埋め込む
サイズを選択し、以下のコードをコピーして、このガイドを小さなウィジェットとしてサイト/フォーラムに埋め込みます。
プレビュー