メインコンテンツにスキップ

Wooden Fence Picket Replacement

必要な工具と部品

  1. Wooden Fence Picket Replacement, Picket: 手順 1、 3の画像 1 Wooden Fence Picket Replacement, Picket: 手順 1、 3の画像 2 Wooden Fence Picket Replacement, Picket: 手順 1、 3の画像 3
    • IMPORTANT: This step will need to be completed before continuing. You will need to use these measurements to purchase a replacement picket needed later in the guide.

    • Use the tape measure to measure the height, width, and depth of the picket.

    • Use these measurements to purchase a replacement picket. Home Depot and Lowe's are good places to purchase a picket. If you are unfamiliar with what you are doing, ask any worker there for some help and they will help you get your replacement.

  2. Wooden Fence Picket Replacement: 手順 2、 3の画像 1 Wooden Fence Picket Replacement: 手順 2、 3の画像 2 Wooden Fence Picket Replacement: 手順 2、 3の画像 3
    • Place the tip of the pry bar under the picket, in line with the nails.

    • Use a hammer to push the pry bar under the picket.

    • Use soft taps with the hammer when hitting the pry bar. Using too much force may reduce accuracy and lead to injury.

    • Pull the pry bar away from the fence to remove the picket.

  3. Wooden Fence Picket Replacement: 手順 3、 3の画像 1 Wooden Fence Picket Replacement: 手順 3、 3の画像 2 Wooden Fence Picket Replacement: 手順 3、 3の画像 3
    • Only complete this step if there are still nails in the wood after you have removed the picket. If all nails are removed, continue to Step 4.

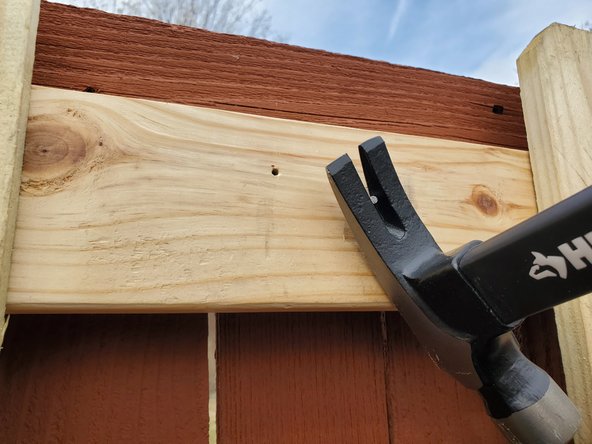
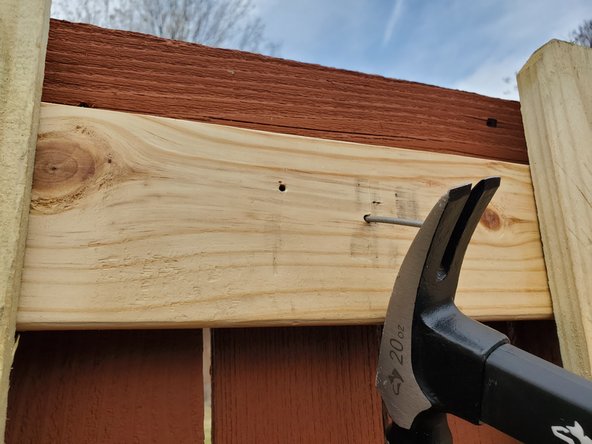
    • Slide the claw of the hammer underneath the nail.

    • The claw is the forked area of the hammer. This is commonly used to aid in the removal of nails.

    • While holding the handle, pull on the hammer to remove the nail.

  4. Wooden Fence Picket Replacement: 手順 4、 3の画像 1 Wooden Fence Picket Replacement: 手順 4、 3の画像 2 Wooden Fence Picket Replacement: 手順 4、 3の画像 3
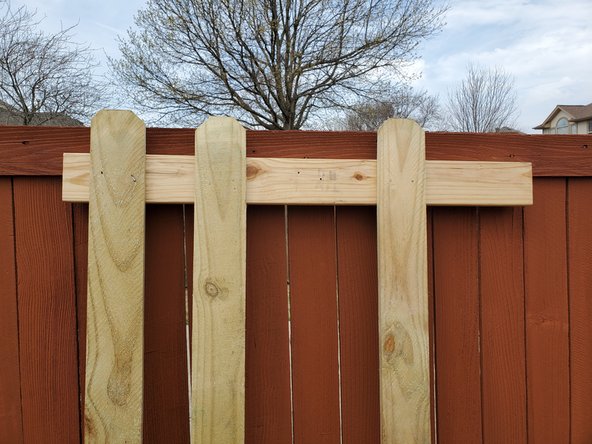
    • Before installing the new picket, clear the area of any debris.

    • Obstructions may cause the picket to be crooked when installing, or make a gap too large for the nails to work properly.

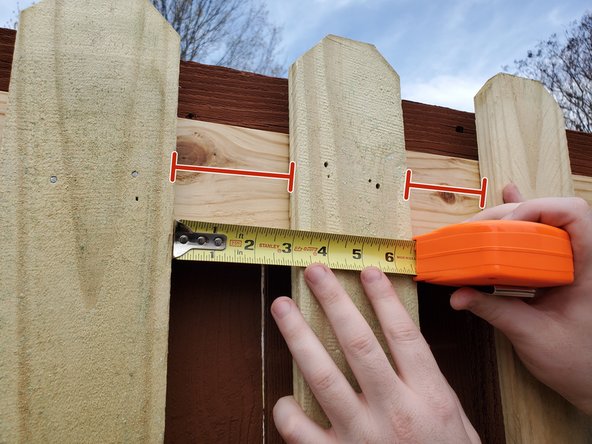
    • Use the tape measure to measure the gaps between the left and right side of the picket.

    • Doing this allows the replacement picket to be centered directly between the other pickets.

  5. Wooden Fence Picket Replacement: 手順 5、 3の画像 1 Wooden Fence Picket Replacement: 手順 5、 3の画像 2 Wooden Fence Picket Replacement: 手順 5、 3の画像 3
    • Caution: This step involves hitting nails with a hammer in close proximity to your fingers. Work gloves are recommended if you are unfamiliar with using a hammer.

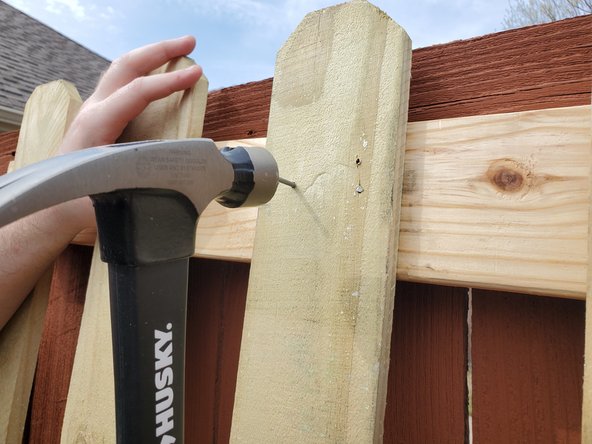
    • Hold a wood nail approximately 1 inch from the side of the picket.

    • You may place the first nail 1 inch away from either the left or right side of the picket. Each section uses 2 nails so it does not matter which side you choose to work on first.

    • Lightly tap on the wood nail with the hammer to begin pushing the nail into the picket. Continue until the nail is fully in the picket.

    • Repeat until there are 2 nails inserted in the picket at every cross section.

終わりに

This guide only demonstrates how to replace a picket on a wooden fence. For questions regarding staining your fence and finding the right stain, I recommend talking with a worker at a hardware store near you. They can help you find the right product and make sure your new picket matches the rest of your fence.

作成者

1人の作成者と共同作成されました。

David Snowden

メンバー登録日: 03/02/21

121 ポイント

1ガイドが承認済み

チーム

University of North Texas, Team S1-G30, Raign Spring 2021 University of North Texas, Team S1-G30, Raign Spring 2021人のメンバー

UNT-RAIGN-S21S1G30

1 メンバー

1のガイドは作成済み

0 件のコメント

コメントを追加

統計データ:

過去 24時間: 3

過去 7 日: 19

過去 30 日: 69

今までの合計 2,194