メインコンテンツにスキップ

Wiko Rainbow Jam 4G Display Replacement

必要な工具と部品

  1. Wiko Rainbow Jam 4G Display Replacement, Display: 手順 1、 2の画像 1 Wiko Rainbow Jam 4G Display Replacement, Display: 手順 1、 2の画像 2
    • Remove the back cover and the battery

  2. Wiko Rainbow Jam 4G Display Replacement: 手順 2、 3の画像 1 Wiko Rainbow Jam 4G Display Replacement: 手順 2、 3の画像 2 Wiko Rainbow Jam 4G Display Replacement: 手順 2、 3の画像 3
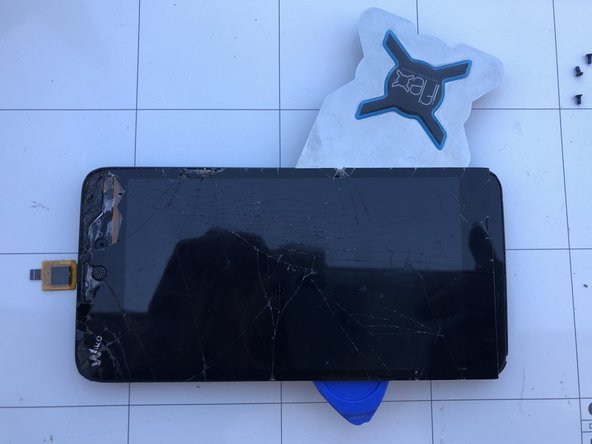
    • Using a Phillips scredriver, remove the screws

    • Using a thin tool or a blade detach the midframe from the the display assembly

  3. Wiko Rainbow Jam 4G Display Replacement: 手順 3、 3の画像 1 Wiko Rainbow Jam 4G Display Replacement: 手順 3、 3の画像 2 Wiko Rainbow Jam 4G Display Replacement: 手順 3、 3の画像 3
    • Remove the sticker with a heat source, for example using a hair dryer

    • Unplug the marked connector on the motherboard

    • Remove the stickers that holds the flat under the big sticker you removed earlier. Now remove the marked screw that keeps the motherboard in place

  4. Wiko Rainbow Jam 4G Display Replacement: 手順 4、 3の画像 1 Wiko Rainbow Jam 4G Display Replacement: 手順 4、 3の画像 2 Wiko Rainbow Jam 4G Display Replacement: 手順 4、 3の画像 3
    • Lift the motherboard and unplug the antenna cable

    • Using heat and a blade, remove the adesive holding the volume/power button

    • Remove the motherboard

  5. Wiko Rainbow Jam 4G Display Replacement: 手順 5、 1の画像 1
    • Remove the flat cable interconnecting the display and the motherboard. It's glued on the back of the frame.

  6. Wiko Rainbow Jam 4G Display Replacement: 手順 6、 3の画像 1 Wiko Rainbow Jam 4G Display Replacement: 手順 6、 3の画像 2 Wiko Rainbow Jam 4G Display Replacement: 手順 6、 3の画像 3
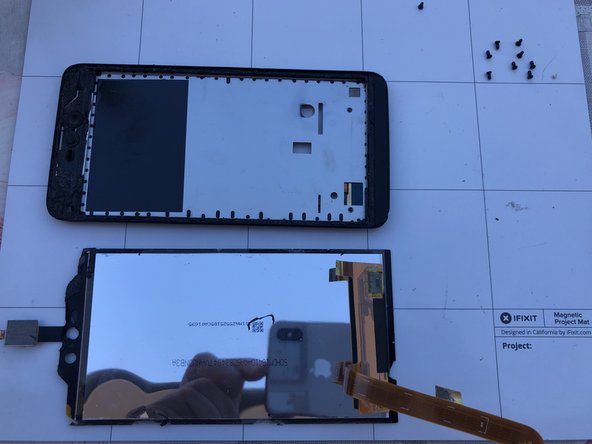
    • Heat the display edges to soften the glue. Gradually insert a thin blade to remove the faulty display.

    • Remove the old adhesive and clean carefully the surface before you apply the new adhesive.

  7. Wiko Rainbow Jam 4G Display Replacement: 手順 7、 3の画像 1 Wiko Rainbow Jam 4G Display Replacement: 手順 7、 3の画像 2 Wiko Rainbow Jam 4G Display Replacement: 手順 7、 3の画像 3
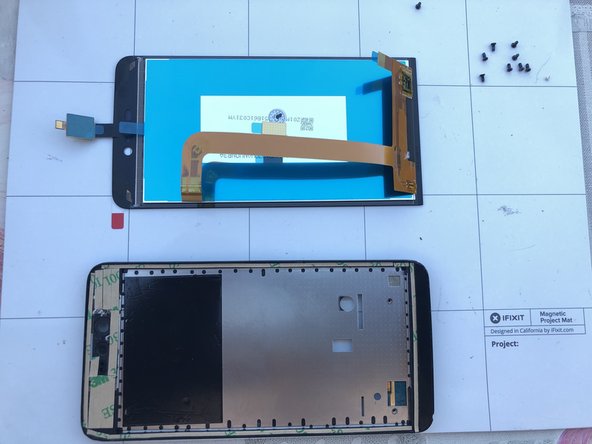
    • Apply the double sided tape on the edges of the frame so the enclosure is ready for a new display.

終わりに

To reassemble your device, follow these instructions in reverse order.

以下の翻訳者の皆さんにお礼を申し上げます:

it en

100%

これらの翻訳者の方々は世界を修理する私たちのサポートをしてくれています。 あなたも貢献してみませんか?
翻訳を始める ›

作成者

2人の作成者と共同で作成されました。

Smilzo

メンバー登録日: 11/09/13

11,294 ポイント

39のガイドは作成済み

0 件のコメント

コメントを追加

統計データ:

過去 24時間: 1

過去 7 日: 1

過去 30 日: 6

今までの合計 487