はじめに
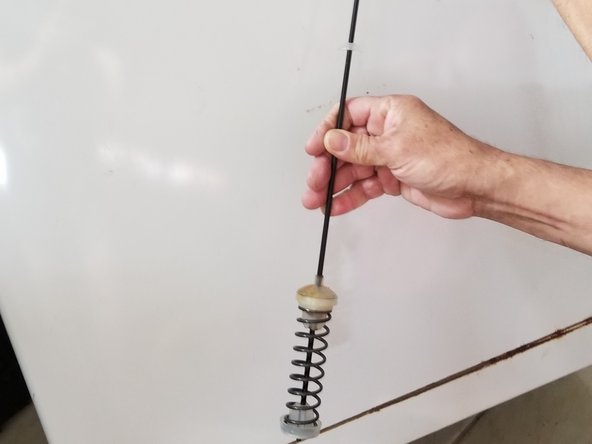
Suspension springs maintain your washing machine's stability similar to automotive shock absorbers. If damaged, faulty, or worn-out, your appliance will vibrate or shake more than usual. If you need to replace your Whirlpool WTW4800XQ2’s suspension springs, this guide will show you how to replace them. You can buy this component in home improvement stores, or through online shops such as Amazon.
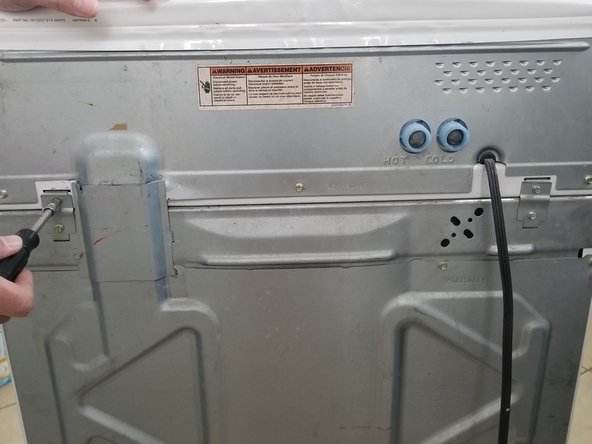
Please do note that this guide may not work on other washing machine models. Also be sure to unplug your machine from the outlet before starting this guide.
必要な工具と部品


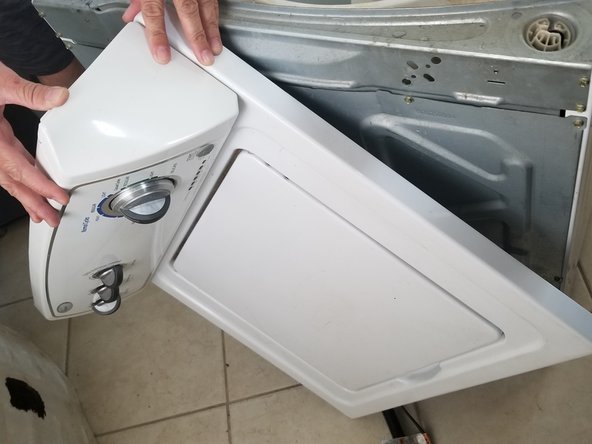


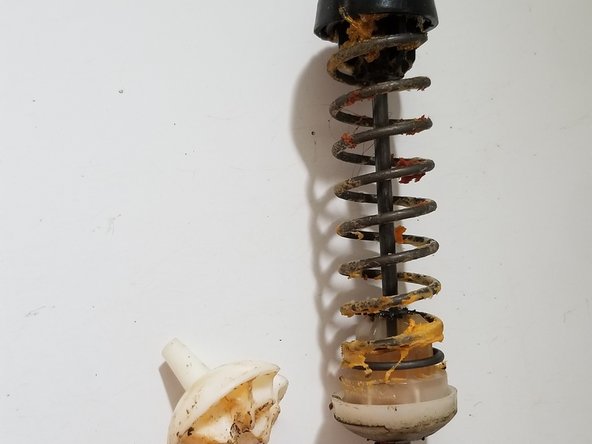


To reassemble your device, follow these instructions in reverse order.
To reassemble your device, follow these instructions in reverse order.
ある他の人がこのガイドを完成しました。

チーム

University of Puerto Rico Mayagüez, Team 2-23, Cools Stephens Spring 2022 University of Puerto Rico Mayagüez, Team 2-23, Cools Stephens Spring 2022人のメンバー
UPRM-COOLS STEPHENS-S22S2G23
2 メンバー
1のガイドは作成済み
2 件のコメント
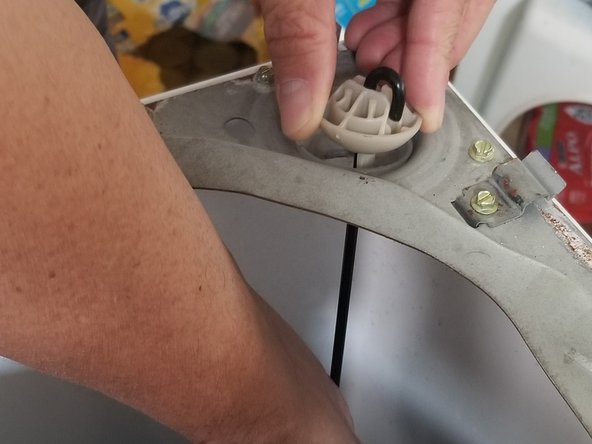
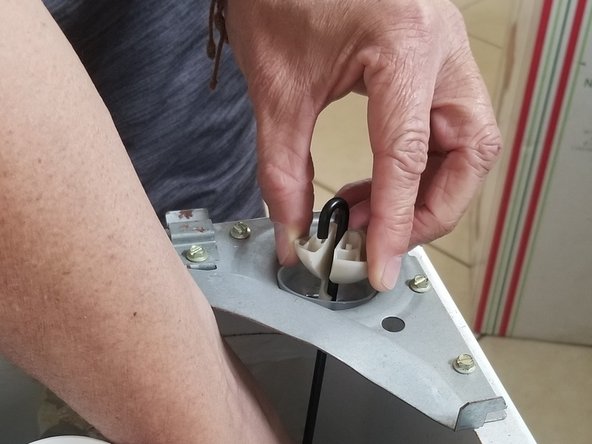
Es mas fácil acostar la lavadora hacia un lado
Yes, it's much better to set the washer on its side. There is a plastic bushing at the bottom of the washer that can be removed by pressing the locking tabs with your fingers and then the spring rod can be removed and replaced easily.