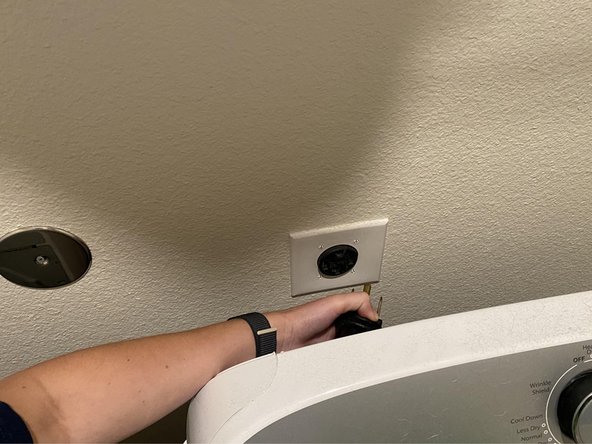
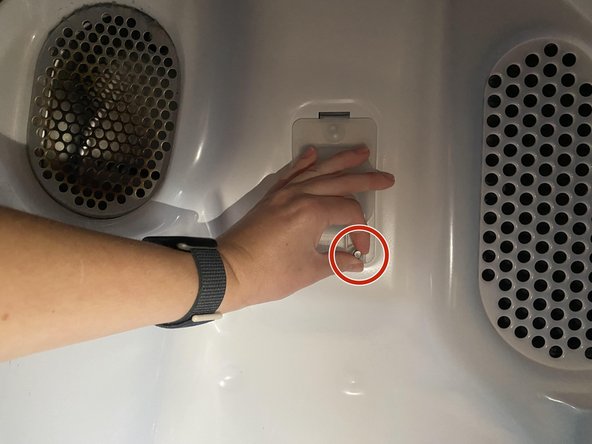
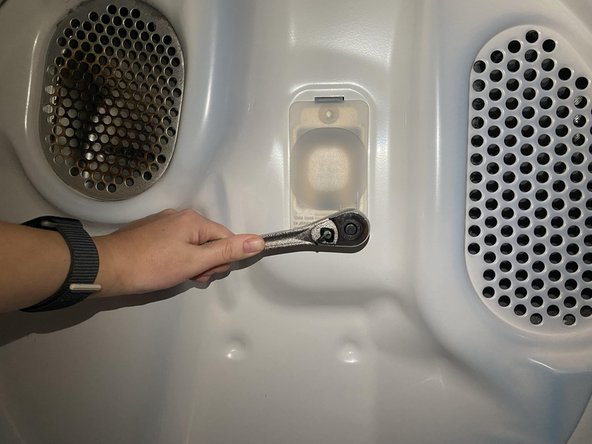
メインコンテンツにスキップ

Whirlpool WED4950HW0 Light Bulb Replacement

必要な工具と部品

  1. Whirlpool WED4950HW0 Light Bulb Replacement, Light Bulb: 手順 1、 2の画像 1 Whirlpool WED4950HW0 Light Bulb Replacement, Light Bulb: 手順 1、 2の画像 2
    • WARNING: Complete this step before continuing to the next to avoid electrocution.

    • Unplug the dryer from the wall outlet.

  2. Whirlpool WED4950HW0 Light Bulb Replacement: 手順 2、 3の画像 1 Whirlpool WED4950HW0 Light Bulb Replacement: 手順 2、 3の画像 2 Whirlpool WED4950HW0 Light Bulb Replacement: 手順 2、 3の画像 3
    • Remove the screw holding on the lens cover with a 1/4" ratchet wrench by turning it counter clockwise.

    • Take the lens cover off.

  3. Whirlpool WED4950HW0 Light Bulb Replacement: 手順 3、 2の画像 1 Whirlpool WED4950HW0 Light Bulb Replacement: 手順 3、 2の画像 2
    • Remove the faulty bulb by turning the bulb counter clockwise.

  4. Whirlpool WED4950HW0 Light Bulb Replacement: 手順 4、 1の画像 1
    • Replace the bulb with a 10W appliance bulb.

    • Ensure it is durable to withstand high temperatures in order to prevent breakage.

    • Turn the bulb clockwise and ensure that it is secure.

  5. Whirlpool WED4950HW0 Light Bulb Replacement: 手順 5、 3の画像 1 Whirlpool WED4950HW0 Light Bulb Replacement: 手順 5、 3の画像 2 Whirlpool WED4950HW0 Light Bulb Replacement: 手順 5、 3の画像 3
    • Place the lens cover back on.

    • Reinsert the screw and use the ratchet wrench to tighten it.

  6. Whirlpool WED4950HW0 Light Bulb Replacement: 手順 6、 1の画像 1
    • Plug the dryer back in.

  7. Whirlpool WED4950HW0 Light Bulb Replacement: 手順 7、 1の画像 1
    • Ensure proper operation of the new bulb.

ゴール

作成者

1人の作成者と共同作成されました。

Ciara Schultz

メンバー登録日: 05/27/24

145 ポイント

1ガイドが承認済み

チーム

University of North Texas, Team 1-21, Kilpatrick Summer 2024 University of North Texas, Team 1-21, Kilpatrick Summer 2024人のメンバー

UNT-KILPATRICK-SU24S1G21

1 メンバー

1のガイドは作成済み

0件のガイドコメント

コメントを追加

統計データ:

過去 24時間: 0

過去 7 日: 10

過去 30 日: 18

今までの合計 272