メインコンテンツにスキップ

Waring Pro SB30 Hot Plate Replacement

必要な工具と部品

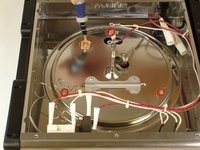
  1. Waring Pro SB30 Hot Plate Replacement, Back Panel: 手順 1、 1の画像 1
    • Remove the screws on the back panel with the #1 Phillips screwdriver bit.

    • The screws in the rubber legs of the burner do not need to be removed.

    • If the back panel has never been opened before, the screws may be more difficult to unscrew.

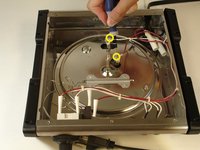
  2. Waring Pro SB30 Hot Plate Replacement: 手順 2、 2の画像 1 Waring Pro SB30 Hot Plate Replacement: 手順 2、 2の画像 2
    • Using a wrench, remove the bolt from the center of the back panel.

  3. Waring Pro SB30 Hot Plate Replacement: 手順 3、 1の画像 1
    • The back panel can now be easily lifted off.

  4. Waring Pro SB30 Hot Plate Replacement, Hot Plate: 手順 4、 2の画像 1 Waring Pro SB30 Hot Plate Replacement, Hot Plate: 手順 4、 2の画像 2
    • Remove screws #1 Phillips screwdriver bit.

    • The interior edges of the metal frame are sharp and can cause minor cuts.

    • 3 screws on the perimeter of the circle

    • 1 screw in the circle

    • 2 screws on the eletrical stands with wires

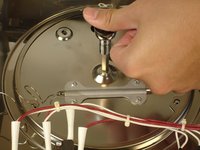
  5. Waring Pro SB30 Hot Plate Replacement: 手順 5、 2の画像 1 Waring Pro SB30 Hot Plate Replacement: 手順 5、 2の画像 2
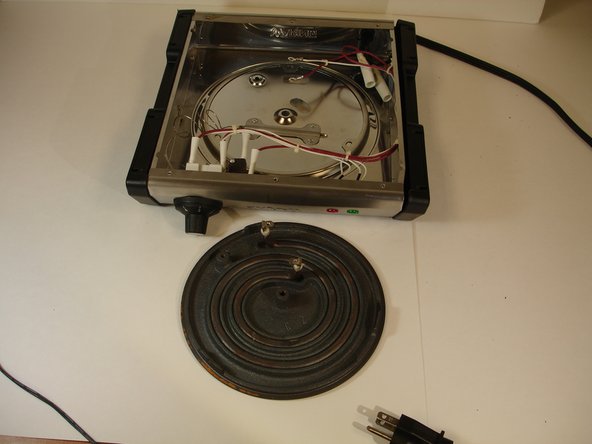
    • Remove rod from the center of the plate with a wrench.

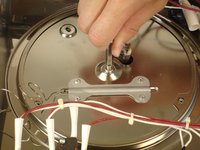
  6. Waring Pro SB30 Hot Plate Replacement: 手順 6、 2の画像 1 Waring Pro SB30 Hot Plate Replacement: 手順 6、 2の画像 2
    • Remove plate carefully as to not damage internal components i.e. insulator, metal frame, wires, etc.

終わりに

To reassemble your device, follow these instructions in reverse order.

2 の人々がこのガイドを完成させました。

作成者

2人の作成者と共同で作成されました。

Sun Fai Lau

メンバー登録日: 09/22/14

588 ポイント

5のガイドは作成済み

チーム

USF Tampa, Team 10-7, Brown Fall 2014 USF Tampa, Team 10-7, Brown Fall 2014人のメンバー

USFT-BROWN-F14S10G7

3 メンバー

5のガイドは作成済み

0 件のコメント

コメントを追加

統計データ:

過去 24時間: 0

過去 7 日: 3

過去 30 日: 12

今までの合計 1,937