メインコンテンツにスキップ

Waka Waka Power Plus Solar Panel Replacement

必要な工具と部品

  1. Waka Waka Power Plus Solar Panel Replacement, Undo the screws: 手順 1、 2の画像 1 Waka Waka Power Plus Solar Panel Replacement, Undo the screws: 手順 1、 2の画像 2
    • Open the lid, remove the silicone screw covers and undo the screws.

  2. Waka Waka Power Plus Solar Panel Replacement, Pry it open and remove the front cover: 手順 2、 2の画像 1 Waka Waka Power Plus Solar Panel Replacement, Pry it open and remove the front cover: 手順 2、 2の画像 2
    • Be careful not to damage the plastic during this step! Using a plastic opening tool instead of a screwdriver may be advisable.

    • Watch out, the hinges are spring loaded. They tend to fly away when tension is relieved.

  3. Waka Waka Power Plus Solar Panel Replacement, Remove the flip cover: 手順 3、 2の画像 1 Waka Waka Power Plus Solar Panel Replacement, Remove the flip cover: 手順 3、 2の画像 2
    • As said in the previous step, be careful when removing the springs. They tend to fly away!

  4. Waka Waka Power Plus Solar Panel Replacement, Remove the battery: 手順 4、 3の画像 1 Waka Waka Power Plus Solar Panel Replacement, Remove the battery: 手順 4、 3の画像 2 Waka Waka Power Plus Solar Panel Replacement, Remove the battery: 手順 4、 3の画像 3
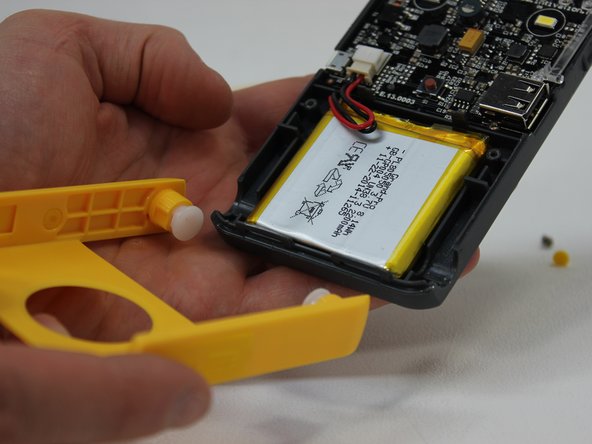
    • Now is a good time to remove the light conductor.

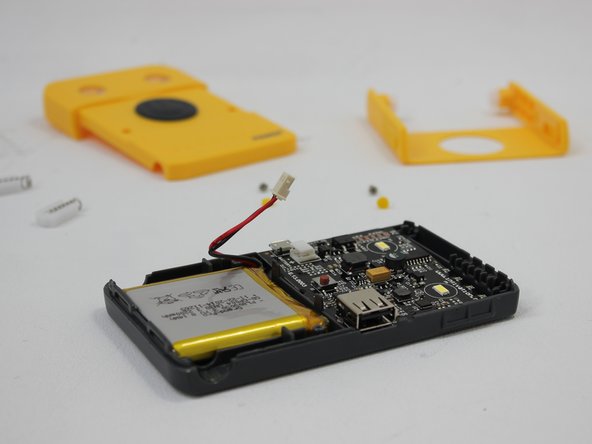
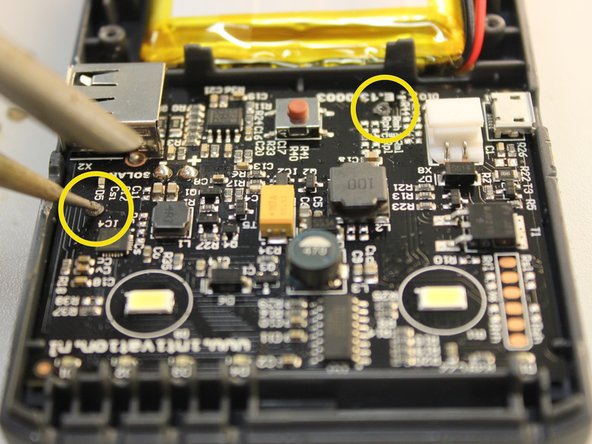
    • Pull out the connector, be careful and only pull the connector and not the wires to avoid damaging them in the process.

    • The battery is fixed in place with double sided tape. Make sure not to bend and damage the battery when taking it out.

  5. Waka Waka Power Plus Solar Panel Replacement, Remove the PCB: 手順 5、 3の画像 1 Waka Waka Power Plus Solar Panel Replacement, Remove the PCB: 手順 5、 3の画像 2 Waka Waka Power Plus Solar Panel Replacement, Remove the PCB: 手順 5、 3の画像 3
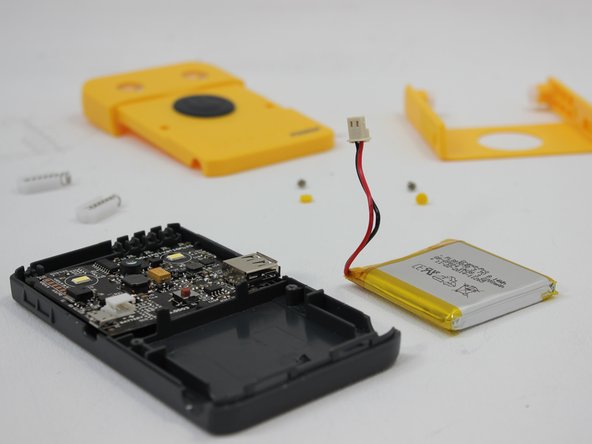
    • There are two plastic pins holding the PCB in place. You will have to break them. Try to damage them as little as possible, this may allow you to re-use them with a little trick we show later on.

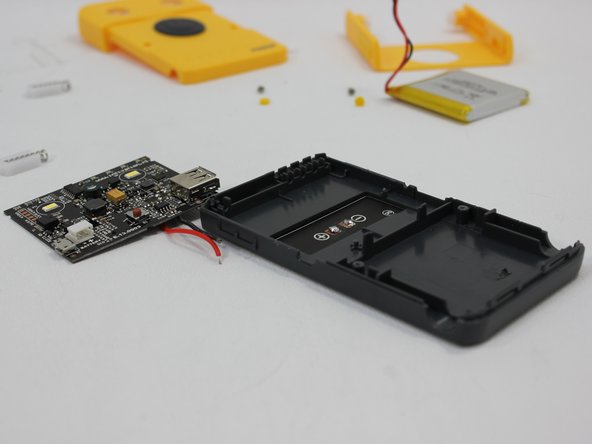
    • You will need a soldering iron to undo and later on redo the connections between the solar panel and the PCB.

  6. Waka Waka Power Plus Solar Panel Replacement, Pry out the solar panel: 手順 6、 2の画像 1 Waka Waka Power Plus Solar Panel Replacement, Pry out the solar panel: 手順 6、 2の画像 2
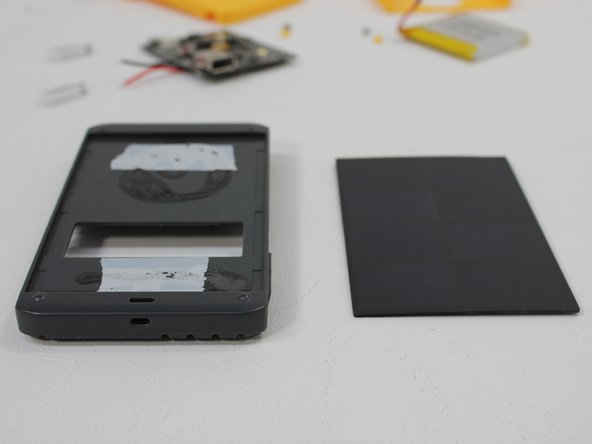
    • Use a flat object like a bank card to avoid bending the solar panel.

    • This Waka Waka has been opened up previously. Since the solar panel was originally glued in place, the solar panel was re-attached using double sided tape. When putting your Waka Waka back together, you could either choose glue or double sided tape. Both work fine.

    • Now replace the solar panel and rebuild the Waka Waka in reverse order. Useful tips for re-assembly will be given in the next step.

  7. Waka Waka Power Plus Solar Panel Replacement, Re-assembly: 手順 7、 2の画像 1 Waka Waka Power Plus Solar Panel Replacement, Re-assembly: 手順 7、 2の画像 2
    • Don't be silly! Red is +, black is -. If you don't know that, you shouldn't be here.

    • You had to break the plastic pins that hold the PCB in place earlier in this repair guide. You can fix them reasonably well by holding a semi-hot soldering iron on them so they melt and once again hold the PCB into place.

終わりに

To reassemble your device, follow these instructions in reverse order.

作成者

2人の作成者と共同で作成されました。

Harm

メンバー登録日: 02/09/15

179 ポイント

3のガイドは作成済み

0 件のコメント

コメントを追加

統計データ:

過去 24時間: 2

過去 7 日: 15

過去 30 日: 27

今までの合計 794