メインコンテンツにスキップ

Wacker Pump PG1 2014 Seal Kit Replacement

必要な工具と部品

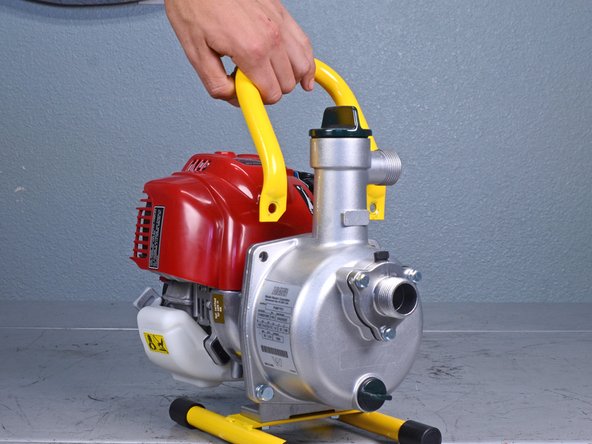
  1. Wacker Pump PG1 2014 Seal Kit Replacement, Safety precautions: 手順 1、 2の画像 1 Wacker Pump PG1 2014 Seal Kit Replacement, Safety precautions: 手順 1、 2の画像 2
    • Before beginning repairs, disconnect and remove all hoses.

    • Flip the motor ignition switch into the OFF position.

  2. Wacker Pump PG1 2014 Seal Kit Replacement, Float Chamber Housing: 手順 2、 1の画像 1
    • Use a 13 mm socket to remove the two bolts securing the handle.

  3. Wacker Pump PG1 2014 Seal Kit Replacement: 手順 3、 2の画像 1 Wacker Pump PG1 2014 Seal Kit Replacement: 手順 3、 2の画像 2
    • Remove the handle.

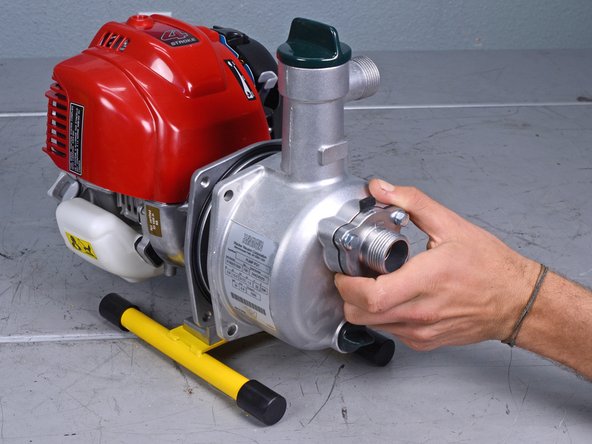
  4. Wacker Pump PG1 2014 Seal Kit Replacement: 手順 4、 1の画像 1
    • Use a 13 mm socket to remove the two bolts securing the float chamber housing.

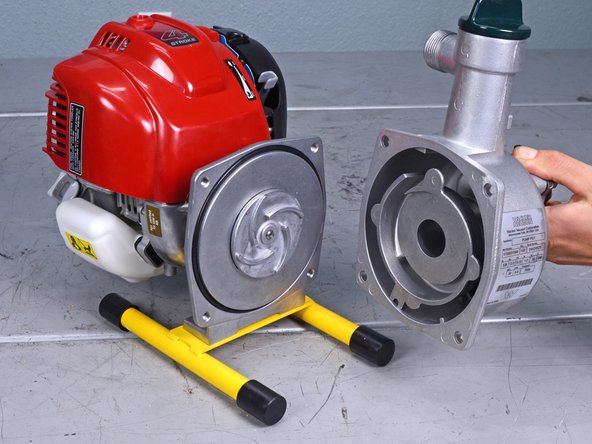
  5. Wacker Pump PG1 2014 Seal Kit Replacement: 手順 5、 3の画像 1 Wacker Pump PG1 2014 Seal Kit Replacement: 手順 5、 3の画像 2 Wacker Pump PG1 2014 Seal Kit Replacement: 手順 5、 3の画像 3
    • Remove the float chamber housing.

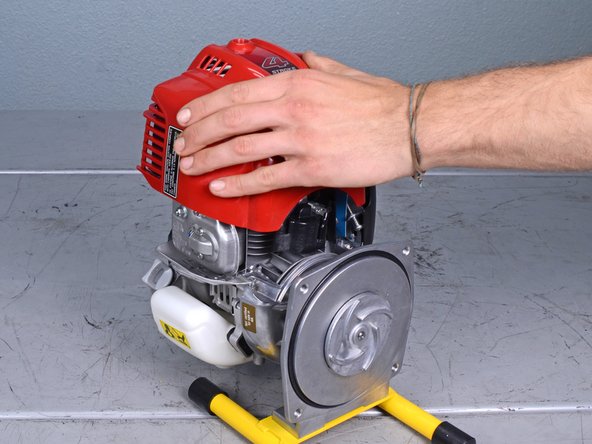
  6. Wacker Pump PG1 2014 Seal Kit Replacement, Remove the engine cover: 手順 6、 1の画像 1
    • Use a 4 mm hex key to remove the bolt securing the engine cover.

  7. Wacker Pump PG1 2014 Seal Kit Replacement: 手順 7、 2の画像 1 Wacker Pump PG1 2014 Seal Kit Replacement: 手順 7、 2の画像 2
    • Lift up to remove the engine cover.

  8. Wacker Pump PG1 2014 Seal Kit Replacement, Block the fan blades: 手順 8、 2の画像 1 Wacker Pump PG1 2014 Seal Kit Replacement, Block the fan blades: 手順 8、 2の画像 2
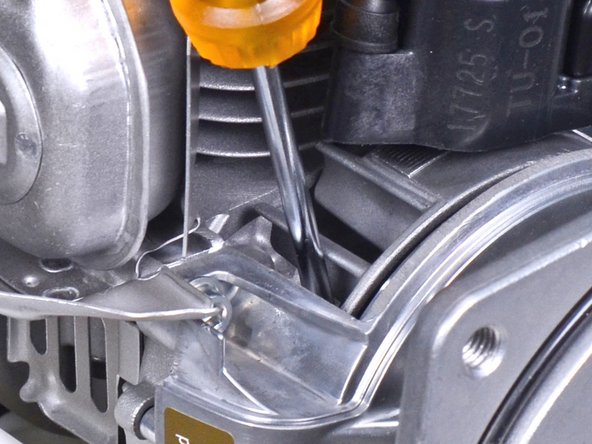
    • The impeller is threaded onto the motor's output shaft and will need to be loosened. In order to stop the shaft from rotating, the motor fan assembly will need to be blocked.

    • Insert a flathead screwdriver between two fan blades on the motor fan assembly.

  9. Wacker Pump PG1 2014 Seal Kit Replacement, Loosen the impeller: 手順 9、 1の画像 1
    • Tap the impeller on one of its blades with a rubber mallet and a punch to break it loose from the threads on the output shaft.

  10. Wacker Pump PG1 2014 Seal Kit Replacement, Remove the impeller: 手順 10、 3の画像 1 Wacker Pump PG1 2014 Seal Kit Replacement, Remove the impeller: 手順 10、 3の画像 2 Wacker Pump PG1 2014 Seal Kit Replacement, Remove the impeller: 手順 10、 3の画像 3
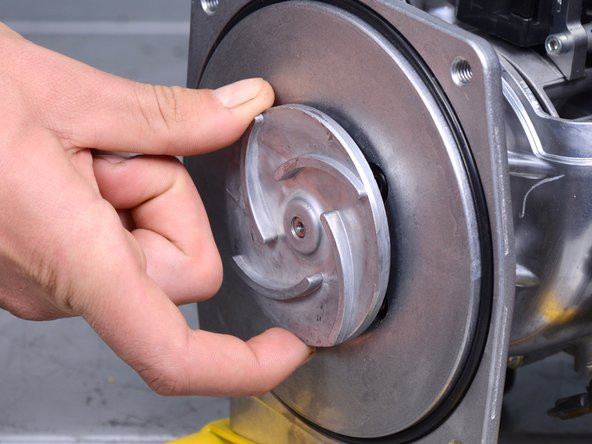
    • Use your fingers to unthread and remove the impeller.

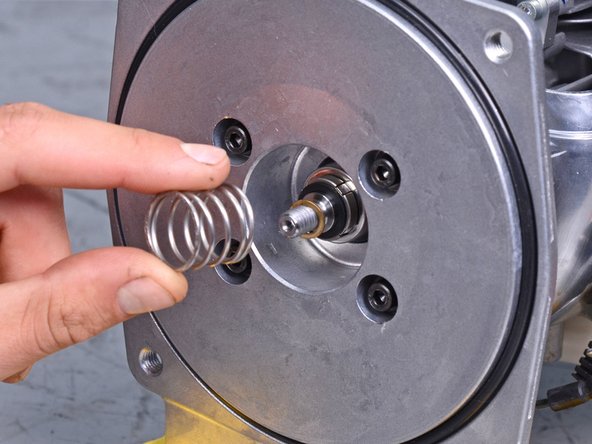
    • With the impeller removed, the seal kit spring will become loose and may fall out.

  11. Wacker Pump PG1 2014 Seal Kit Replacement, Remove the seal spring: 手順 11、 2の画像 1 Wacker Pump PG1 2014 Seal Kit Replacement, Remove the seal spring: 手順 11、 2の画像 2
    • Remove the seal kit spring.

  12. Wacker Pump PG1 2014 Seal Kit Replacement, Remove the seal kit components: 手順 12、 3の画像 1 Wacker Pump PG1 2014 Seal Kit Replacement, Remove the seal kit components: 手順 12、 3の画像 2 Wacker Pump PG1 2014 Seal Kit Replacement, Remove the seal kit components: 手順 12、 3の画像 3
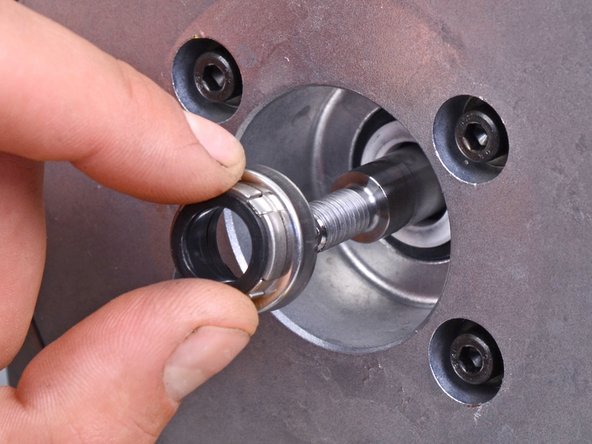
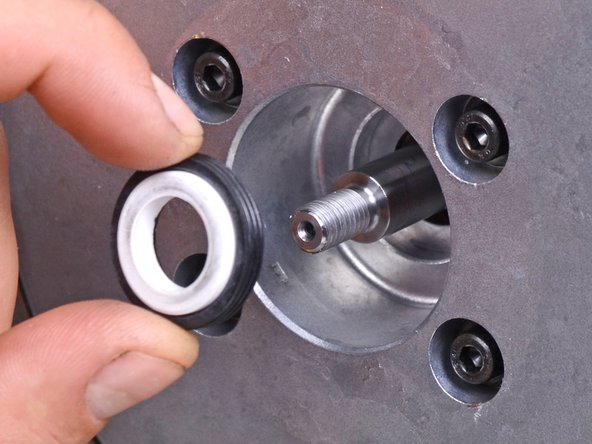
    • Remove the seal kit washer.

    • Remove the seal kit flange.

    • Remove the seal kit bushing.

終わりに

To reassemble your device, follow these instructions in reverse order.

Carsten Frauenheim

メンバー登録日: 03/10/20

115,343 ポイント

339のガイドは作成済み

チーム

iFixit iFixit人のメンバー

Staff

136 メンバー

17,430のガイドは作成済み

0 件のコメント

コメントを追加

統計データ:

過去 24時間: 3

過去 7 日: 5

過去 30 日: 8

今までの合計 150