このバージョンは誤った内容を含んでいる可能性があります。最新の承認済みスナップショットに切り替えてください。
必要な工具と部品
12 の人々がこのガイドを完成させました。
2 件のコメント
In the very first step be aware that the you just need to remove the paper ring. In the photo above this is pink and on mine it was orange.
I made the mistake of thinking I had to use some force with a screwdriver, to remove the ring on the front, which resulted in me scratching the chrome ring.
Once you have removed the paper ring, you can see the screws (or they may be under the left over sticky backing to the paper but are easy to find).
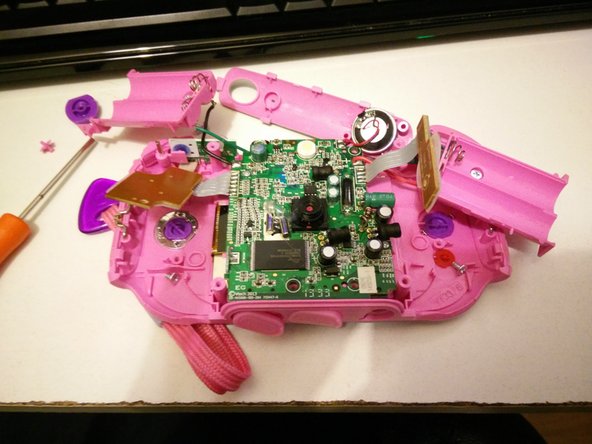
These photos were extremely helpful and I was able to repair the camera.
The problem with mine, was that it would not switch on. We replaced the batteries, but still no good.
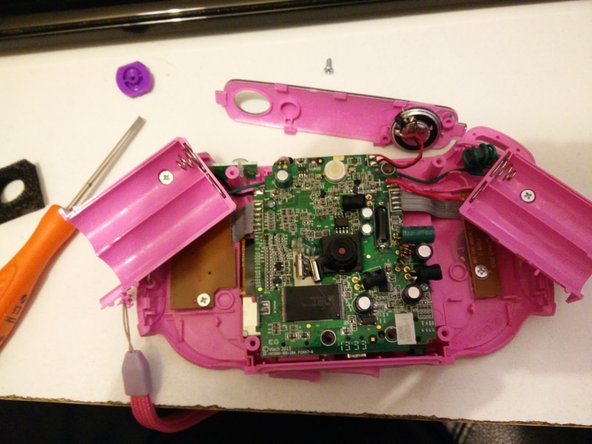
After using the above photos, I opened the camera and discovered that one of the two cables to one of the battery holders, had come loose.
In the process of resoldering the broken cable, the second battery cable also came off … mainly due to the use of VERY thin wire and minimum solder.
Anyway, the camera is now working again and my son is very happy.


