メインコンテンツにスキップ

Verizon M1424WR Refresh Button Replacement

必要な工具と部品

  1. Verizon M1424WR Refresh Button Replacement, Refresh Button: 手順 1、 1の画像 1
    • Flip the device so that the bottom is facing up.

  2. Verizon M1424WR Refresh Button Replacement: 手順 2、 3の画像 1 Verizon M1424WR Refresh Button Replacement: 手順 2、 3の画像 2 Verizon M1424WR Refresh Button Replacement: 手順 2、 3の画像 3
    • Insert the plastic-opening tool under the silver labeled casing.

    • Carefully pry at different intervals around the silver labeled casing to separate the silver casing from the top and bottom casing.

  3. Verizon M1424WR Refresh Button Replacement: 手順 3、 2の画像 1 Verizon M1424WR Refresh Button Replacement: 手順 3、 2の画像 2
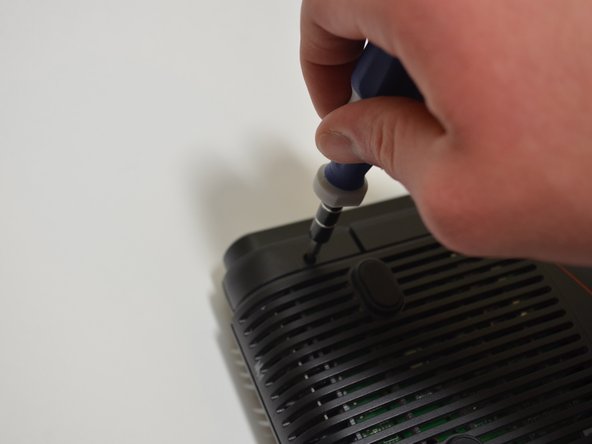
    • Unscrew the five 10-mm screws on the bottom of the router using a Phillips #0 screwdriver.

  4. Verizon M1424WR Refresh Button Replacement: 手順 4、 2の画像 1 Verizon M1424WR Refresh Button Replacement: 手順 4、 2の画像 2
    • Use a plastic-opening tool and pry the top casing from the bottom casing to expose the circuit board in the bottom half of the device.

  5. Verizon M1424WR Refresh Button Replacement: 手順 5、 1の画像 1
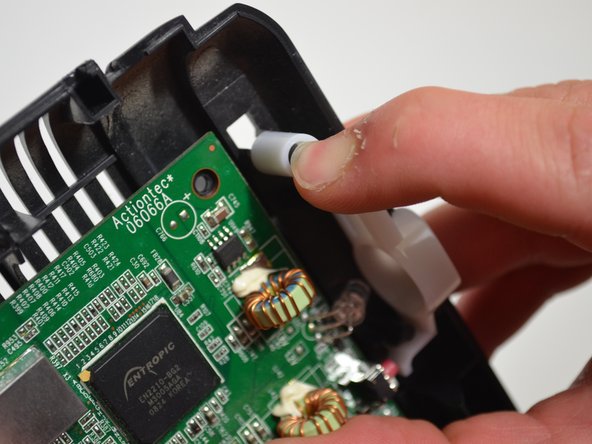
    • Locate the refresh button.

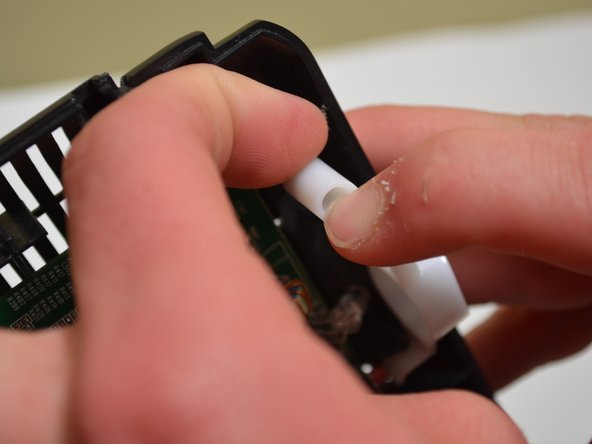
  6. Verizon M1424WR Refresh Button Replacement: 手順 6、 3の画像 1 Verizon M1424WR Refresh Button Replacement: 手順 6、 3の画像 2 Verizon M1424WR Refresh Button Replacement: 手順 6、 3の画像 3
    • Apply pressure with your finger to the black tab that retains the refresh button while using your other hand to pull the bottom of the refresh button from the post.

終わりに

To reassemble your device, follow these instructions in reverse order.

作成者

2人の作成者と共同で作成されました。

Jeffrey Fox

メンバー登録日: 09/17/14

347 ポイント

3のガイドは作成済み

チーム

University of Kentucky Louisville, Team 1-3, Mathis Fall 2014 University of Kentucky Louisville, Team 1-3, Mathis Fall 2014人のメンバー

LOUISVILLE-MATHIS-F14S1G3

3 メンバー

8のガイドは作成済み

0 件のコメント

コメントを追加

統計データ:

過去 24時間: 0

過去 7 日: 0

過去 30 日: 0

今までの合計 350