メインコンテンツにスキップ

Verizon Ellipsis 8 Antenna Replacement

必要な工具と部品

  1. Verizon Ellipsis 8 Antenna Replacement, Battery: 手順 1、 1の画像 1
    • Using a plastic opening tool, slowly pry along the seam running along the edge of the device until the back case snaps free.

    • Remove the back case.

  2. Verizon Ellipsis 8 Antenna Replacement: 手順 2、 1の画像 1
    • Using a Phillips #00 screwdriver, remove the two 0.1 mm screws on the green bracket.

  3. Verizon Ellipsis 8 Antenna Replacement: 手順 3、 1の画像 1
    • Once you remove the backing of the Verizon Ellipsis 8, gently use the spudger to lift one side of the tape. Once you have lifted the tape, slowly remove it until it is completely off the battery.

  4. Verizon Ellipsis 8 Antenna Replacement: 手順 4、 1の画像 1
    • Lift and remove the battery from the device.

  5. Verizon Ellipsis 8 Antenna Replacement, Antenna: 手順 5、 1の画像 1
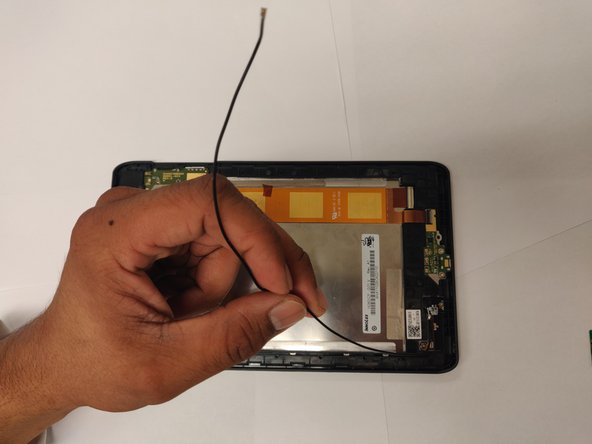
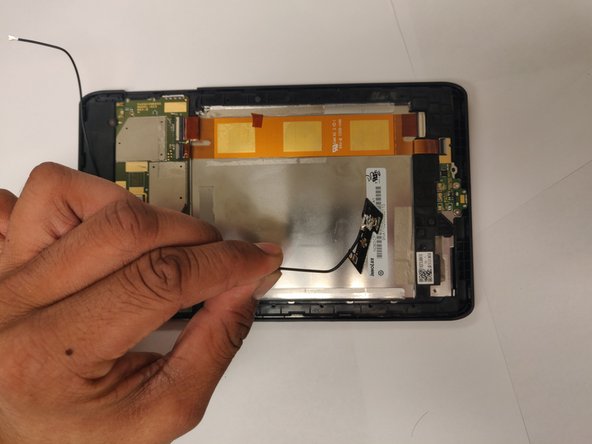
    • Using a plastic opening tool, lift the motherboard along the top right edge of the device.

  6. Verizon Ellipsis 8 Antenna Replacement: 手順 6、 3の画像 1 Verizon Ellipsis 8 Antenna Replacement: 手順 6、 3の画像 2 Verizon Ellipsis 8 Antenna Replacement: 手順 6、 3の画像 3
    • Once you have access to the antenna, remove it and replace it.

終わりに

To reassemble your device, follow these instructions in reverse order.

作成者

5人の作成者と共同で作成されました。

Jack

メンバー登録日: 02/06/19

589 ポイント

3のガイドは作成済み

チーム

UC Davis, Team S18-G6, Lore Winter 2019 UC Davis, Team S18-G6, Lore Winter 2019人のメンバー

UCD-LORE-W19S18G6

3 メンバー

3のガイドは作成済み

0 件のコメント

コメントを追加

統計データ:

過去 24時間: 0

過去 7 日: 1

過去 30 日: 9

今までの合計 250