はじめに
This guide will show you how to replace a charging port (Micro-USB) on a Verizon Ellipsis 7: invaluable to fixing a broken charging port and allowing continued use of the device. This process will need opening tools and tweezers, as well as a Phillips #00 screwdriver. Use caution, as performing the actions in this guide incorrectly could break your device.
必要な工具と部品
-
-
Hold down the power button until the screen goes black to turn off the device.
-
Remove the SIM card from the device to prevent damage.
-
To remove the SIM card, open the SIM card cover on the side of the device.
-
Push SIM card in and pull it out after hearing a click.
-
-
-
この手順で使用する道具:Tweezers$4.99
-
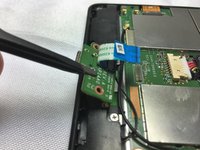
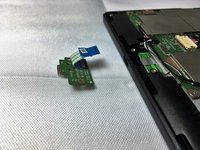
Remove the charging (micro-USB) port.
-
Unscrew the indicated screws using the Phillips #00 screwdriver.
-
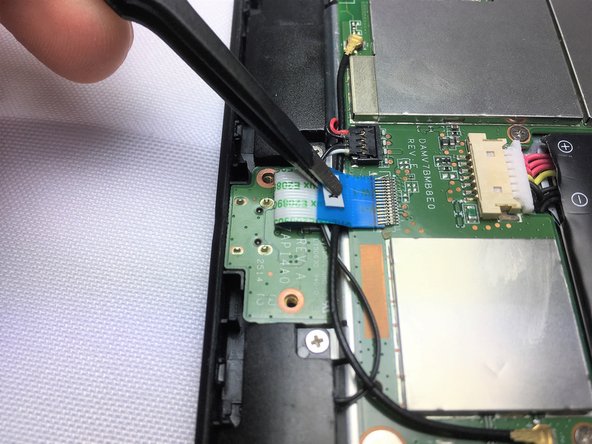
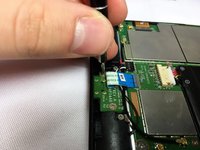
Disconnect the ribbon cable connecting the charging port board to the motherboard using tweezers.
-
Use the tweezers to grab the sides of black, plastic connector. Do not grab from the wires or try to wedge it out from the bottom.
-


To reassemble your device, follow these instructions in reverse order.
4 の人々がこのガイドを完成させました。
チーム

Sam Houston State, Team 12-7, Blackburne Fall 2016 Sam Houston State, Team 12-7, Blackburne Fall 2016人のメンバー
SHSU-BLACKBURNE-F16S12G7
3 メンバー
10のガイドは作成済み
4件のガイドコメント
Guide was helpful in getting the back cover off.
I used a couple of guitar picks to pry the back cover off very carefully.
The Ellipsis 7 battery is glued into place.
I slid a credit card underneath the battery to break the glue adhesion from
the far end of the battery and worked my way towards the battery connector.
Just before removing the battery completely, I disconnected the battery connector
by prying it away from it's receptacle using the 2 guitar picks.
I positioned the credit card over the still sticky glue while positioning the battery.
Reattached the new battery connector, making sure no wires were caught under the new battery.
I then removed the credit card over the sticky glue and pressed the onto the metal battery mount plate.
Snapped the back cover on, starting at the end furthest away from the camera aperture, then snapped the back
cover up each side simultaneously up the sides. I tested all tablet functions immediately, as the battery came charged to 75%.
Works so far! Walt Taylor
How can the charging port if the part is not available?
Joe M