この修理ガイドは変更されています。最新の未承認バージョンに切り替えます。
はじめに
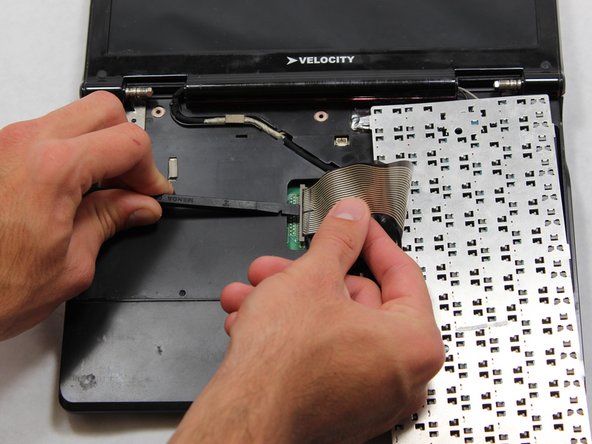
In this guide you will remove a total of three pieces to replace the keyboard. It will be a combination of prying and pulling to complete the task. During this process, it would be a good idea to have some electrical cleaner handy to clean the connections and the plastic pieces of all unwanted residue. This is an easy replacement and can be done within an hour. The only tools needed will be a spudger.
必要な工具と部品
-
-
Place the notebook on the table, with the battery facing away from you.
-
Slide the switch from "lock" to "unlock" with your right hand on the right side of the computer.
-
Maintain holding the right switch in the "unlock" position.
-
Use your left hand to slide the left switch from "lock" to "unlock".
-
-
-
-
Place the laptop fully opened with the keyboard facing upwards.
-
Remove the hinge cover by wedging the spudger underneath at the bottom edge and gently prying upwards while sliding the spudger along the cover.
-


To reassemble your device, follow these instructions in reverse order.
To reassemble your device, follow these instructions in reverse order.

チーム

Cal Poly, Team 14-9, Forte Fall 2013 Cal Poly, Team 14-9, Forte Fall 2013人のメンバー
CPSU-FORTE-F13S14G9
5 メンバー
6のガイドは作成済み