はじめに
Use this guide if you are having a loss of signal from the baby unit to the parent unit. This guide will showcase how to dismantle the parent unit and replace the antenna. While working on the device make sure the device is powered off and not plugged into the wall, as its unsafe to work on plug-in electronics.
必要な工具と部品
-
-
Expose the battery compartment by removing the lower back cover of the device.
-
Do this by holding the back side of the device upside down in your hands and applying pressure to the indented portion with both thumbs.
 FixBotに聞いてみる
-
-
-
Once the batteries are exposed, use your index finger to push the battery against the spring and pull up to dislodge the battery.
-
-
-
-
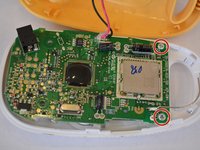
Using a Phillips #00 screwdriver, remove the two 11.2 mm Philips #00 screws located on either side of the battery slots.
-
-
-
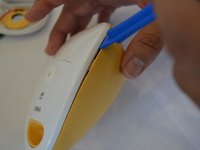
Insert the plastic opening tool into the seam between the front and back coverings to create a gap.
-
-
-
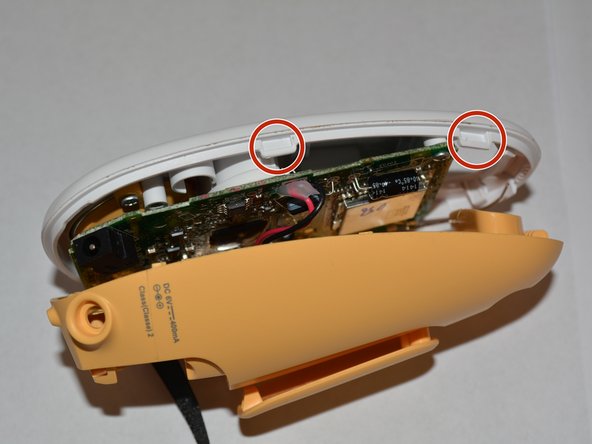
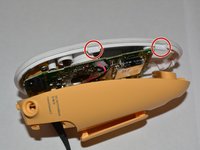
Unscrew the two 6.8 mm Phillips #00 screws located on the motherboard.
-
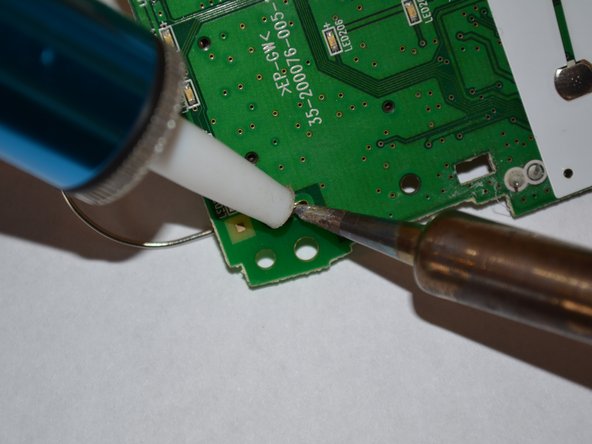
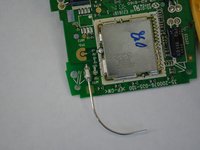
Once you've safely detached the two units, now relocate the Antenna. Flip the device and locate the solder points.
-
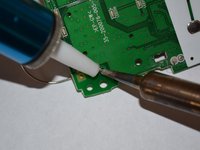
Using a Soldering Iron, detach the Antenna and solder a new antenna.
-


To reassemble your device, follow these instructions in reverse order.
チーム

USF Tampa, Team 6-3, Remmell Fall 2015 USF Tampa, Team 6-3, Remmell Fall 2015人のメンバー
USFT-REMMELL-F15S6G3
4 メンバー
7のガイドは作成済み