メインコンテンツにスキップ

VTech InnoTab 2s Screen Replacement

必要な工具と部品

  1. VTech InnoTab 2s Screen Replacement, Back Panel: 手順 1、 1の画像 1
    • Turn your device to where the back panel is facing you.

  2. VTech InnoTab 2s Screen Replacement: 手順 2、 2の画像 1 VTech InnoTab 2s Screen Replacement: 手順 2、 2の画像 2
    • Lift the Leg all the way up and twist the bottom to remove.

    • Once the bottom part pops out the whole leg should just come off.

    • Remove any game cartridge from the device.

  3. VTech InnoTab 2s Screen Replacement: 手順 3、 3の画像 1 VTech InnoTab 2s Screen Replacement: 手順 3、 3の画像 2 VTech InnoTab 2s Screen Replacement: 手順 3、 3の画像 3
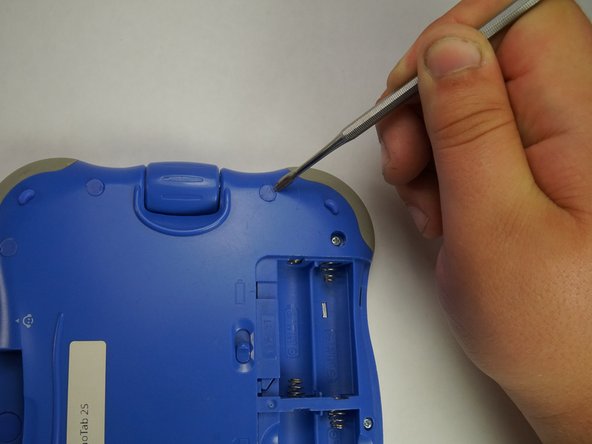
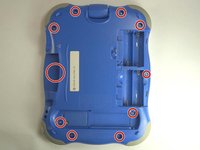
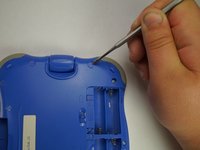
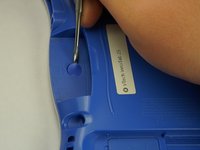
    • Remove all of the plastic tabs on the device. These are covering screws that will need to be removed.

    • These covers are made of hard plastic so they may be difficult to remove.

    • There is a special tab in the cartridge cover that is made of rubber, make sure to not break this tab.

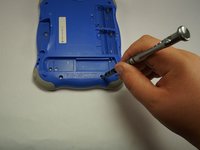
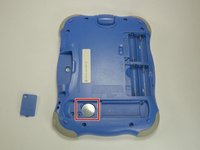
  4. VTech InnoTab 2s Screen Replacement: 手順 4、 2の画像 1 VTech InnoTab 2s Screen Replacement: 手順 4、 2の画像 2
    • Remove all nine screws from the back of the device using a J0 bit.

    • Remove the small battery.

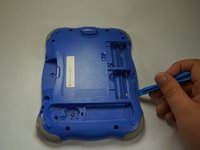
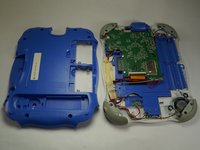
  5. VTech InnoTab 2s Screen Replacement: 手順 5、 2の画像 1 VTech InnoTab 2s Screen Replacement: 手順 5、 2の画像 2
    • Using a plastic opening tool, detach the backplate from the front piece.

    • Do not use excessive force. Double check that you removed all the screws if the panel is not coming off easily.

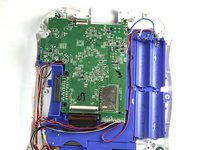
    • Once the backplate has been removed, you will have access to the circuit board.

  6. VTech InnoTab 2s Screen Replacement, Motherboard: 手順 6、 1の画像 1
    • First begin by removing the three cross-head screws using a J0 bit.

  7. VTech InnoTab 2s Screen Replacement: 手順 7、 1の画像 1
    • First remove the ribbon cables. There are two highlighted by the red squares

    • Do not apply too much pressure and make sure that the black plastic tabs are fully open before you pull the cable out.

  8. VTech InnoTab 2s Screen Replacement: 手順 8、 1の画像 1
    • Remove the camera from the assembly and put is a safe place so that it will not get damaged.

  9. VTech InnoTab 2s Screen Replacement: 手順 9、 1の画像 1
    • Remove the board from the main assembly.

    • Be careful not to pull too hard so that the cables aren't broken.

  10. VTech InnoTab 2s Screen Replacement: 手順 10、 1の画像 1
    • De-solder the points shown to fully remove the cables and free the board.

    • A soldering guide offered by IFIXIT can be found here Soldering Skills.

  11. VTech InnoTab 2s Screen Replacement, Screen: 手順 11、 2の画像 1 VTech InnoTab 2s Screen Replacement, Screen: 手順 11、 2の画像 2
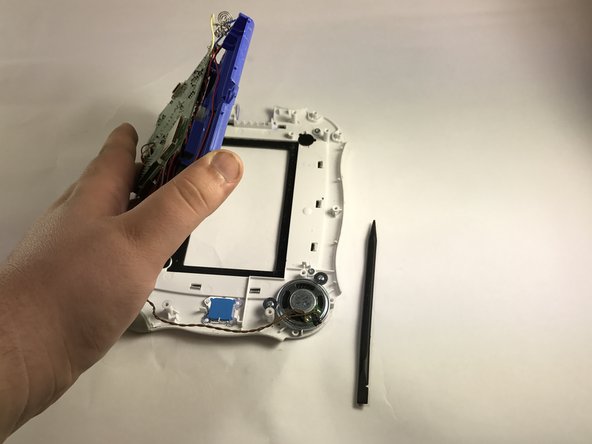
    • After removing the back plate and screws, all screws have been removed to separate the circuit board and wires from the front panel.

    • Remove the front panel from the device to expose the screen.

  12. VTech InnoTab 2s Screen Replacement: 手順 12、 1の画像 1
    • Using a heat gun, heat the glue that holds the screen to the rest of the device.

    • While heating, carefully pull screen from the device exposing the ribbon wire on the back of the screen, disconnect.

終わりに

To reassemble your device, follow these instructions in reverse order.

ある他の人がこのガイドを完成しました。

作成者

3人の作成者と共同で作成されました。

Esthevan Romeiro

メンバー登録日: 10/06/16

261 ポイント

4のガイドは作成済み

チーム

USF Tampa, Team 5-1, Lacy Fall 2016 USF Tampa, Team 5-1, Lacy Fall 2016人のメンバー

USFT-LACY-F16S5G1

4 メンバー

12のガイドは作成済み

0 件のコメント

コメントを追加

統計データ:

過去 24時間: 0

過去 7 日: 0

過去 30 日: 2

今までの合計 731