この修理ガイドは変更されています。最新の未承認バージョンに切り替えます。
はじめに
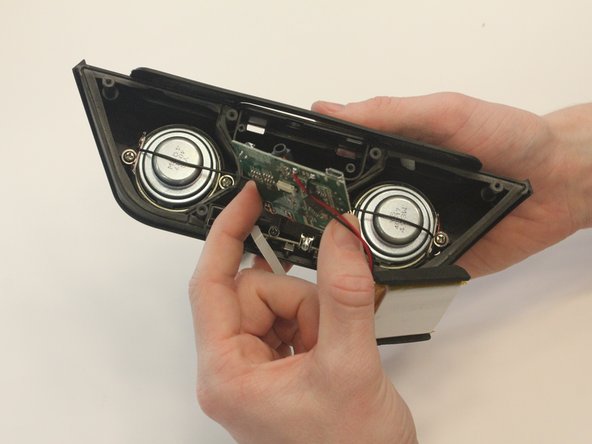
Here we will be removing the small michrophone in the back of the taco. This task requires removing the logic board before it may be reached.
必要な工具と部品
-
-
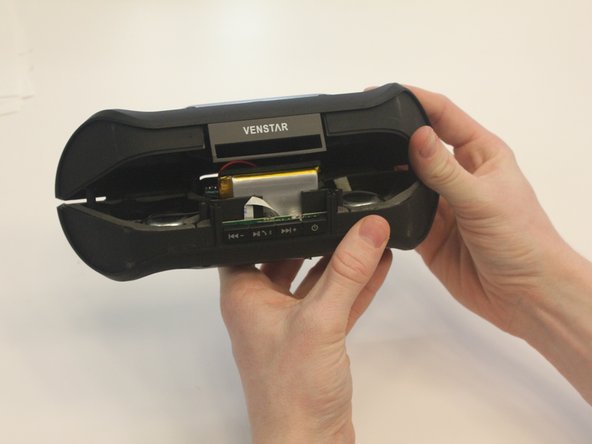
Starting with the Taco on its side, use the plastic opening tool to pop off the outer casing near the base.
-
-
-
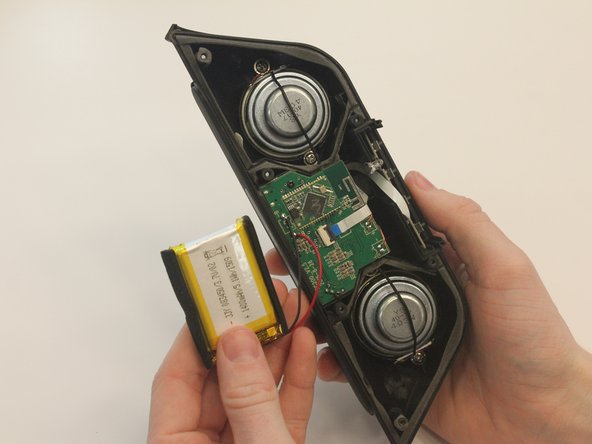
Using a Phillips PH0 3 mm-bit screwdriver, remove the six screws on the inner layer of the Taco.
-
-
-
-
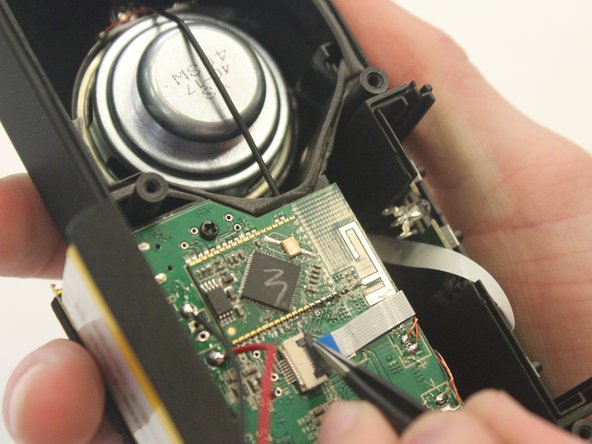
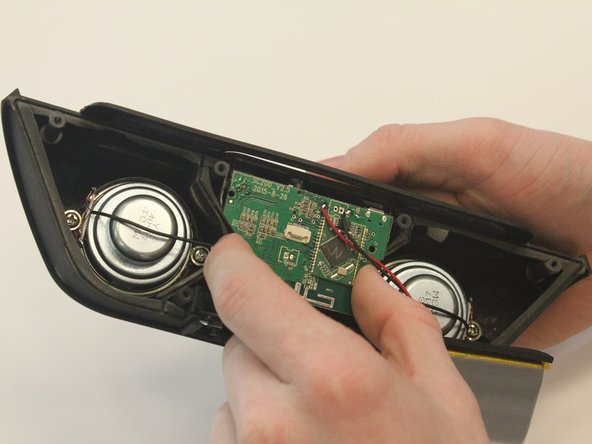
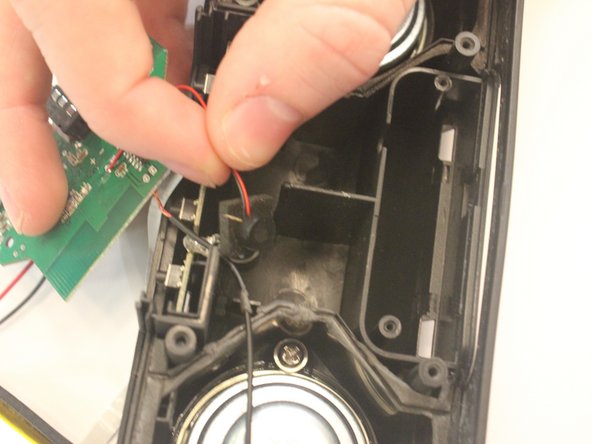
Below the logic board, the small black microphone is resting within the case.
-


To reassemble your device, follow these instructions in reverse order.
To reassemble your device, follow these instructions in reverse order.
ある他の人がこのガイドを完成しました。
チーム

University of Kentucky Louisville, Team 1-3, Matravers Spring 2016 University of Kentucky Louisville, Team 1-3, Matravers Spring 2016人のメンバー
LOUISVILLE-MATRAVERS-S16S1G3
4 メンバー
5のガイドは作成済み