メインコンテンツにスキップ
リペアコミュニティに参加 - アカウントの作成

Utility Trailer Lights Replacement

必要な工具と部品

    1. Utility Trailer Lights Replacement, Lights: 手順 1、 1の画像 1
      • Find the wires running from the trailer to the light.

      • For my trailer, the wires are connected with wire nuts and then wrapped in electrical tape.

      FixBotに聞いてみる

      コメントを追加

    2. Utility Trailer Lights Replacement: 手順 2、 3の画像 1 Utility Trailer Lights Replacement: 手順 2、 3の画像 2 Utility Trailer Lights Replacement: 手順 2、 3の画像 3
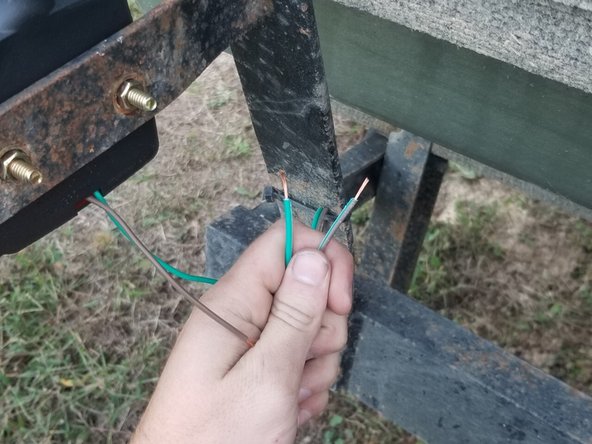
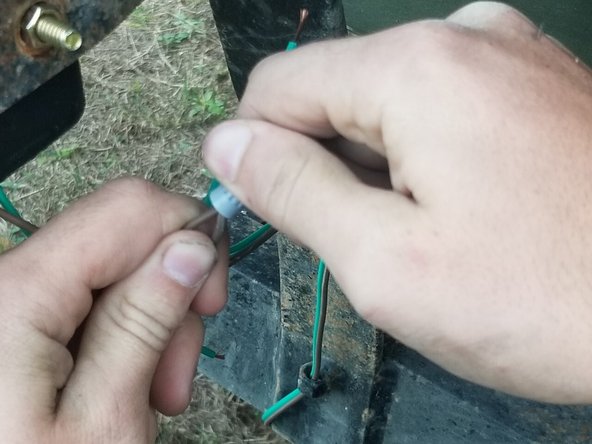
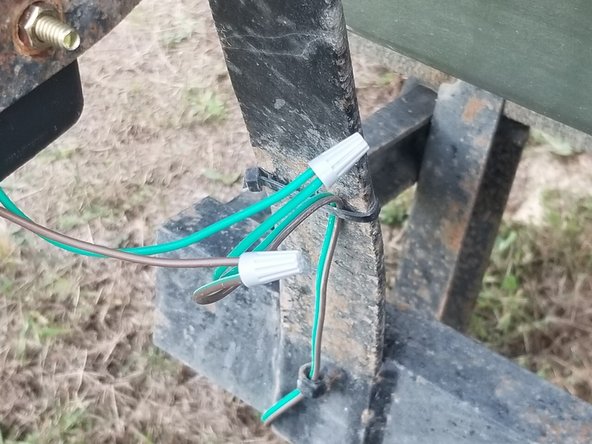
      • Remove the electrical tape from the wires and wire nuts.

      • Unscrew the wire nuts from the green and brown wires.

      FixBotに聞いてみる

      コメントを追加

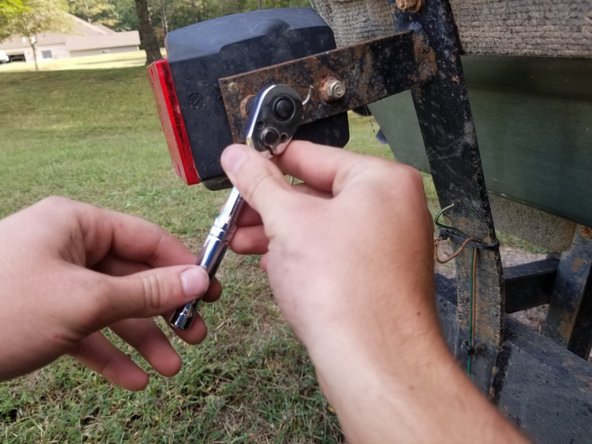
    3. Utility Trailer Lights Replacement: 手順 3、 3の画像 1 Utility Trailer Lights Replacement: 手順 3、 3の画像 2 Utility Trailer Lights Replacement: 手順 3、 3の画像 3
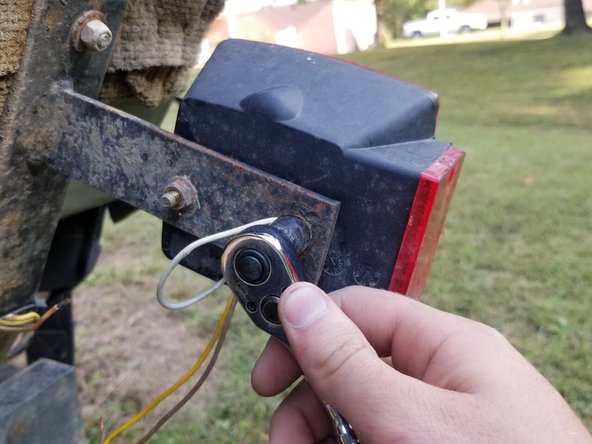
      • Use a ratchet wrench to remove both hex nuts on the bolts mounting the light to the bracket.

      FixBotに聞いてみる

      コメントを追加

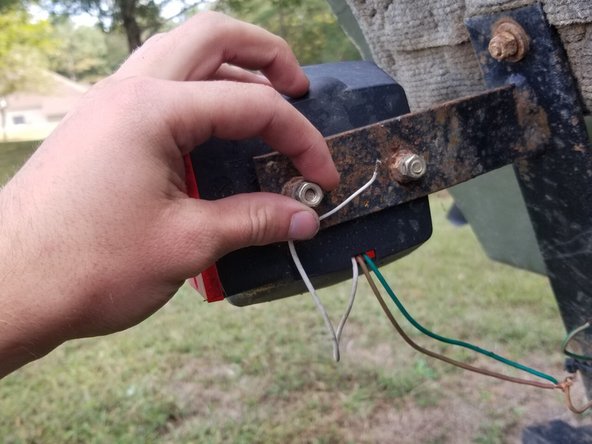
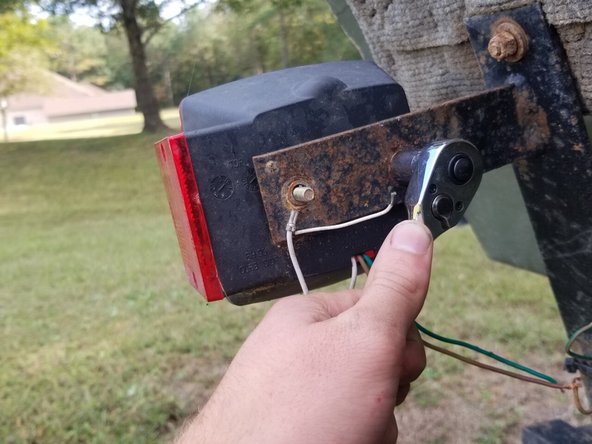
    4. Utility Trailer Lights Replacement: 手順 4、 3の画像 1 Utility Trailer Lights Replacement: 手順 4、 3の画像 2 Utility Trailer Lights Replacement: 手順 4、 3の画像 3
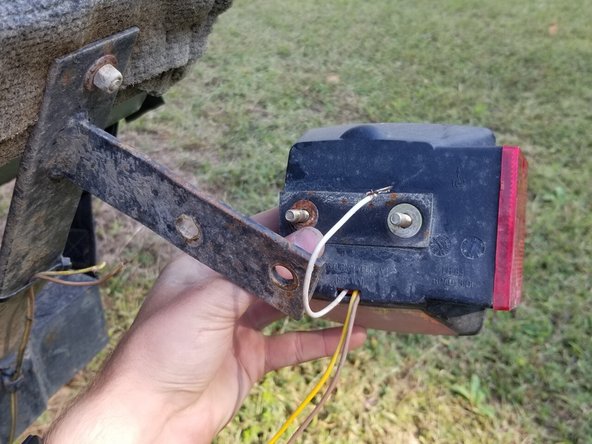
      • Use the ratchet wrench to remove the second set of hex nuts on the bolts from the light going through the mounting bracket.

      • Take the white ground wire off of the bolts going through the mounting bracket.

      FixBotに聞いてみる

      コメントを追加

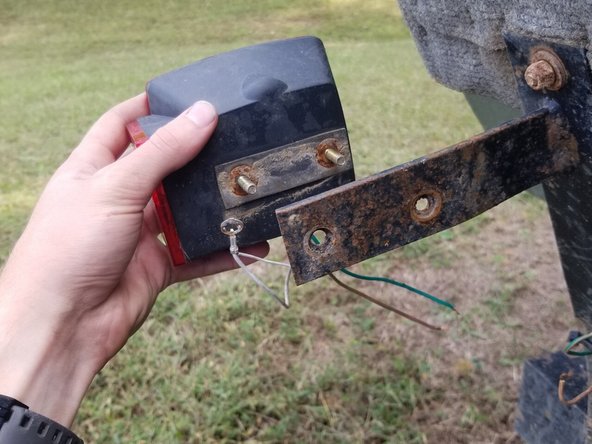
    5. Utility Trailer Lights Replacement: 手順 5、 2の画像 1 Utility Trailer Lights Replacement: 手順 5、 2の画像 2
      • Place your thumbs on the bolts of the trailer light and push with even pressure on both bolts.

      • Remove the light and discard it.

      FixBotに聞いてみる

      コメントを追加

    6. Utility Trailer Lights Replacement: 手順 6、 3の画像 1 Utility Trailer Lights Replacement: 手順 6、 3の画像 2 Utility Trailer Lights Replacement: 手順 6、 3の画像 3
      • Move to the driver side light on the trailer.

      • The process for removing the light on this side is the exact same it is for the light on the passenger side.

      • Follow steps 2-6 for removing the light from the driver side.

      FixBotに聞いてみる

      コメントを追加

    7. Utility Trailer Lights Replacement: 手順 7、 2の画像 1 Utility Trailer Lights Replacement: 手順 7、 2の画像 2
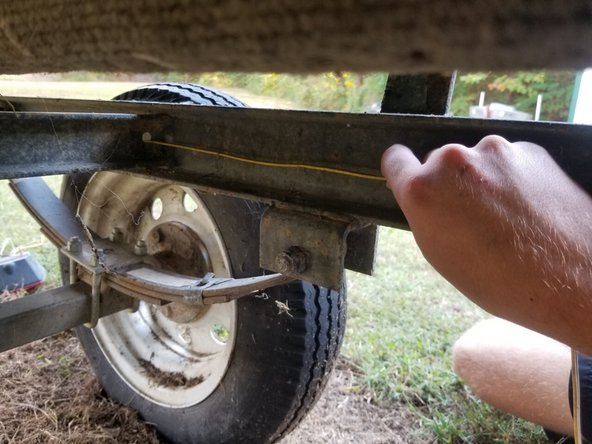
      • Inspect all the wiring on both sides of the trailer itself and closely look at points of contact where the wires could potentially rub and get damaged.

      • The wires should be located in the inner walls of the support beams of the trailer.

      FixBotに聞いてみる

      コメントを追加

    8. Utility Trailer Lights Replacement: 手順 8、 2の画像 1 Utility Trailer Lights Replacement: 手順 8、 2の画像 2
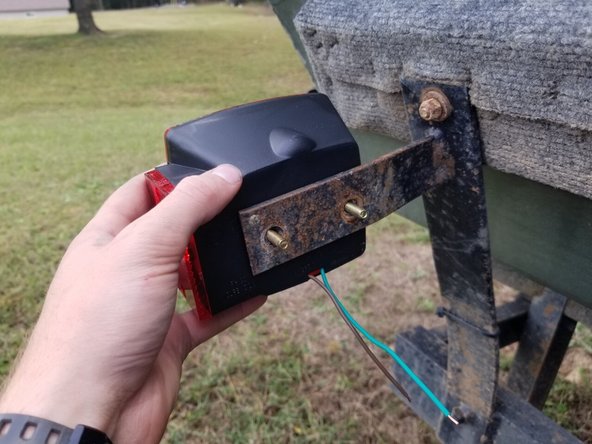
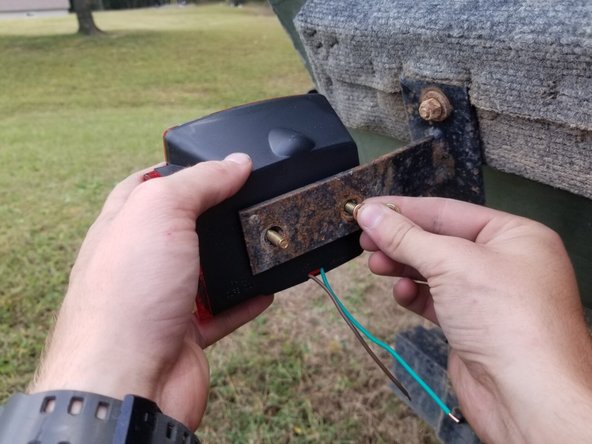
      • Once the wiring has been examined and is free from breaks or signs of wear, it is time to install the new trailer lights.

      • Insert the bolts of the passenger side light into the mounting bracket on the trailer.

      FixBotに聞いてみる

      コメントを追加

    9. Utility Trailer Lights Replacement: 手順 9、 3の画像 1 Utility Trailer Lights Replacement: 手順 9、 3の画像 2 Utility Trailer Lights Replacement: 手順 9、 3の画像 3
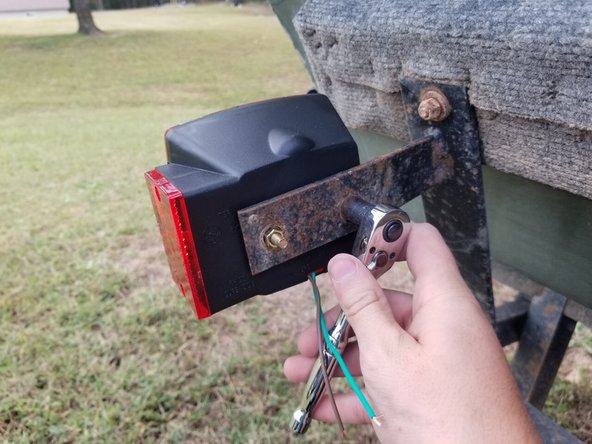
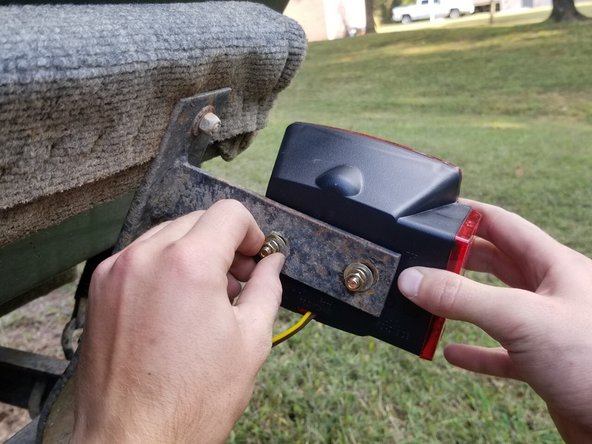
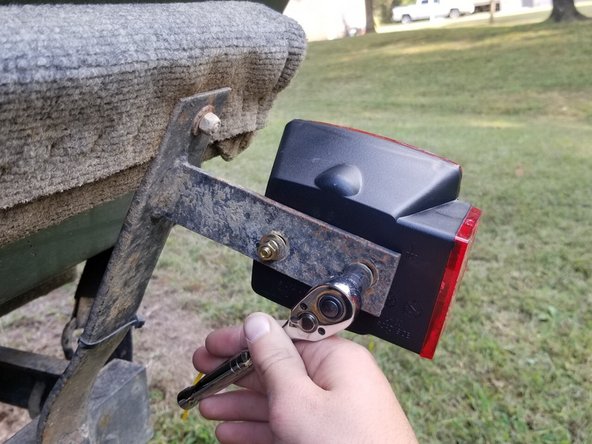
      • Place a lock washer and a hex nut (included in kit) onto each bolt sticking through the mounting bracket.

      • Tighten each hex nut down with a ratchet wrench.

      FixBotに聞いてみる

      コメントを追加

    10. Utility Trailer Lights Replacement: 手順 10、 3の画像 1 Utility Trailer Lights Replacement: 手順 10、 3の画像 2 Utility Trailer Lights Replacement: 手順 10、 3の画像 3
      • For installing the new light on the mounting bracket on the driver side, repeat steps 9 and 10.

      FixBotに聞いてみる

      コメントを追加

    11. Utility Trailer Lights Replacement: 手順 11、 2の画像 1 Utility Trailer Lights Replacement: 手順 11、 2の画像 2
      • Move back to the passenger side light.

      • Use a pair of wire strippers to strip the ends of the green and brown wire coming from the newly installed light.

      FixBotに聞いてみる

      コメントを追加

    12. Utility Trailer Lights Replacement: 手順 12、 3の画像 1 Utility Trailer Lights Replacement: 手順 12、 3の画像 2 Utility Trailer Lights Replacement: 手順 12、 3の画像 3
      • Take the ends of both brown wires and twist them together. Do the same thing with both of the green wires.

      • Take a wire nut and screw it onto the brown twisted-together wires. Do the same thing for the green twisted-together wires.

      FixBotに聞いてみる

      コメントを追加

    13. Utility Trailer Lights Replacement: 手順 13、 1の画像 1
      • Move to the driver side.

      • Follow steps 12 and 13 to connect the yellow wires to each other and the brown wires to each other.

      FixBotに聞いてみる

      コメントを追加

終わりに

To test that you were successful, attach the male adapter to your vehicle and test the brake lights and turn signals.

キャンセル: このガイドを終了できませんでした。

ある他の人がこのガイドを完成しました。

作成者

1人の作成者と共同作成されました。

Matthew Sanders

メンバー登録日: 09/17/20

291 ポイント

1ガイドが承認済み

チーム

University of Memphis, Team S1-G15, Bishop Fall 2020 University of Memphis, Team S1-G15, Bishop Fall 2020人のメンバー

UM-BISHOP-F20S1G15

1 メンバー

10のガイドは作成済み

0件のガイドコメント

コメントを追加

統計データ:

過去 24時間: 4

過去 7 日: 27

過去 30 日: 128

今までの合計 6,621