メインコンテンツにスキップ

Unihertz Titan Pocket keyboard Disassembly

必要な工具と部品

  1. Unihertz Titan Pocket keyboard Disassembly, Side plates disassembly: 手順 1、 3の画像 1 Unihertz Titan Pocket keyboard Disassembly, Side plates disassembly: 手順 1、 3の画像 2 Unihertz Titan Pocket keyboard Disassembly, Side plates disassembly: 手順 1、 3の画像 3
    • Use a Torx T5 screwdriver to remove the 3 screws.

    • Remove the Sim tray.

    • Use a Torx T5 screwdriver to remove the 3 screws.

  2. Unihertz Titan Pocket keyboard Disassembly, Back plate screws: 手順 2、 1の画像 1
    • Use a Torx T5 screwdriver to remove the 4 screws.

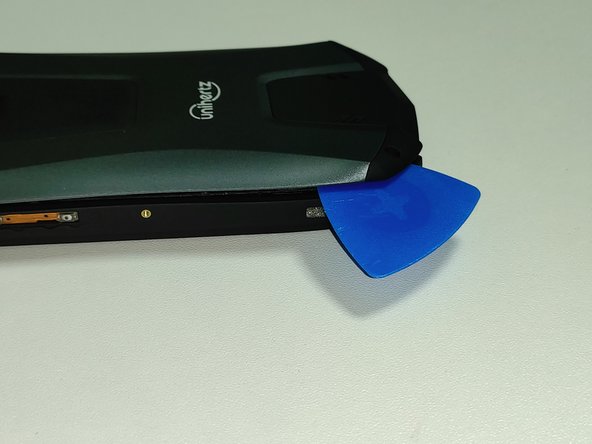
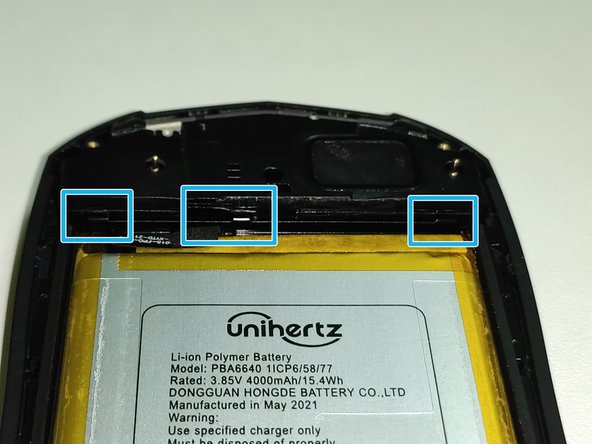
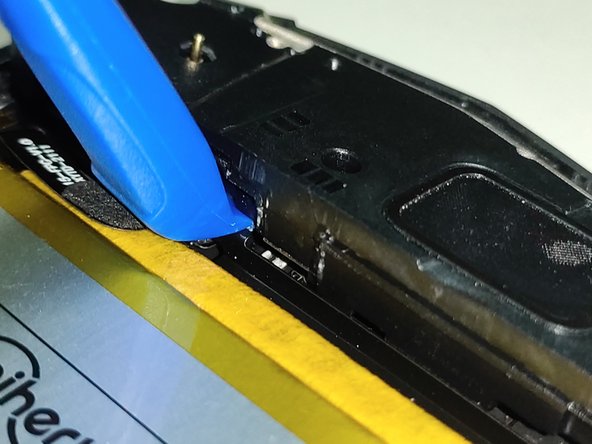
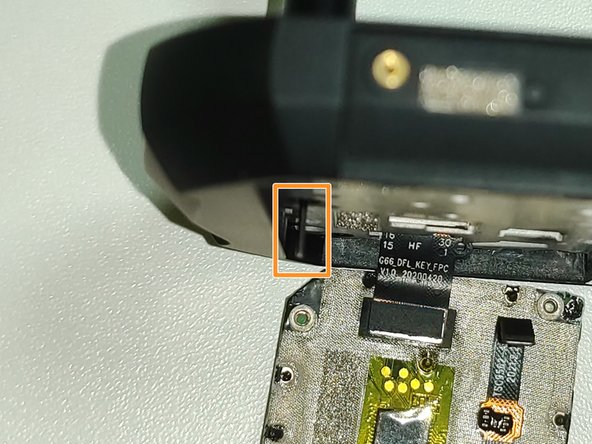
  3. Unihertz Titan Pocket keyboard Disassembly, Back plate disassembly: 手順 3、 3の画像 1 Unihertz Titan Pocket keyboard Disassembly, Back plate disassembly: 手順 3、 3の画像 2 Unihertz Titan Pocket keyboard Disassembly, Back plate disassembly: 手順 3、 3の画像 3
    • Insert the opening pick into the gap between the body and the back plate. Then open the gap so that the latch comes out.

    • There are three latches on the left and right, one on the top and two on the bottom.

  4. Unihertz Titan Pocket keyboard Disassembly, Bottom part disassembly: 手順 4、 3の画像 1 Unihertz Titan Pocket keyboard Disassembly, Bottom part disassembly: 手順 4、 3の画像 2 Unihertz Titan Pocket keyboard Disassembly, Bottom part disassembly: 手順 4、 3の画像 3
    • Remove the 3 screws using a Phillips #000 screwdriver.

    • Use the opening tool to open the gap.

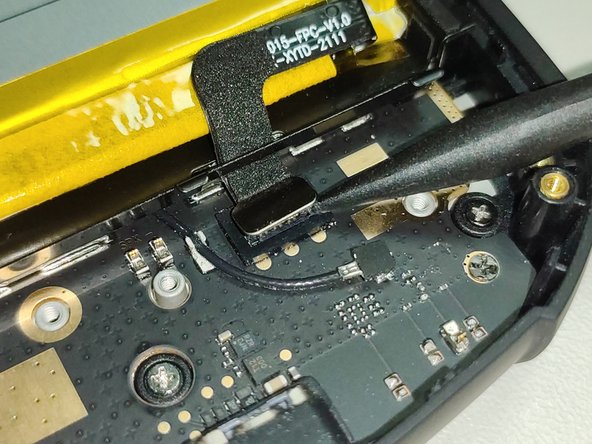
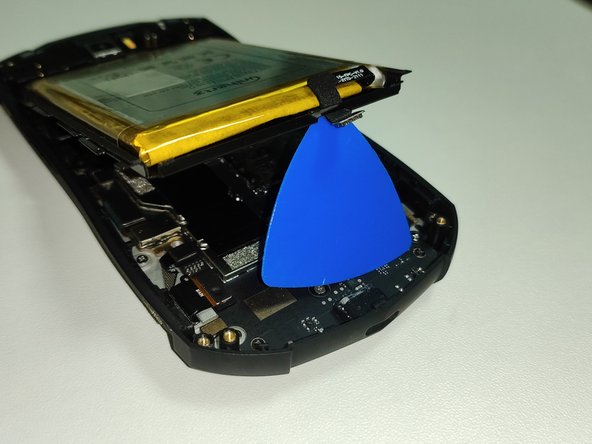
  5. Unihertz Titan Pocket keyboard Disassembly, Battery disassembly: 手順 5、 3の画像 1 Unihertz Titan Pocket keyboard Disassembly, Battery disassembly: 手順 5、 3の画像 2 Unihertz Titan Pocket keyboard Disassembly, Battery disassembly: 手順 5、 3の画像 3
    • Remove the battery connector.

    • Do not remove including a black sponge. Only disconnect the silver connector.

    • Then, lift the battery.

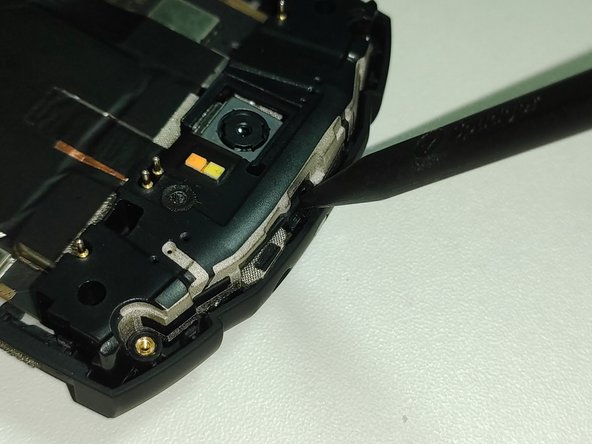
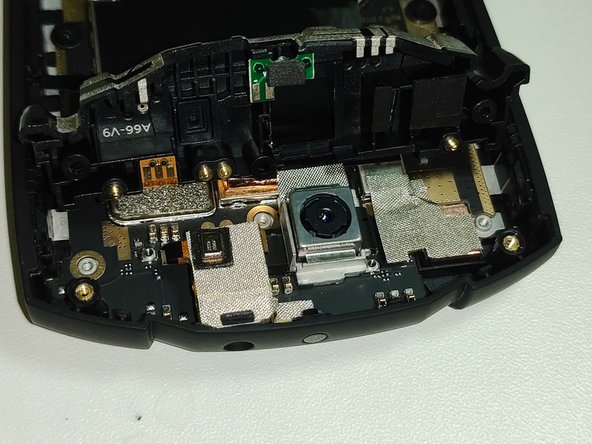
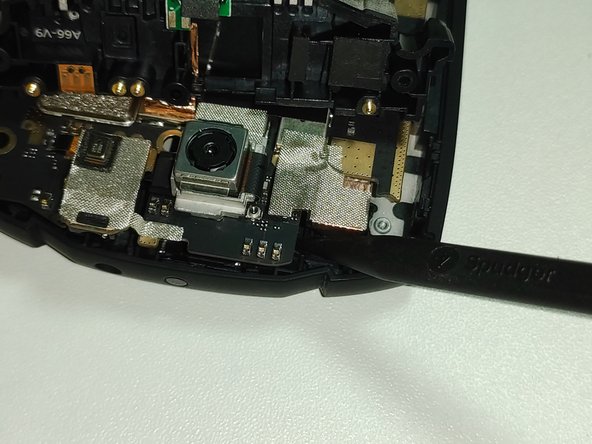
  6. Unihertz Titan Pocket keyboard Disassembly, Upper part disassembly: 手順 6、 3の画像 1 Unihertz Titan Pocket keyboard Disassembly, Upper part disassembly: 手順 6、 3の画像 2 Unihertz Titan Pocket keyboard Disassembly, Upper part disassembly: 手順 6、 3の画像 3
    • Remove the 2 screws using a Phillips #000 screwdriver.

    • Lift the top part with the pointed part of the Spudger.

    • You don't have to remove the metal sticker by just lifting the top part.

    • If the camera or earphone jack connector is disconnected during the lifting process, reconnect it.

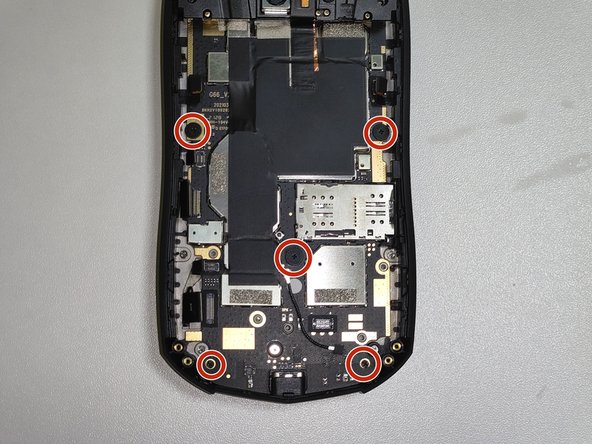
  7. Unihertz Titan Pocket keyboard Disassembly, Motherboard disassembly: 手順 7、 3の画像 1 Unihertz Titan Pocket keyboard Disassembly, Motherboard disassembly: 手順 7、 3の画像 2 Unihertz Titan Pocket keyboard Disassembly, Motherboard disassembly: 手順 7、 3の画像 3
    • Disconnect the 6 connectors.

    • Do not remove including a black sponge. Only disconnect the silver connector.

    • Remove the 5 screws using a Phillips #000 screwdriver.

    • Use the Spudger to lift the top of the motherboard.

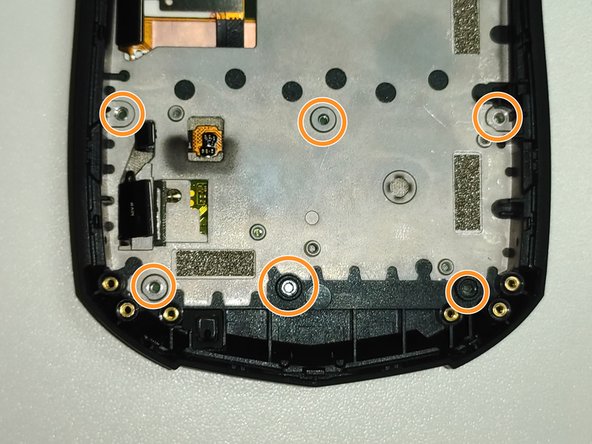
  8. Unihertz Titan Pocket keyboard Disassembly, Keyboard disassembly: 手順 8、 3の画像 1 Unihertz Titan Pocket keyboard Disassembly, Keyboard disassembly: 手順 8、 3の画像 2 Unihertz Titan Pocket keyboard Disassembly, Keyboard disassembly: 手順 8、 3の画像 3
    • Remove the 5 screws using a Phillips #000 screwdriver.

    • Insert a thin thing such as a Sim pin through the hole where the screw was removed and push the keyboard out.

  9. Unihertz Titan Pocket keyboard Disassembly, Keyboard disassembly: 手順 9、 1の画像 1
    • Remove the 17 plastic rivets to separate the board and keyboard.

    • Since plastic rivets cannot be reused after they are initially removed, they must be reassembled using tools such as glue.

終わりに

To reassemble the device, follow the instructions in reverse order.

ある他の人がこのガイドを完成しました。

以下の翻訳者の皆さんにお礼を申し上げます:

ko en

100%

glwpsさんは世界中で修理する私たちを助けてくれています! あなたも貢献してみませんか?
翻訳を始める ›

作成者

1人の作成者と共同作成されました。

glwps

メンバー登録日: 08/02/20

253 ポイント

1ガイドが承認済み

0 件のコメント

コメントを追加

統計データ:

過去 24時間: 1

過去 7 日: 27

過去 30 日: 119

今までの合計 679