メインコンテンツにスキップ

Uniden UTAB71 Camera Replacement

必要な工具と部品

  1. Uniden UTAB71 Camera Replacement, Camera: 手順 1、 2の画像 1 Uniden UTAB71 Camera Replacement, Camera: 手順 1、 2の画像 2
    • Use a plastic pry tool to separate the two halves of the tablet.

    • Make sure to be gentle with the pry tool and work your way around the edges of the tablet slowly.

    • Make sure the tablet is powered off before prying open.

    • There are two power ribbons connecting the screen to the back of the tablet. Make sure not to put too much stress on them.

  2. Uniden UTAB71 Camera Replacement: 手順 2、 2の画像 1 Uniden UTAB71 Camera Replacement: 手順 2、 2の画像 2
    • Use a credit card to lift the battery off the back of the tablet.

    • Do not put any pressure on the motherboard or any other internal components.

    • The battery is glued onto the back of the tablet so make sure to apply as much pressure as needed

  3. Uniden UTAB71 Camera Replacement: 手順 3、 1の画像 1
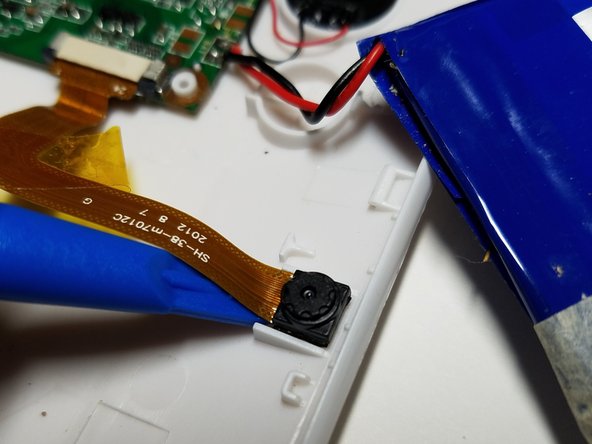
    • Undo the clips off the power ribbon connecting the camera to the motherboard using the blue pry tool.

  4. Uniden UTAB71 Camera Replacement: 手順 4、 3の画像 1 Uniden UTAB71 Camera Replacement: 手順 4、 3の画像 2 Uniden UTAB71 Camera Replacement: 手順 4、 3の画像 3
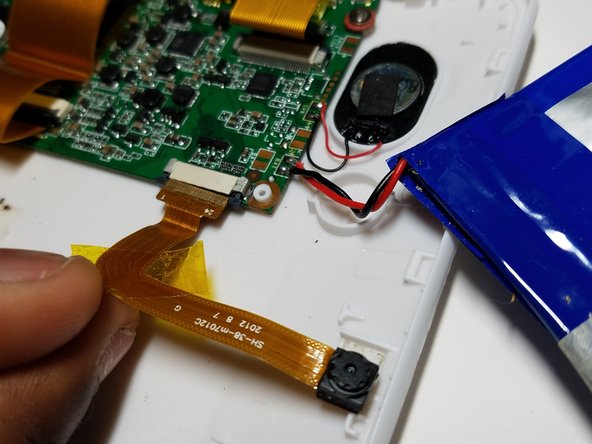
    • Use the pry tool to remove the yellow tape from the power ribbon connected to the camera.

    • Place the plastic pry tool under the camera component and lift it off the tablet.

終わりに

To reassemble your device, follow these instructions in reverse order.

作成者

3人の作成者と共同で作成されました。

Ryan Jewell

メンバー登録日: 10/20/16

422 ポイント

4のガイドは作成済み

チーム

UMass Dartmouth, Team 5-4, Martin Fall 2016 UMass Dartmouth, Team 5-4, Martin Fall 2016人のメンバー

UMASSD-MARTIN-F16S5G4

3 メンバー

8のガイドは作成済み

0 件のコメント

コメントを追加

統計データ:

過去 24時間: 0

過去 7 日: 1

過去 30 日: 1

今までの合計 164